Electric motor of the cooling system fan GPB 0 130 303 204 (engine ZMZ-4062) or 70.3730 (engine 3M3-402) - commutator, with excitation from permanent magnets
The electric motor is switched off via a relay by a temperature sensor TM108 installed in the radiator tank.
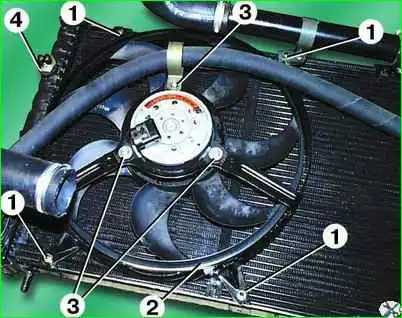
Technical characteristics of the engine GPB 0 130 303 204 (70.3730)
- - Rated voltage, V - 12 (12)
- - Power, W - 180(110)
- - Rotation frequency, min -1 - 3000 (2500)
- - Current consumption, no more, A - 30 (14)
Temperature:
- - sensor contact closure - 92+3˚s;
- - opening the sensor contacts - 87+3˚s
Removing an electric fan with a ZMZ-406 engine
Disconnect the negative terminal of the battery.
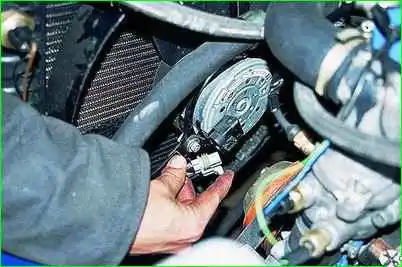
Disconnect the electric motor connector
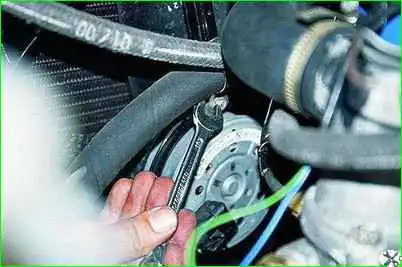
Using a 10mm wrench, unscrew the nut securing the expansion tank hose clamp
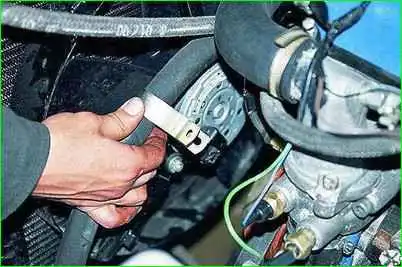
Remove the clamp
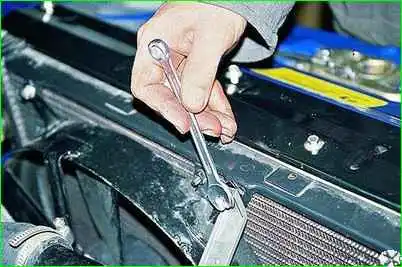
Using a 10mm wrench, unscrew the two nuts on the top fastening of the fan casing to the radiator
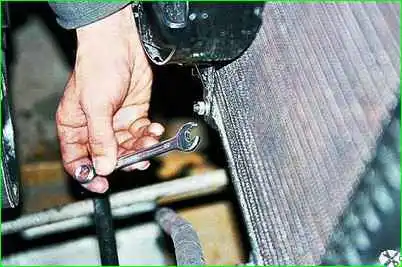
Unscrew the two nuts from the bottom, also with a 10mm wrench
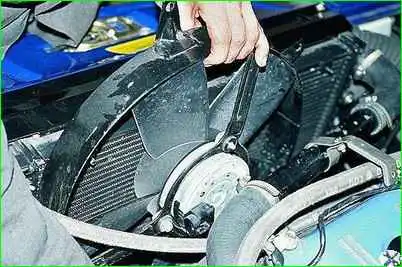
Remove the electric fan with casing
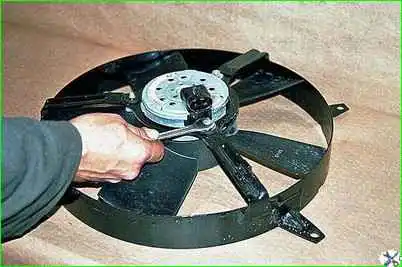
Using a 10mm wrench, unscrew the two remaining nuts securing the electric motor to the casing
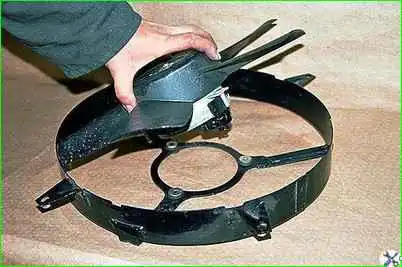
Remove the fan from the casing
Removing an electric fan with a ZMZ-402 engine
Disconnect the negative terminal of the battery
Remove the radiator trim and engine mudguard
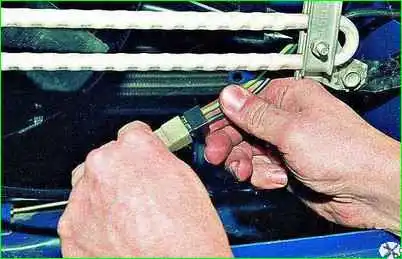
Disconnect the connector
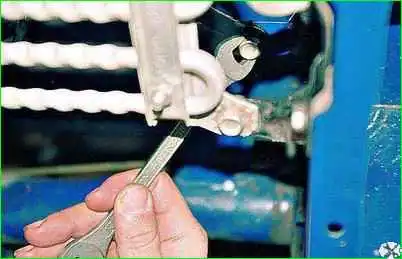
Use a 12mm wrench to unscrew the four screws securing the fan casing
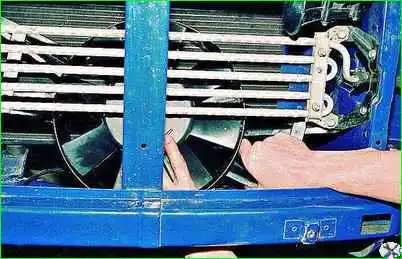
Carefully lower it, trying not to touch the radiator honeycombs and oil cooler tubes, take out the fan
Installation is performed in reverse order
Disassembling the electric fan
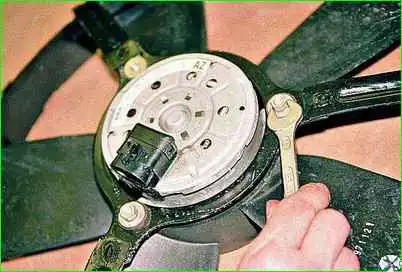
Using a 10mm wrench, unscrew the three nuts securing the electric fan to the casing and remove it.

Use a beard to knock the retaining half-ring off the motor axis
Remove the fan impeller
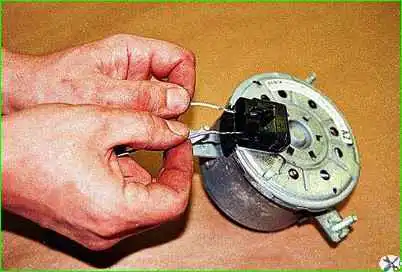
To check the serviceability of the electric motor, apply a voltage of 12 V to its terminals, observing the polarity indicated on its connector
This check can be carried out on a car without removing or disassembling the electric fan
Checking the electric fan switching circuit
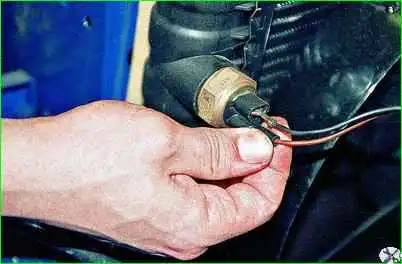
Disconnect the wires from the electric fan switch
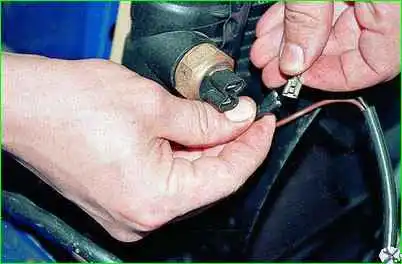
Turn on the ignition and close the contacts
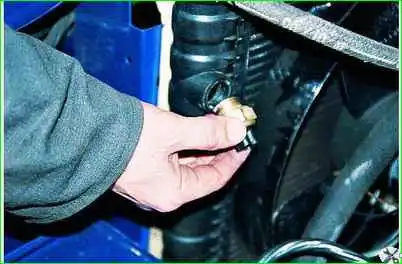
If the fan starts working (and did not turn on before when the engine overheated), then the sensor is faulty.
In this case, drain the coolant from the radiator and replace the sensor.
If the fan does not work, make sure that the main 30 A fan fuse is working; check the serviceability of the fan motor.
The main fuse for the electric fan is installed in a common block with the main fuse for the on-board network.
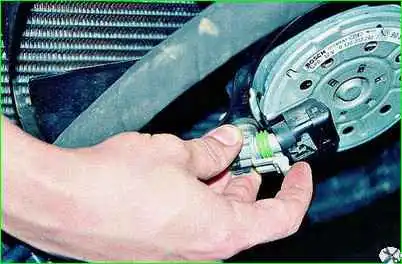
Using a voltmeter or a test lamp, check for voltage in the electrical connector connected to the fan, with the fan sensor wires closed;
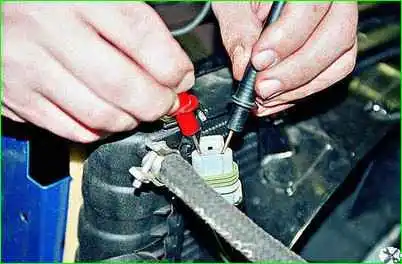
After replacing the fan motor relay with a known good one, check its operation
Removing the electric fan relay
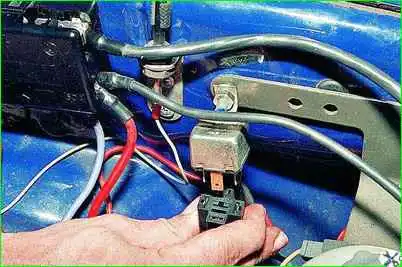
Disconnect the relay connector (with the ignition off)
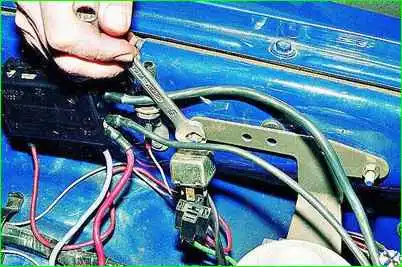
Using a 10mm wrench, unscrew the nut securing the relay and remove it
Replacing the electric fan switch
You don’t have to completely drain the coolant from the radiator, just lower its level below the sensor.
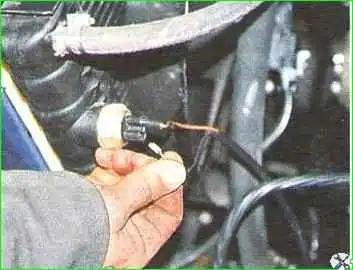
Turn off the ignition and disconnect the wires from the sensor
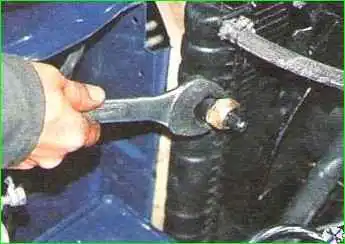
Use a 30mm wrench to unscrew the sensor
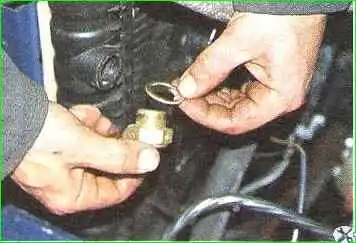
We move the sealing washer to the new sensor. Connecting the connectors


