You will need: a pipe (gas) wrench, a screwdriver, a chisel, a punch, a hammer, a universal joint puller, a snap ring puller, a wire brush, penetrating lubricant (for example, WD-40)
The assembled driveshafts are balanced at the manufacturer's plant.
Therefore, it is necessary to maintain the relative position of the parts during disassembly and subsequent assembly, otherwise vibrations may occur when the car is moving.
Some of the manufactured cars are equipped with front and rear driveshafts with constant velocity joints.
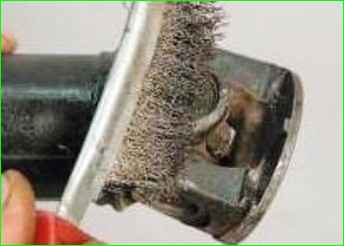
Clean the parts thoroughly.
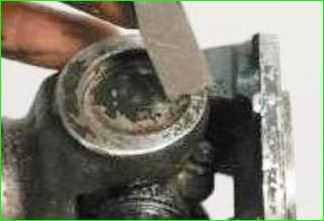
Use a chisel to mark the relative positions of the cardan joint forks.
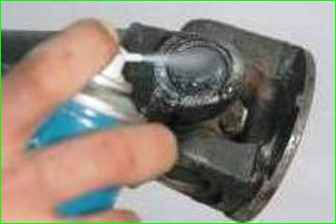
Treat the installation locations of the retaining rings with penetrating lubricant.
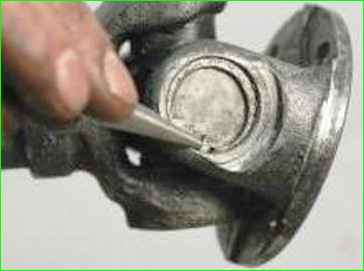
Using a hammer and punch, move the retaining ring and remove the retaining ring with a special puller or round-nose pliers.
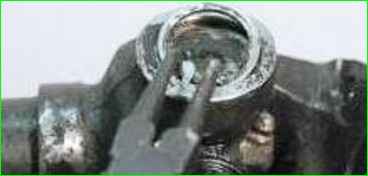
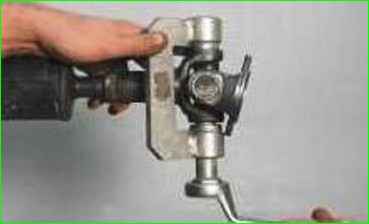
Using a puller, move the bearings in forks of the universal joint so that one of the bearings partially comes out of the fork eye
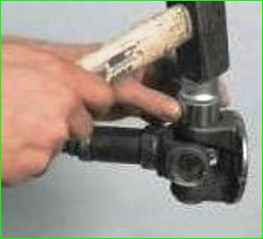
If there is no puller, use a hammer and a mandrel of a suitable diameter to move the fork relative to the bearing.
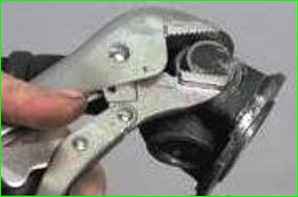
Remove the bearing from the fork eye with a pipe (gas) wrench or by clamping it in a vice.
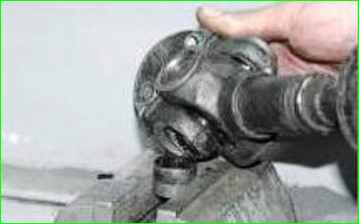
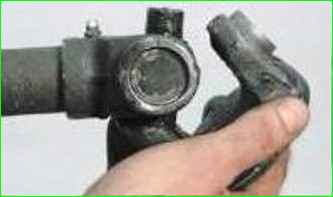
Remove the fork-flange
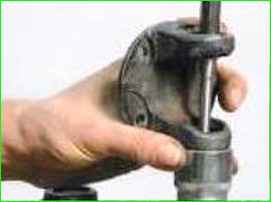
Using a punch, remove the second bearing by installing the fork-flange on the end head of a suitable diameter.
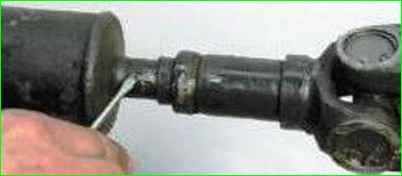
Disassemble the second shaft joint in the same way.
Apply marks to determine the relative position of the sliding fork of the cardan joint and the shaft.
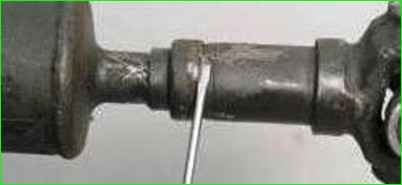
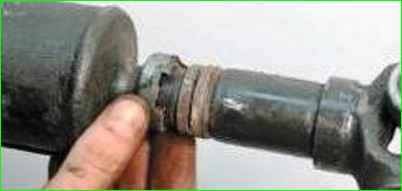
Use a screwdriver to bend the tabs of the seal collar and slide the collar along the shaft.
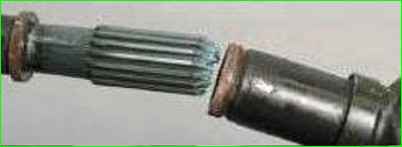
Remove the sliding fork.
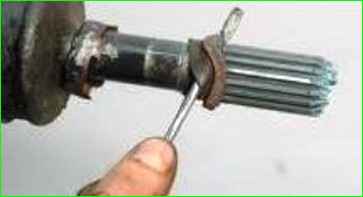
If necessary, remove the oil seal by prying it with a screwdriver.
Clean and inspect all removed parts.
Assess the condition of the bearing housings, needles, crosspiece pins, oil seals.
If the specified parts are damaged or worn, replace the crosspiece in assembly
Before assembling the joint, carefully clean the grooves in the lugs for the retaining rings with a slotted screwdriver.
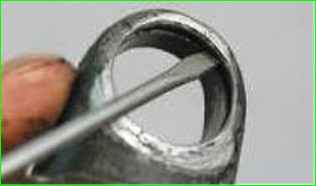
Remove old grease from the splined joint and the inner surfaces of the bearing housings.
Apply Fiol-2U grease or similar.
Install the parts in the reverse order of removal, aligning the marks applied before disassembly.


