Remove the master cylinder for replacement or repair if there is a fluid leak, the clutch does not fully disengage (may be caused by a fluid leak or wear of the seals), or if the clutch does not fully engage (as a result of the compensation hole being clogged or blocked by a swollen seal)
You will need: a 13 mm wrench (socket head with an extension), pliers, and a rubber bulb.
Pump out the fluid from the reservoir with a rubber bulb.
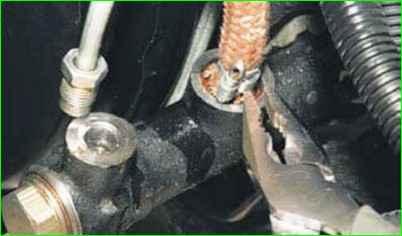
Loosen the hose clamp and disconnect it from the master cylinder.
Move the hose to the side.
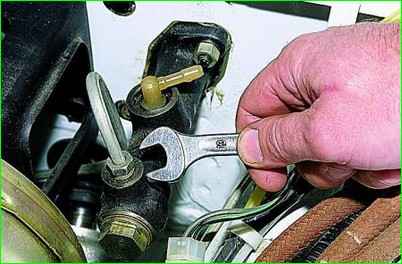
Unscrew the nut securing the pipeline from the master cylinder.
Remove the pipeline from the hole in the master cylinder and move it to the side.
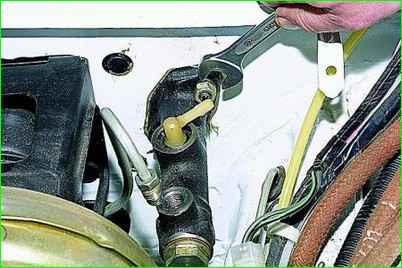
Unscrew the two nuts securing the cylinder and remove it from the car.
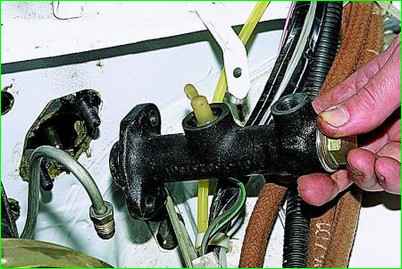
Install the cylinder in the reverse order of removal.
Bleed the clutch hydraulic drive (see. «How to bleed the clutch Niva Chevrolet»)
Repair of the clutch master cylinder
Remove the clutch master cylinder from the car.
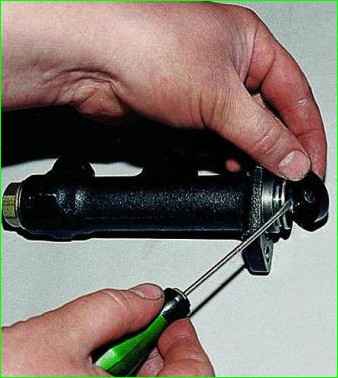
Pry off the protective cap from the end of the cylinder with a screwdriver
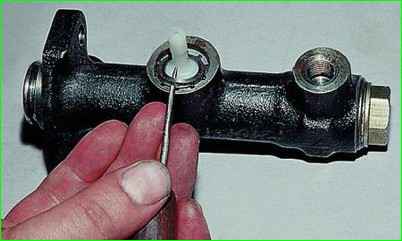
Prying with an awl, remove the lock washer
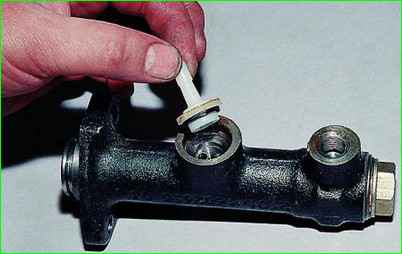
Remove the nipple with the sealing gasket.
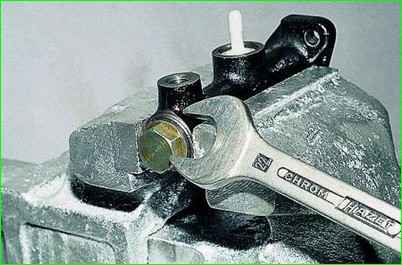
Holding the cylinder in a vice, unscrew the plug with a 22 key.
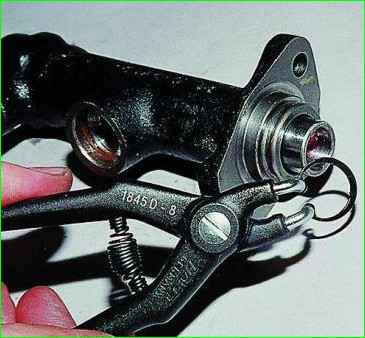
Using a puller or prying with a thin screwdriver, remove the retaining ring
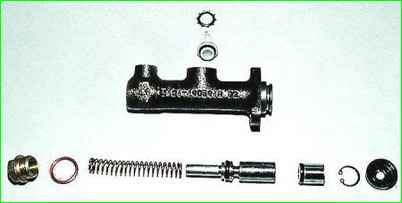
Remove the parts from the cylinder body
Carefully inspect the parts.
The cylinder mirror and the outer surface of the pistons should not have any scratches or other damage.
The internal diameter of a serviceable master cylinder should be 19.05 +0.025 mm.
If the return spring is deformed or has noticeably reduced elasticity, it should be replaced. Be sure to replace the rubber sealing rings.
Also replace the damaged protective cap.
Do not allow mineral oil, gasoline, kerosene or diesel fuel to come into contact with the parts, as these substances will cause the rubber seals to swell.
The lock washer of the nipple cannot be reused either.
After thoroughly washing the parts with brake fluid, assemble the cylinder in the reverse order of disassembly.
Removing and installing the clutch slave cylinder
Remove the slave cylinder for replacement or repair if the clutch does not fully disengage due to fluid leakage.
You will need: keys "13", "17".
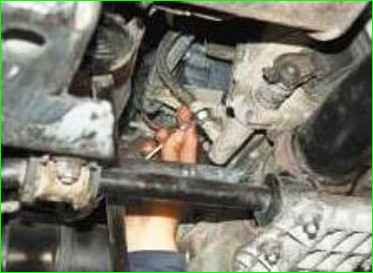
Loosen the tip of the slave cylinder hose.
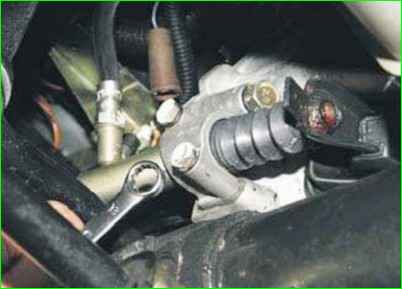
Unscrew the two bolts of the slave cylinder mounting bracket to the clutch housing.
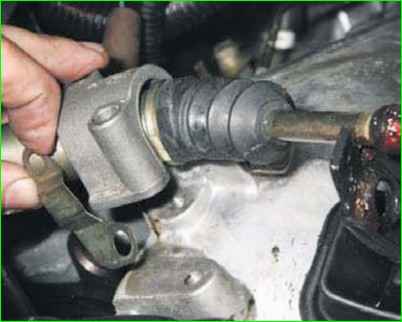
Remove the bracket.
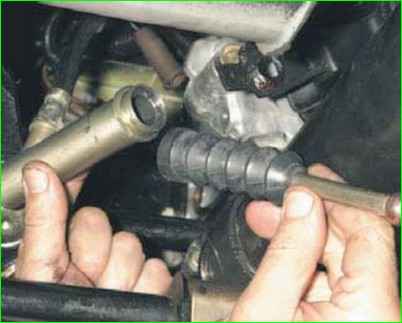
Remove the push rod of the working cylinder from the clutch release fork and remove the protective cap together with pusher.
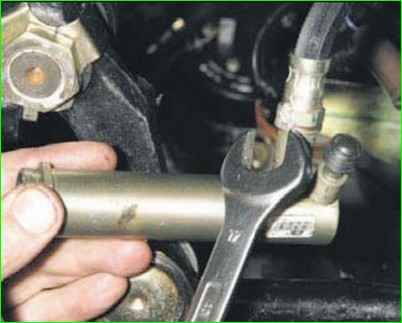
Holding the end of the hose from turning and rotating the cylinder, separate them.
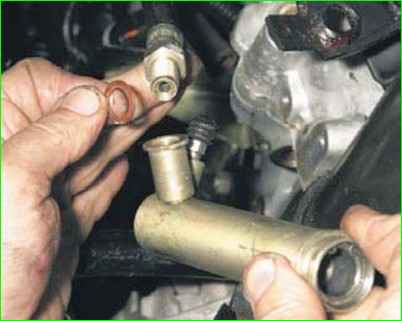
Drain the fluid from the drive and cylinder into a previously prepared container.
Install the new slave cylinder in the reverse order of removal.
Bleed the clutch hydraulic drive (see "How to bleed the clutch Niva Chevrolet").


