Remove the steering knuckle with the stand.
Clean the unit from dust and dirt.
Clamp stand 4 in a vice and knock out the locking pin with bit 1.
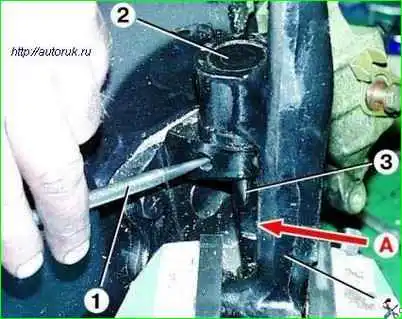
Knock out plugs 2 on both sides of the king pin.
To do this, place the key on the flats “A” of kingpin 3 and knock out the plugs with a hammer on the key in both directions.
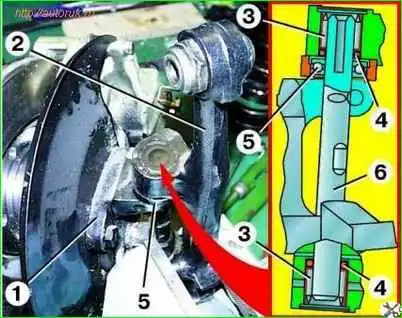
Knock out the king pin 6 and disconnect the steering knuckle 1 from the strut 2, while simultaneously removing the ball bearing 5 with the protective cap.
Take out the two rubber protective rings 4 and press the needle bearings 3 out of the rack eyes.
Assemble in the reverse order of disassembly.
When assembling, align the holes for the pin on the king pin and the steering knuckle eyes.
Needle bearings must be pressed flush with the end of the recess under the plug using a brass mandrel with an outer diameter of 29.5 mm and a guide shank with a diameter of 20–0.50 and 20–0.10 mm (along the inner diameter of the bearings).
When installing bearings, the lubrication holes in the bearing housing and the strut head must be aligned.
Before installing the kingpin, it is necessary to lubricate the bearings with transmission oil and select the adjusting washer so that there is a gap of no more than 0.2 mm between the eyes of the steering knuckle and the strut.
The kingpin plugs must be replaced with new ones.
The new plugs are spherical in shape; to ensure a tight fit in the rack ears, straighten them through a flat mandrel during installation.
It is recommended to install a new pin. The heads of the fingers should be directed forward as the vehicle moves.
It should be borne in mind that the final tightening of the threaded connections of the lever mounting is carried out only on the suspension, which is in a loaded state.
The tightening torque of the pin nut is 120-200 Nm (12.0-20.0 kgcm).
Lubricate the kingpin bearings with transmission oil through grease nipples.
Adjust the wheel alignment angles. (GAZ-3110 collapse)
Details in pictures:
Remove the front suspension strut assembly with the steering knuckle and hub from the car.
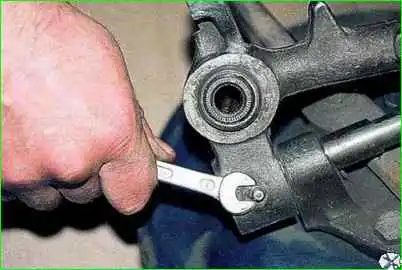
Unscrew the grease nipples so as not to damage them during subsequent disassembly.
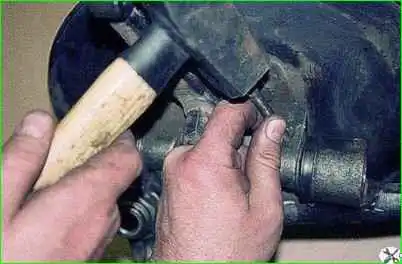
Use strong blows of a hammer through a bit or similar tool to knock out the locking pin.
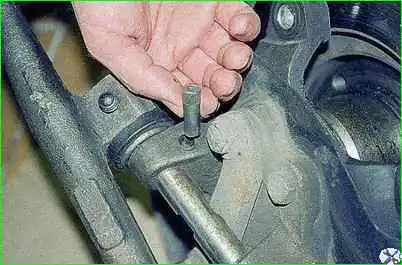
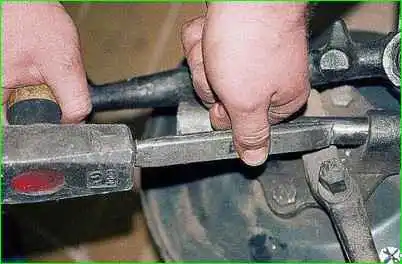
We rest the chisel against the edges of the flat, and tapping it with a hammer, we move the king pin along its axis, first in one direction and then in the other direction, squeezing out the plugs with it.
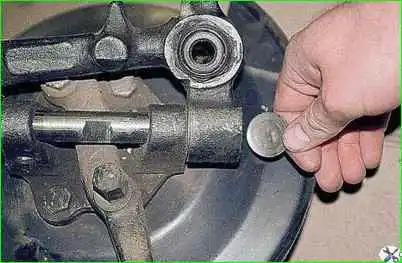
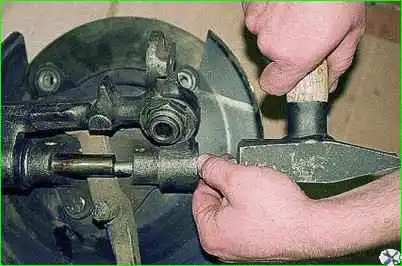
Use light blows of a hammer through the bit to knock out the kingpin
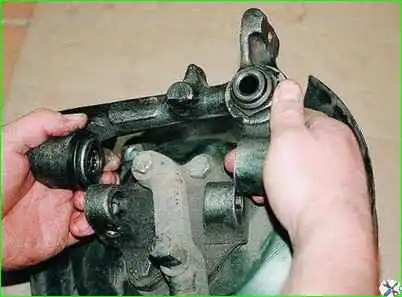
Remove the stand.
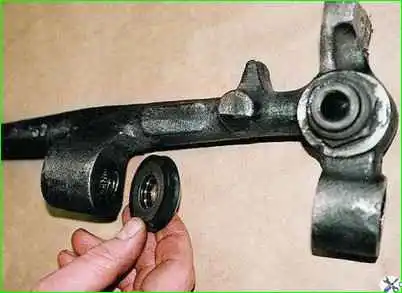
Remove the thrust bearing with a protective rubber ring
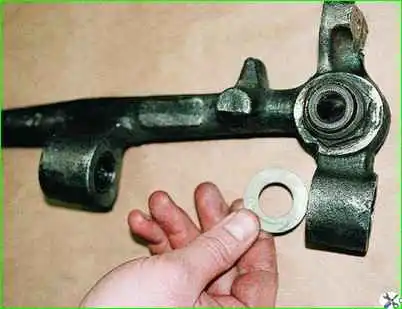
Remove the adjusting washer (washers can be of five sizes ers from 0.8 to 1.6 mm, pitch - 0.2 mm).
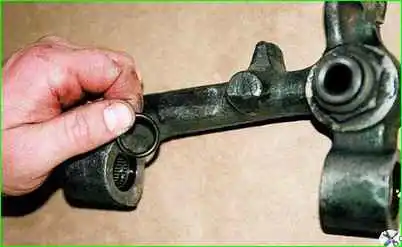
Use a screwdriver to pry up and remove the rubber sealing rings of the needle bearings from the holes.
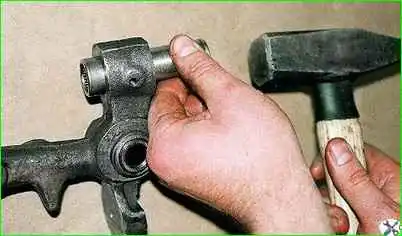
Use a hammer to press out the needle bearings through a mandrel of suitable diameter.
Install the king pin in the reverse order, taking into account that there are two holes in the needle bearing housing.
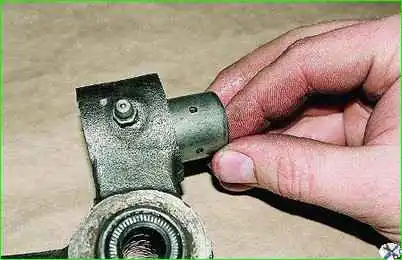
When installing the lower bearing, one of its holes should be aligned with the hole for the grease fitting, and the other with the channel for lubricating the lower threaded joint of the strut
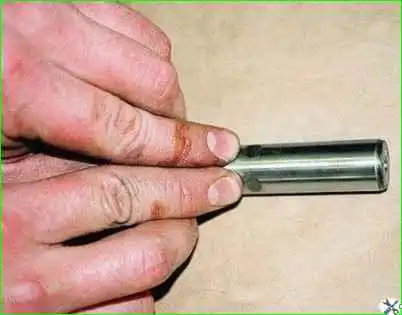
At the upper needle bearing, we ensure that one of the holes is aligned with the grease nipple channel.
Lubricant is added to the thrust bearing during assembly.
During operation, the pin wears out on only one side.
To increase its service life, it has two flats for the locking pin.
If the lateral play of the pin exceeds 0.3 mm, you can knock out the locking pin, use a wrench to turn the pin 90° until the second flat aligns with the hole, and install the pin again.
Removing the pin or replacing the pin with a new one is not required.


