You can verify the functionality of the shock absorber without special equipment by vigorously shaking the car body downwards. The body must return to its original position without oscillations
The shock absorber mounts must not have any play, and their housings must not have any leaks of working fluid.
The rubber bushings of the shock absorber mounts must be free of damage and local bulging.
A more accurate characteristic of the shock absorber performance can be viewed on a dynamometer stand.
Removing the shock absorber
We carry out the work on an inspection pit or lift.

Using a 19 mm open-end wrench, unscrew the nut of the lower shock absorber mounting bolt, holding the bolt from turning with a wrench of the same size.
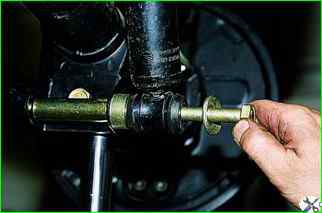
Before removing the bolt with the rear axle beam raised (when working on a lift), it is necessary to place a small piece of beams where we remove the shock absorber, place a support so that the suspension spring is compressed.
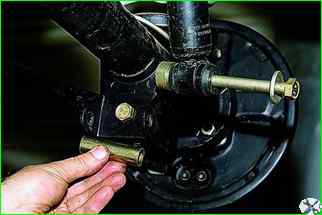
We extend the bolt
We remove the spacer sleeve.
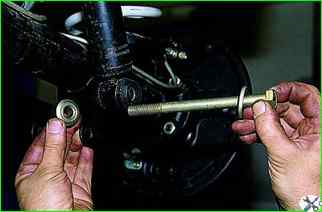
We take out the bolt and the spacer washer.
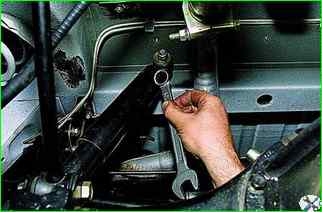
With a 19 mm open-end wrench, unscrew the nut of the upper shock absorber mounting pin.
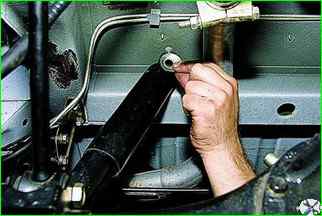
Remove the washer.
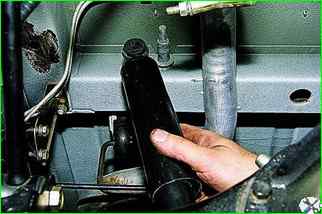
After removing the upper eye from the finger, take out the shock absorber.
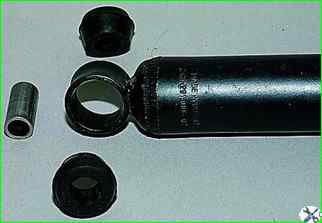
Two rubber bushings and a spacer metal bushing are installed in the lower eye of the shock absorber
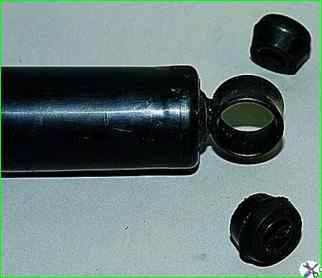
There are two rubber bushings in the upper eye
Install the shock absorber in the reverse order.
Finally tighten the shock absorber mounting nuts in the "car on wheels" position
Tightening torque of the shock absorber mounting bolt nut 38.2 - 61.7 Nm (3.9 - 6.3 kgf m).


