Let's take a closer look at removing and installing the carburetor
Remove the air filter.
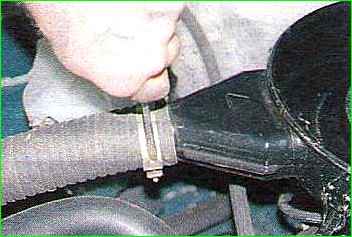
Use a screwdriver to loosen the clamp and remove the corrugated air intake hose.
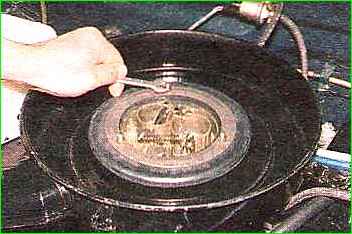
Use a screwdriver to bend the antennae of the lock washers, and use a “10” wrench to unscrew the three nuts.
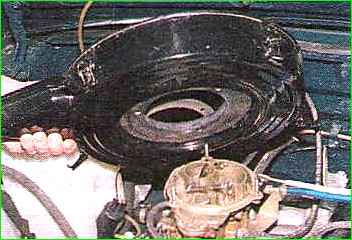
Remove the air filter housing
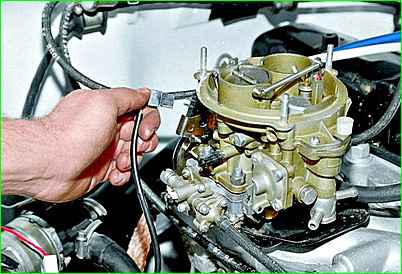
Remove the connecting block from the microswitch terminals
Disconnect the fuel outlet and supply hoses
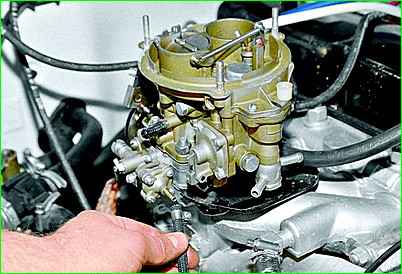
Having loosened the clamp, remove the vacuum supply hose to the EPHH valve
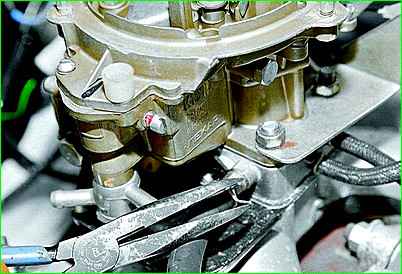
Use pliers to compress the tendrils of the spring clamp securing the crankcase ventilation hose
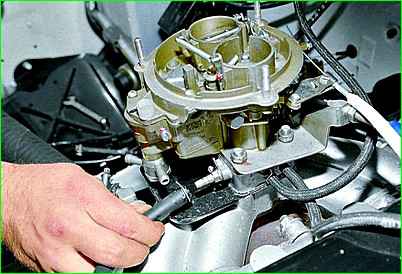
Remove the small crankcase ventilation hose
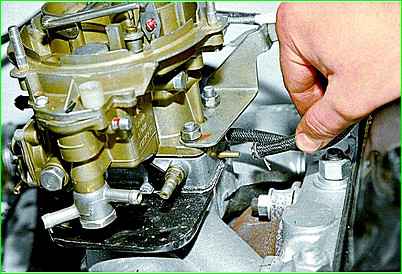
In the same way, remove the vacuum intake hose to the EPHH system valve
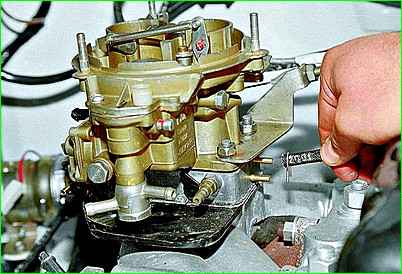
Remove the hose of the vacuum regulator of the ignition distributor sensor
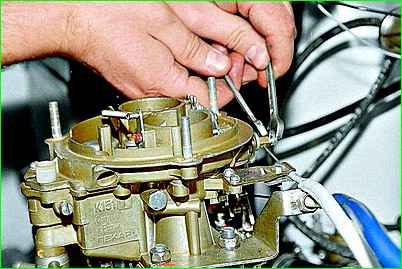
Using keys 7 and 8, unscrew the bolt securing the air damper control cable
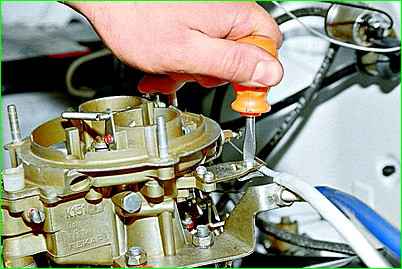
Use a screwdriver to unscrew the screw securing the cable sheath and disconnect the cable from the carburetor
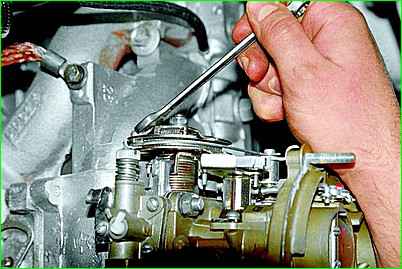
Using a 10mm wrench, unscrew the nut securing the throttle control cable
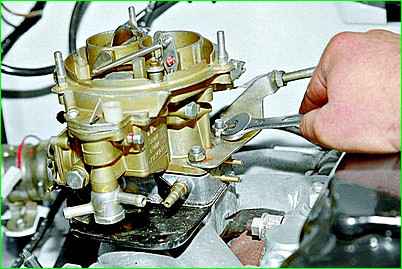
Using a 13mm wrench, unscrew the four carburetor mounting nuts
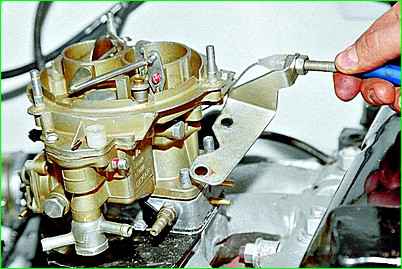
Remove the bracket for fastening the throttle valve cable sheath
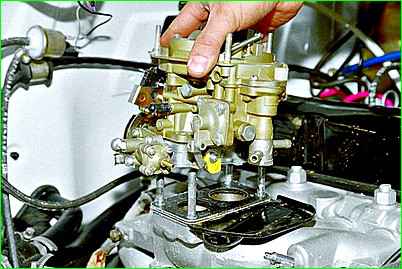
Removing the carburetor
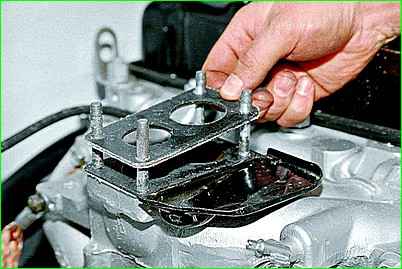
Remove the paronite gasket
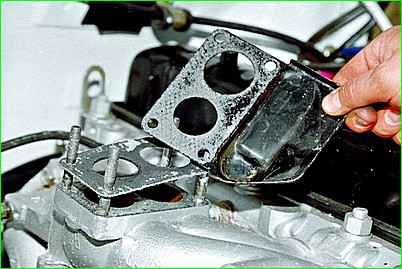
Remove the tray and the second gasket
Install the carburetor in reverse order, connecting the hoses to it according to the diagram.
Connect the damper control rods and adjust them.
The air damper should be in a vertical position when the draft handle is recessed, and should be completely closed when the handle is pulled out.
The throttle valve drive cable should not limit their travel, sag excessively or bend sharply.
We adjust its tension with two nuts securing the tip of the shell to the bracket.
Adjusting the carburetor drive
The assistant presses the gas pedal all the way to the floor
At the same time, the throttle valves in the carburetor open completely. This can be seen from above through the carburetor diffusers.
If the dampers have not opened fully, adjust the drive
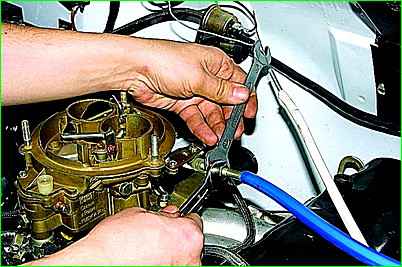
To do this, use two 13mm wrenches to loosen the tightening of the adjusting nuts
With the accelerator pedal pressed all the way, turn the drive sector by hand, opening the throttle valves completely
Turn the slack drive cable by rotating the adjusting nuts
Check the adjustment again (when the gas pedal is pressed, there should be no free movement of the sector) and tighten the nuts
Do not overtighten the cable! Otherwise, when the throttle valves are open, the accelerator pedal will not rest on the floor, which will cause deformation of drive parts
After this, release the accelerator pedal and make sure that the throttle valves are completely closed.
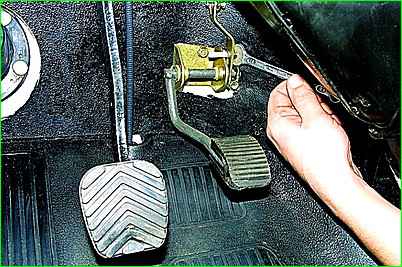
Otherwise, under the instrument panel, use a 10mm wrench to loosen the nut securing the pedal travel limiter.
Move the stopper up the slot and tighten the nut
Check the adjustment of the throttle valve drive and repeat the operations if necessary
The air damper should be in a vertical position when the drive rod handle is recessed, and when the handle is pulled out all the way, it should close completely
If this is not the case, push the air damper control handle all the way into the car interior
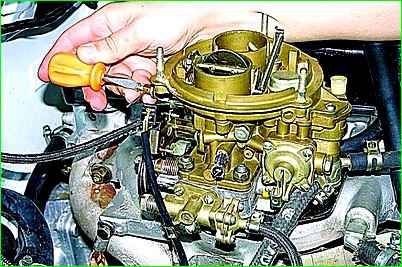
Loosen the tightening of the locking screw of the drive cable with the air damper
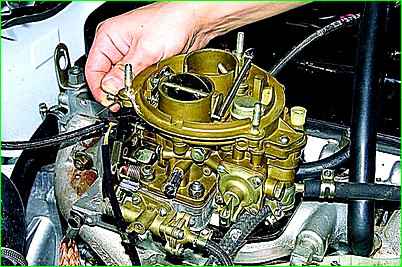
Press the trigger lever and completely open the air damper
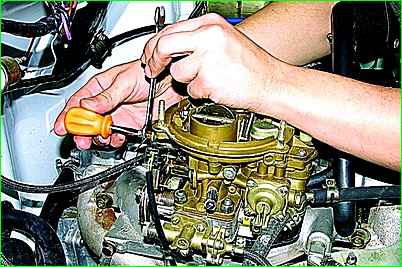
In this position, use a screwdriver to tighten the locking screw of the drive cable, holding the hexagonal bushing from turning with a key of 8
Pressing the gas and pulling the control handle, close the air damper. After this, press the handle again until it stops. If the damper is completely open, finally tighten the locking screw.
If necessary, repeat the adjustment


