We work together on the inspection ditch
Jack up the beam and remove the front wheel.
We place a reliable factory-made stand under the front end of the frame with a load capacity of at least 2 tons and a height of 700 mm.
Lower the jack and leave it under the beam or, for convenience, move it under the hub.
To avoid damaging the brake hose, it is advisable to remove the front brake caliper and tie it to the frame.
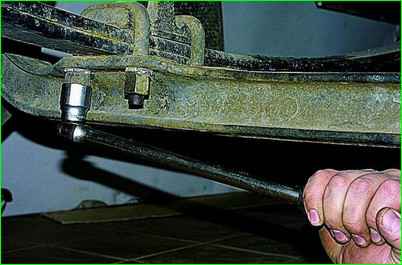
Use a 24mm socket to unscrew the four bolts securing the stepladders.
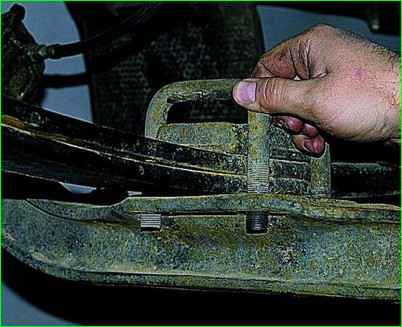
Take out the stepladders.
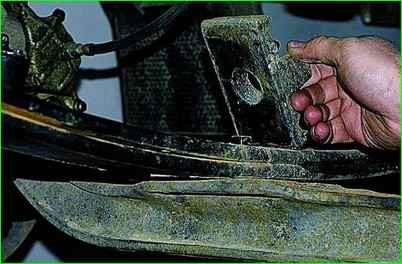
Remove the spring pad.
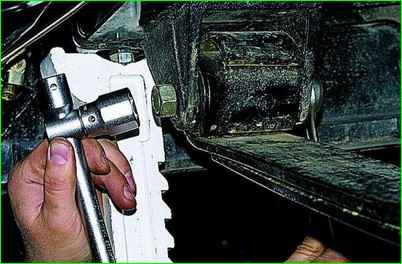
Hold the front spring eye bolt with a 22mm wrench and use a 24mm socket to unscrew the nut.
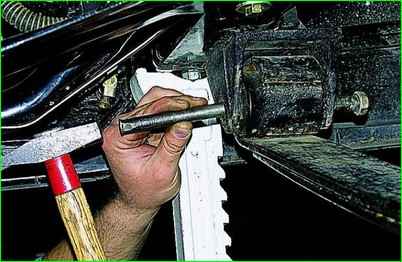
Use a punch or a suitable rod to knock out the bolt.
Also unscrew the nut and knock out the rear spring mounting bolt (to the shackle)
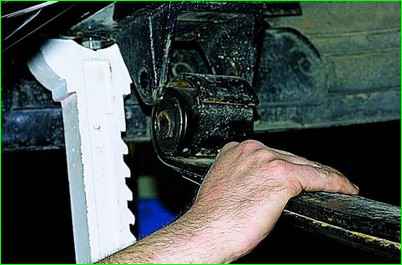
Remove the spring
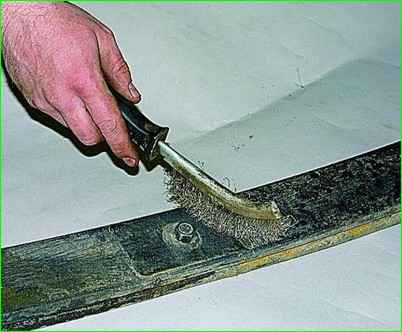
Clean the spring from dirt
Insert the bolts into the spring hinges.
Tighten the cord between them and measure the spring deflection
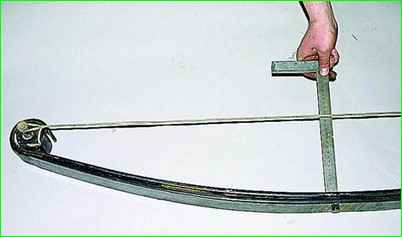
The deflection should be 147±10 mm for a two-leaf spring, and 135±5 mm for a four-leaf spring.
If this value is less, replace the entire spring.
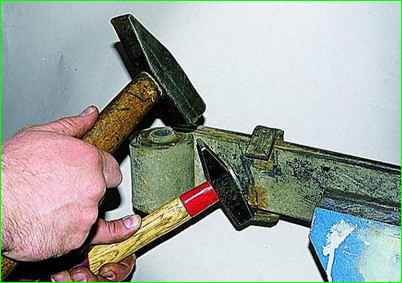
We bend the clamp by striking with a hammer through another hammer.
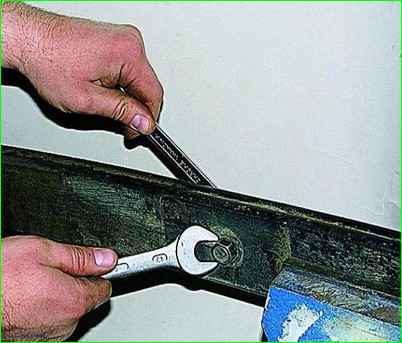
Holding the spring in a vice, use two 17mm wrenches to unscrew the nut of the centering bolt and remove the bolt
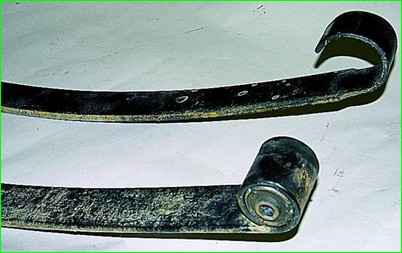
Separate the spring leaves. We clean the internal surfaces of the spring sheets from dirt and rust.
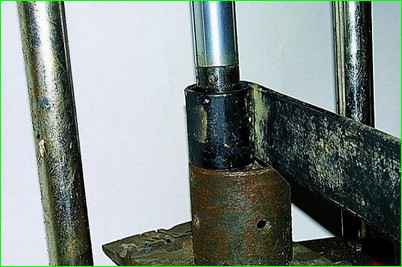
To replace rubber-metal hinges, place the spring eye under the press.
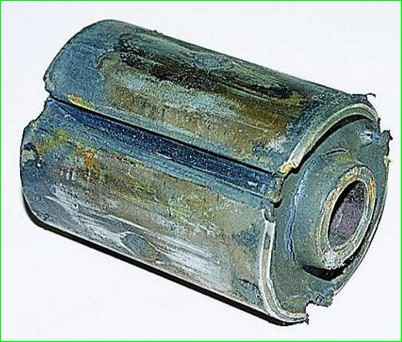
Press out the hinge.
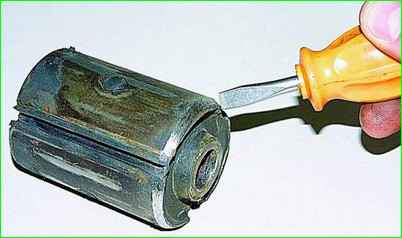
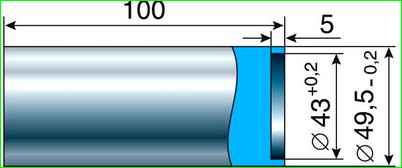
For lightweight Before pressing in the new hinge, use a file or an emery wheel to make a lead-in chamfer on the edges of the metal plates at the end of the hinge.
Compress the hinge with a band clamp.
Lubricate the hinge with soapy water and, using a mandrel, press it in using the same press.
Having lubricated the sides of the sheets facing each other with graphite lubricant, we assemble the spring.
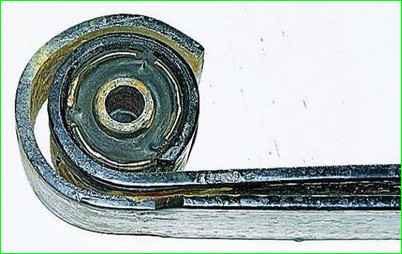
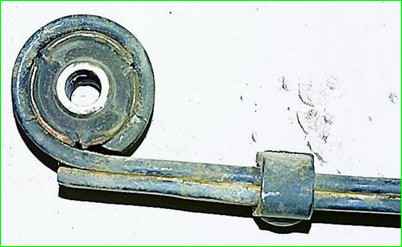
At the same time, pay attention to the difference in the design of the front and rear spring ears.
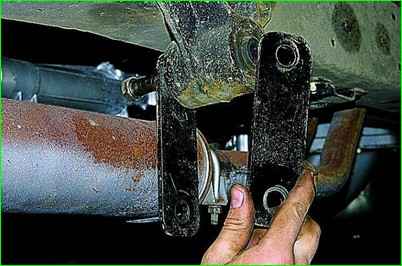
Unscrew the nut and remove the bolt securing the spring earring.
Remove the spring earring plates.
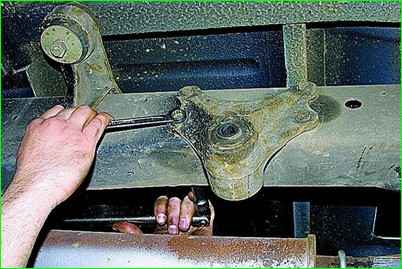
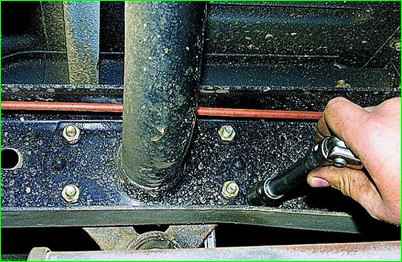
Holding the earring bracket mounting bolts with a 14mm wrench and a 17mm socket, unscrew the four nuts and remove the bracket.
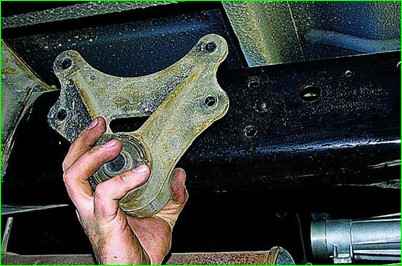
Replace the rubber-metal hinge of the bracket.
Install the removed parts in reverse order, evenly tightening the stepladder nuts.
The vertical protrusion on the spring pad must face the longitudinal axis of the vehicle.
The final tightening of the nuts and bolts of the rubber-metal hinges should be carried out with the vehicle loaded and the springs straightened. This is necessary for the hinges to work properly.
We similarly disassemble the spring and replace the rubber-metal hinges on the other side of the car.
Replacing the rubber buffer
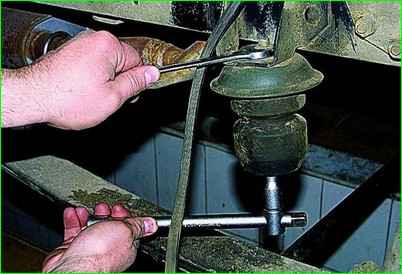
Holding the bolt with a 17mm head with an extension, and using a 19mm wrench, unscrew the nut

Remove the buffer along with the bolt, washer, bushing and cup
Install the buffer in reverse order.


