The rod and stretchers are usually removed when the rubber cushions wear out, the suspension is repaired, and also in case of various deformations of these parts
Removing the anti-roll bar
The anti-roll bar is a curved rod made of spring steel.
It reduces the roll of the car when cornering.
Through rubber cushions pressed by steel clips, it is fixed at two points to the body and to the brackets on the lower support cups of the springs.
We carry out the work on an inspection ditch or lift.
We remove the mudguard of the power unit.
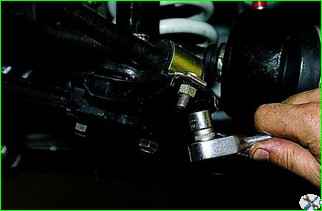
Using a 13 mm socket, unscrew the two nuts securing the right stabilizer bar collar to the lower spring support cup
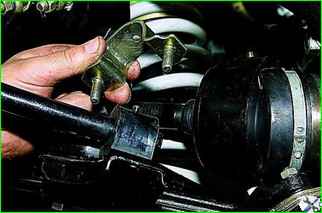
Remove the collar. Similarly, we disconnect the left clip.
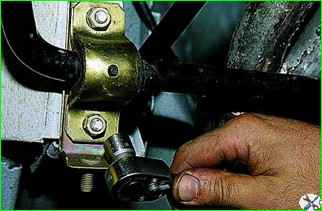
Using a 13 mm socket, unscrew the two nuts on the right bracket that secures the stabilizer bar to the body.
Similarly, we remove the left bracket.
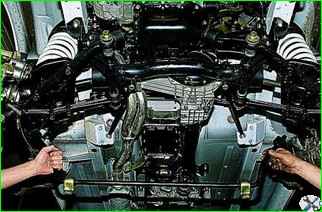
Removing the anti-roll bar.
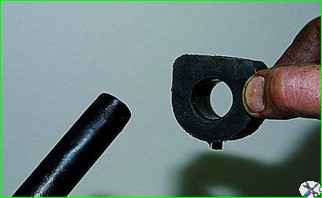
Removing the outer anti-roll bar cushion
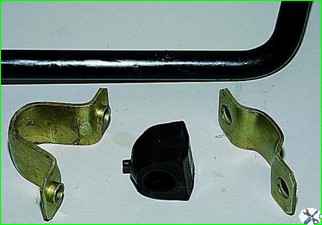
To remove the inner cushion, disconnect the brackets and pull the cushion off the rod
Check whether the rod is deformed and whether its ends are in the same plane; if the deformation is insignificant, straighten the rod; in case of significant deformation - replace the rod.
Before installing new cushions, clean and lubricate the stabilizer bar with a soap solution.
Install the stabilizer in the reverse order.
Tightening torque of the anti-roll bar mounting nuts M8 - 15-18.6 Nm (1.53-1.9 kgf m)
Removing the front suspension strut
Stretchers (steel rods) that increase the longitudinal rigidity of the structure.
The rear (threaded) ends of the stretchers are attached to the bracket on the car body with two nuts and washers.
When installing the stretcher, tighten the inner nut until the washer touches the bracket, and the outer nut - to the recommended torque.
We carry out the work on the inspection pit or lift.
Remove the powertrain mudguard.
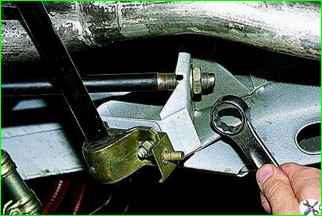
Using a 24 mm open-end wrench, unscrew the outer nut of the rear strut mount to the body bracket.
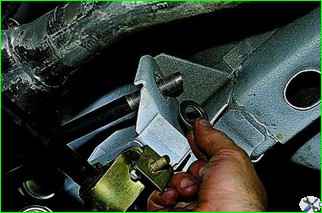
Remove the washer.
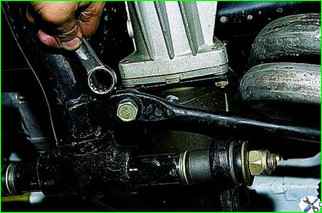
Using a 19 mm open-end wrench, unscrew the bolt securing the front strut to the crossmember.
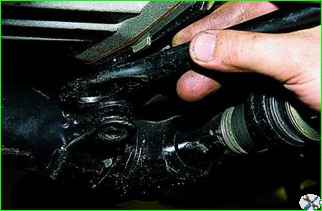
We take the front end of the strut out of the crossmember bracket
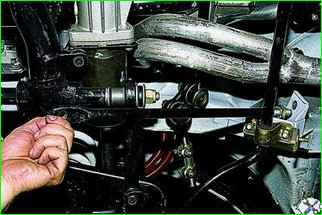
Remove the strut.
Install the strut in the reverse order.
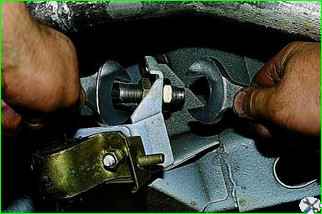
At the same time, tighten the inner nut with a 24 key until the gap between the washer and the bracket is eliminated, and then tighten the outer nut
Moments of fastening the strut fasteners:
- - bolt for fastening the strut to the suspension crossmember М12x1.25 - 66.6-82.3 Nm (6.8-8.4 kgf m)
- - nut for fastening the strut to the body М16x1.5 - 104.9-169.5 Nm (10.7-17.3 kgf m)


