If the joint inspection revealed the need to replace it (see "Checking the Niva Chevrolet suspension"), replace it
You will need: "13" and "22" spanners (two), a lug wrench, a support (screw or hydraulic jack), a metal brush, a mounting blade, a hammer.
Remove the wheel.
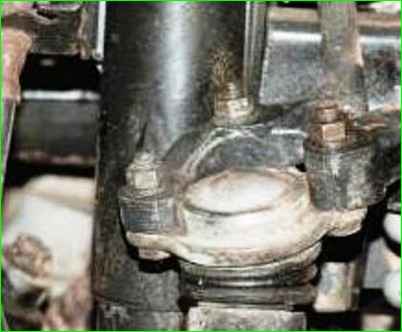
Place a support under the lower arm, load the suspension (lowering the car or jacking up the lower arm) so that the position of the arms roughly corresponds to their position under load.
Clean the ball joint from dirt.
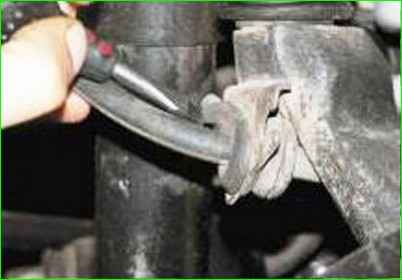
Remove the brake hose holder from the bracket.
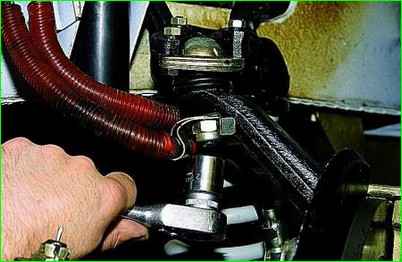
Loosen the tightening of the joint pin nut and unscrew it.
If the pin rotates (due to a loose fit or wear of the cone), press the lever down with a mounting blade, resting it against the end coil of the spring.
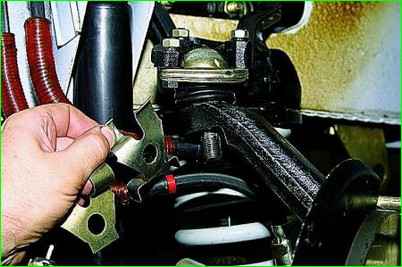
Remove the hose bracket
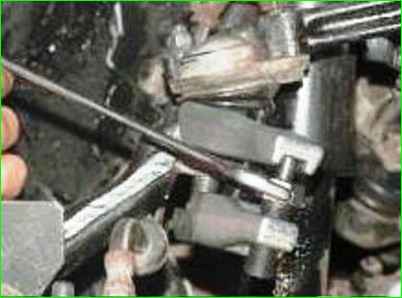
Install the ball joint puller and press the joint pin out of the steering knuckle boss.
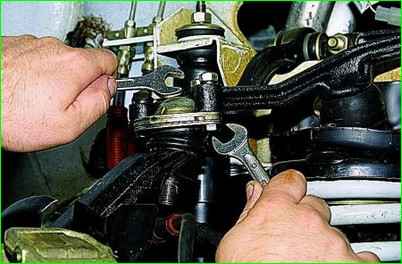
Unscrew the three nuts securing the hinge to the lever
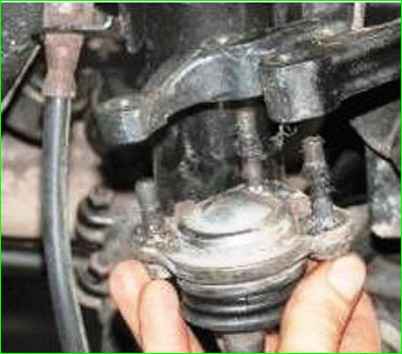
Disconnect the hinge from the lever. Remove the bolts from the ball joint housing and remove the boot.
If you removed the ball joint only to replace the boot, check the condition of the ball joint by turning the ball joint pin by hand.
Free play of the pin or its jamming are not allowed.
Install the new ball joint or new boot in the reverse order of removal
After replacing the ball joint, check and, if necessary, adjust the wheel alignment angles.


