Shock absorbers are replaced when shock absorber fluid leaks or when vibration damping efficiency is lost
Both left and right shock absorbers must be replaced, regardless of whether one of them appears to be in good condition.
The characteristics of a new and working shock absorber may differ.
We perform the work on a lift or inspection pit.
You will need two 19-mm wrenches for the work.
If we perform the work on a lift, we install supports under the rear axle beam and lower the car a little, slightly loading the suspension.
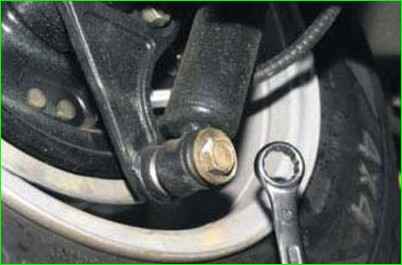
Using a 19 mm open-end wrench, unscrew the bolt securing the lower shock absorber to the bracket.
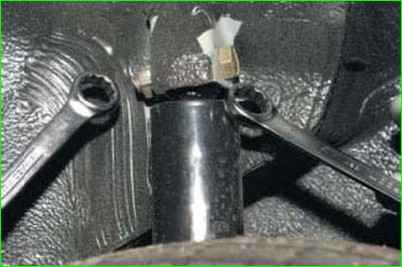
Using a 19 mm wrench, unscrew the nut securing the upper shock absorber bolt, holding the bolt with a 19 mm wrench, remove bolt
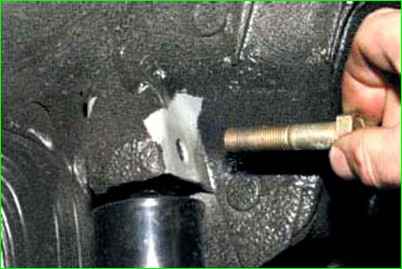
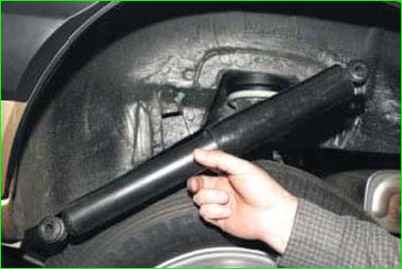
Removing the rear shock absorber
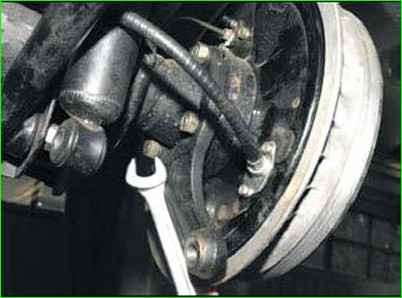
To remove the shock absorber bracket, use a 17 key to unscrew the three nuts securing the bracket to the rear axle beam flange
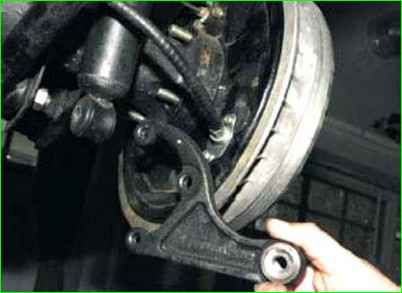
Removing bracket
Install the shock absorber and bracket in the reverse order.
If, when installing the bracket, the bolts move inside the brake mechanism and it is impossible to tighten the nuts, it is necessary to remove the brake drum and remove the brake drum and hold the bolts.
Finally tighten the nut and shock absorber mounting bolt when the car is on its wheels.
Tightening torques:
Wheel mounting nut - 62.4 - 77.1 Nm (6.37 - 7.87 kgfm)
Shock absorber mounting bolt nut - 38.2 - 61.7 Nm (3.9 - 6.3 kgfm)
Shock absorber mounting bolt - 38.2 - 61.7 Nm (3.9 - 6.3 kgfm)
Replacing the springs rear suspension
Springs are replaced if there is mechanical damage or subsidence.
Signs of subsidence are deterioration in ride smoothness and frequent suspension breakdowns.
Springs must be replaced as a set.
By length, under a load of 640 kgf, springs are divided into two groups.
Group "A" without marking or marking with white paint on the outer side of the coils, group "B" is marked with black paint. Group "A", length more than 192 mm, group "B", length equal to or less than 102 mm.
We carry out the work on a lift or in an inspection pit.
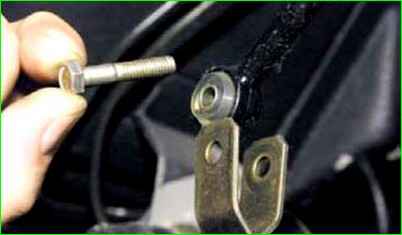
Disconnect the pressure regulator drive lever from the rack (see the article - How to replace the brake pressure regulator Niva Chevrolet)
Disconnect the lower shock absorber mount, as described above.
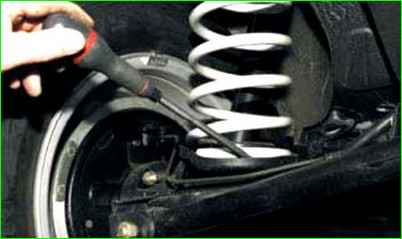
Pry the spring with a screwdriver by the lower coil
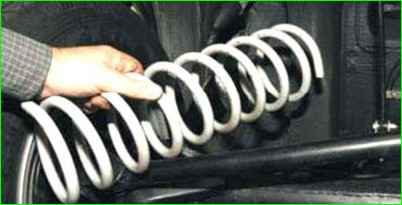
Remove the spring
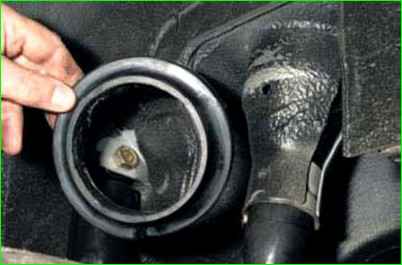
Removing the upper rubber insulating gasket
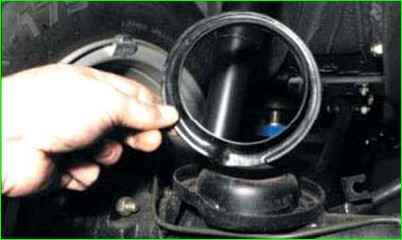
Remove the lower plastic insulating pad spring
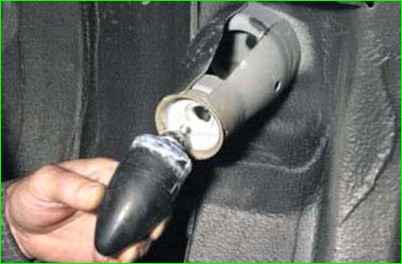
To replace the compression buffer, remove it from the limiter hole.
Before installing the spring, attach the upper pad to it with insulating tape.
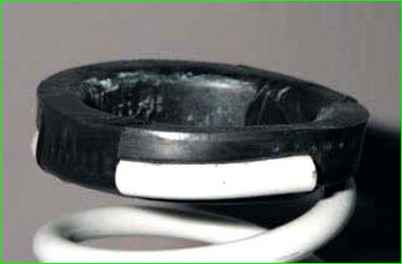
When installing the spring, the end of its lower coil should rest against the flange of the lower thrust cup through the plastic gasket.


