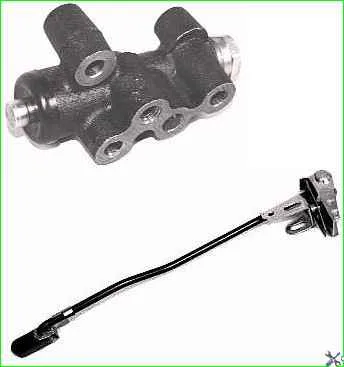
One of the reasons for the car skidding or pulling to the side when braking may be a malfunction of the pressure regulator
It is recommended to replace a faulty pressure regulator as an assembly.
You will need: a flat-blade screwdriver, a 8- or 13-size wrench, a 13-size socket wrench (head), a special 10-size wrench for loosening the brake pipe nuts.
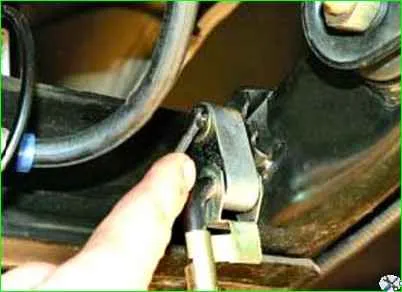
Using a screwdriver, remove the lock washer of the elastic arm of the regulator drive and the flat washer installed under it.
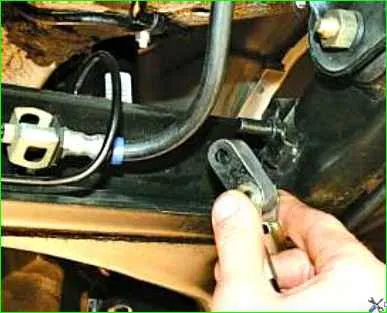
Disconnect the elastic lever with the shackle from the rear suspension beam.
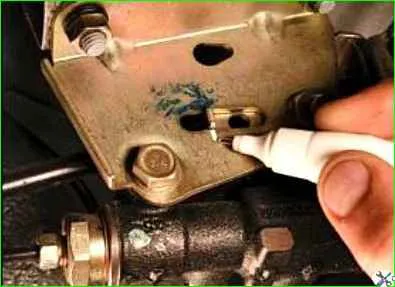
To avoid having to adjust the pressure regulator drive during installation, mark the position of the drive lever relative to the bracket.
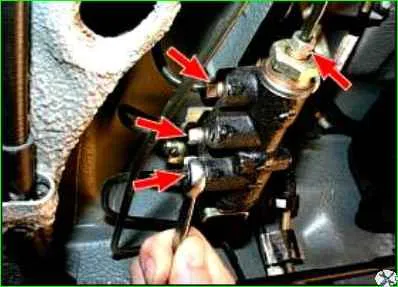
Place a container under the junction of the pipes with the regulator, since liquid will flow out from there, and use a special “10” wrench to unscrew the four nuts securing the brake pipes.
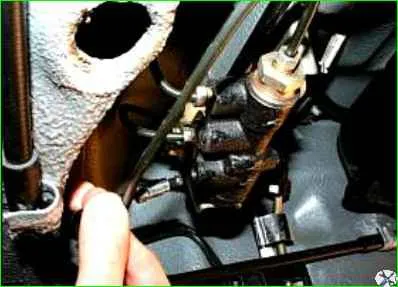
Disconnect the tubes from the regulator. Plug the pipe holes, for example, with protective caps for the wheel cylinder bleeder valves.
Mark the tubes so as not to mix them up when installing the regulator later.
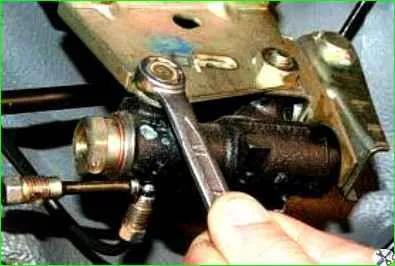
Using a 13mm wrench, remove the front bolt securing the regulator to the bracket
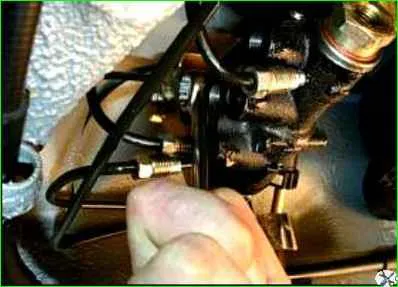
Use a 13mm wrench to remove the rear regulator mounting bolt
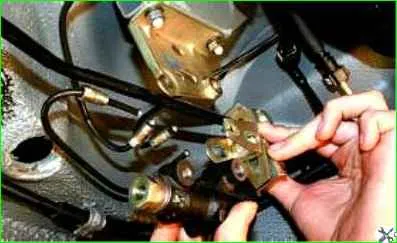
Remove the regulator with drive from the vehicle.
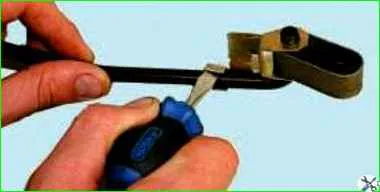
If it is necessary to replace drive parts, use a screwdriver to pry the earring bracket away from the elastic lever
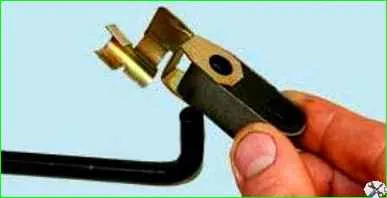
Remove the bracket along with the earring from the lever.
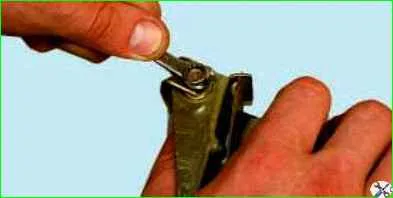
Use an 8 wrench to unscrew the bolt securing the lever clamp.
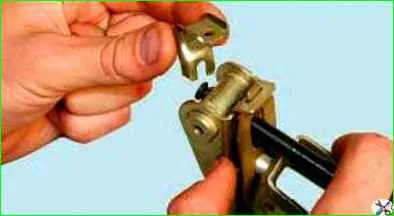
Remove the lever retainer and disconnect the drive lever from the elastic lever.
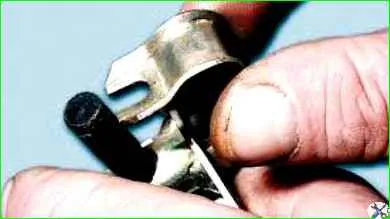
When connecting the drive lever to the elastic lever, the clamp fork must fit into the groove on the elastic lever.
Install the regulator in the reverse order of removal. Please note that the front mounting bolt is longer than the rear.
After installing the regulator, crimp the earring bracket with pliers.
Then bleed the brake system and, if necessary, adjust the pressure regulator drive
Adjusting the pressure regulator drive
Incorrect adjustment of the pressure regulator drive can cause the vehicle to skid or pull to the side when braking, reducing braking efficiency.
You will need: a 13mm wrench, wire with a diameter of 2.0–2.1 mm.
Place the car on the inspection ditch and press the rear of the car several times with a force of about 40–50 kgf to set the rear suspension to the middle position.
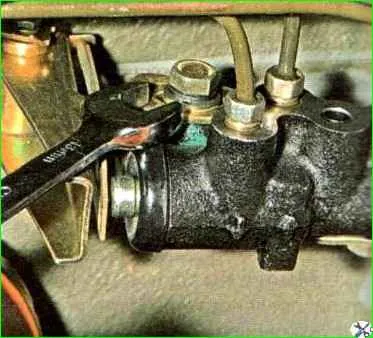
Loosen the front bolt securing the regulator to the bracket.
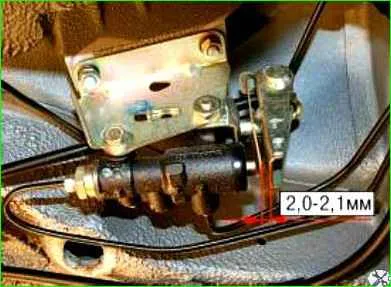
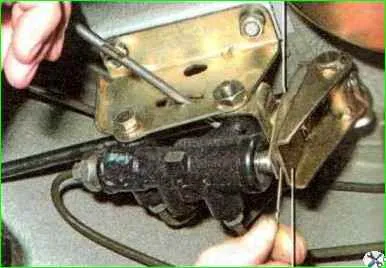
Using the wire as a feeler gauge, adjust the bracket so that the gap between the drive lever and the lever spring is 2.0–2.1 mm.
To do this, move the drive lever by the protrusion.
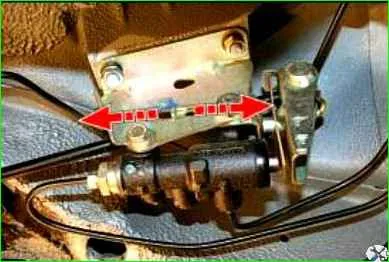
Tighten the bolt in this position.
If the pressure regulator is adjusted correctly, when braking from a speed of about 40 km/h on a level section of paved road, the front wheels should lock slightly earlier than the rear wheels (this can be determined by an observer outside the vehicle).
Otherwise, increase the gap (if the rear wheels lock earlier than the front ones) or decrease it (if the rear wheels lock much later than the front ones).
After this, check the adjustment again by braking and repeat if necessary.


