The fluid in the clutch system needs to be replaced after 2 years
We pump the hydraulic drive when replacing the working fluid, as well as to remove air from the system that has entered it during the repair or replacement of individual components
We work together with an assistant.

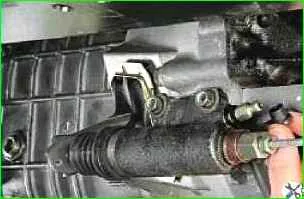
Remove the protective cap from the bleeder fitting of the hydraulic drive working cylinder

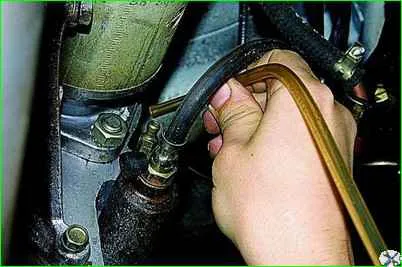
Place a hose (preferably transparent) 30–50 cm long onto the fitting, immersing its end in a container filled with working fluid.

The assistant presses the clutch pedal three to four times at intervals of 1–2 seconds, and then holds it pressed.
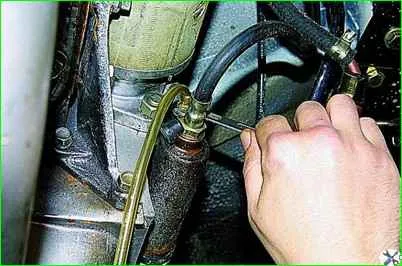
Use a 10mm wrench to unscrew the bleeder fitting ⅓ - ½ turn.
In this case, part of the working fluid and air bubbles are forced into the container, and the clutch pedal is lowered to the floor.
Without releasing the pedal, tighten the bleeder fitting and repeat the operation until the bubbles completely stop coming out of the hose.

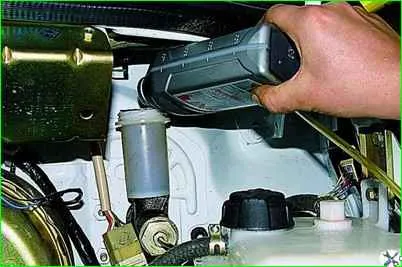
At the same time, we constantly monitor the level of working fluid in the master cylinder reservoir and, if necessary, top it up
To completely replace the working fluid, unscrew the bleeder fitting and press the clutch pedal until the working fluid stops flowing out of the hose.
We screw in the bleeder fitting and pour fresh working fluid into the master cylinder reservoir up to the “MAX” mark, after which we bleed the hydraulic drive as indicated above.


