Repair of the ZIL-5301 car cabin
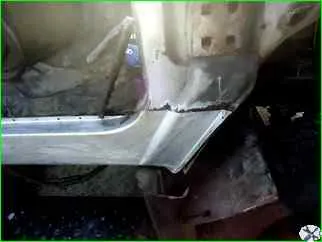
On the ZIL-5301 car, which is already more than 10 years old, the bottom of the cabin needs to be welded in some places.
Patches need to be installed. Particularly susceptible are the corners of the cabin and the places where the cabin is attached to the frame.
Before welding the cabin, it is advisable to disassemble it.
Take out the seats, remove the rubber mats, and the interior upholstery.
Places that have been corroded to holes must be thoroughly cleaned.
Cut a patch out of metal 1–1.5 mm thick.
The patch should be 1–1.5 cm larger along the contour.
Weld the patch with a continuous seam.
The place where the patch is installed must then be primed.
Then cover it with enamel.
After the enamel has dried, it must be treated with bitumen mastic and a piece of polyethylene films.
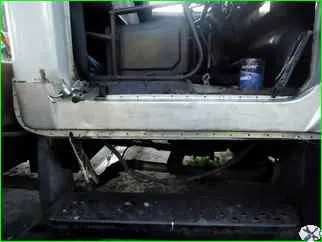
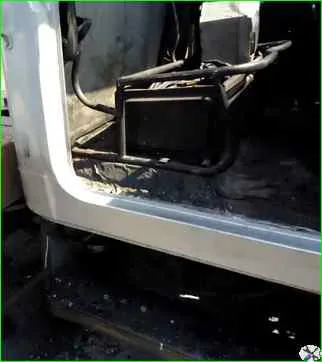
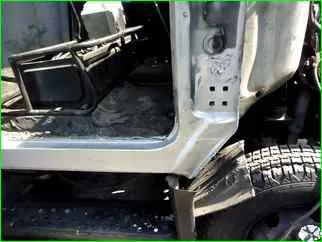
Cabin threshold repair


We repair the thresholds as follows.
- 1. Unscrew the wing.

- 2. Unscrew and remove the cabin door
- 3. Apply the new threshold over the old one
- 4. Draw the threshold outline with a felt-tip pen
- 5. We remove our new threshold and draw a contour 10 mm smaller.
- 5. Using a grinder or a sharp chisel, cut out the old threshold
- 6. Align and adjust the new threshold
- 7. Clean the welding area from traces of paint
- 8. On the new threshold, using a hole punch or a drill, make holes for the welding rivets

- 9. We process and apply a layer of primer and paint to the inner surface of the threshold
- 10. We attach the threshold with clamps or clamps
- 11. We make several tacks using semiautomatic welding
- 12. We hang the door and check the closing and opening of the door (gaps)
- 13. We remove the door
- 14. We weld the threshold. On the rack and under the wing, the threshold should be welded with a continuous seam.
- 15. We grind the welds with a grinder
- 16. We mark the holes for the number tag.
- 17. Next, we prime, putty and paint the threshold.
We assemble in the reverse order


