The tie rod end is replaced mainly due to the appearance of play in the ball joint of the tie rod end
The ball joint itself does not change, so you have to replace the entire tie rod end.
Wear of the ball joint mainly occurs from dirt and sand entering through a damaged joint boot and insufficient lubrication.
If the tips are replaced correctly, there is virtually no work required to install wheel alignment.
You will need a ball joint remover to complete the job.
Removing the rod end
Remove the front wheel from the side of the tip being replaced.
Turn the steering wheel in the direction opposite to the tip being replaced.
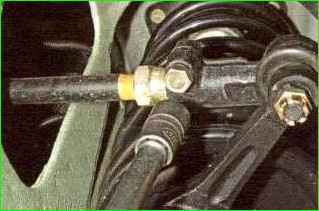
Using a 13 mm socket wrench, loosen the tension bolt of the outer tie rod end.
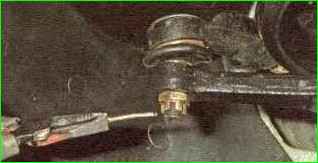
Use pliers to straighten and remove the cotter pin from the ball pin hole.
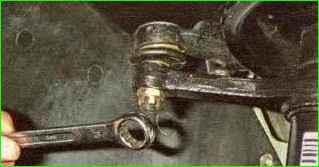
Use a 19 mm spanner to unscrew the castle nut of the pin.
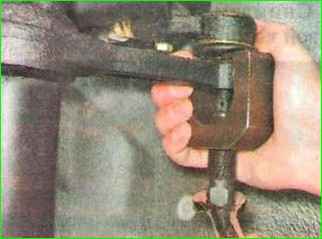
Use a puller to press the pin out of the hole in the swing arm of the front suspension strut.
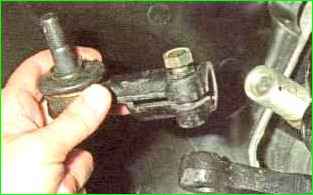
Rotating the outer tip, unscrew it from the adjusting sleeve
If you want to maintain wheel alignment, count the number of revolutions made. For greater accuracy, you can measure the length of the tie rod
Installing the rod end
Coat the threaded part of the adjusting insert with grease.
Screw the new tip onto the adjusting insert.
To maintain the wheel toe angle, screw the tip onto the adjusting insert by the same number of turns that was made when unscrewing the old tip.
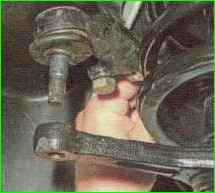
Insert your finger into the hole in the strut swing arm and tighten the castle nut.
Before tightening the end cap bolt and pressing in the outer rod end joint, ensure that the joint surface is parallel to the bearing surface of the swing arm.
Adjust the hinge if necessary.
Tighten the nut to a torque of 27.1-33.4 Nm (2.8-3.4 kg/m) and align the hole in the pin with the nearest slot in the nut.
Cotter the nut and move the ends of the cotter pin in different directions.
Tighten the tie rod end bolt to a torque of 19.1-30.9 Nm (2.0-3.1 kg/m).
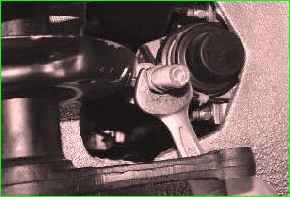
If you need to replace the steering linkage adjusting rod, unscrew it, also counting the number of turns when unscrewing.
To replace the ball joint boot, disconnect the rod from the swing arm
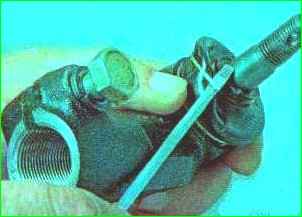
Remove the O-ring of the protective cover by carefully prying it with a narrow, blunt object.
Carefully, so as not to damage the protective cover, pry off the spring ring with a screwdriver.
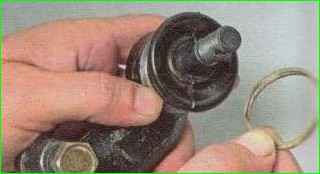
Remove the spring ring
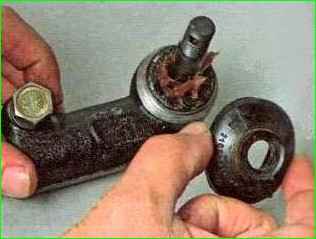
Remove protection IT case
Remove the dirty top layer of lubricant (if it is noticeable that dirt has gotten inside the joint, the joint will have to be replaced) and apply new grease.
Put half of its volume into the new boot with grease and install it on the hinge, pushing the edge of the boot onto the seat on the hinge body until it stops.
Install the spring and o-rings.
Check that the rings are installed correctly and that the edges of the cover fit tightly.
After replacing the tip, wheel toe adjustment is necessary.


