To check the condition of the suspension ball joint, remove the wheel and measure the distance “A” between the lower arm 29 and the brake disc 9
If this distance changes by more than 0.8 mm when the suspension is rocked, replace the ball joint.
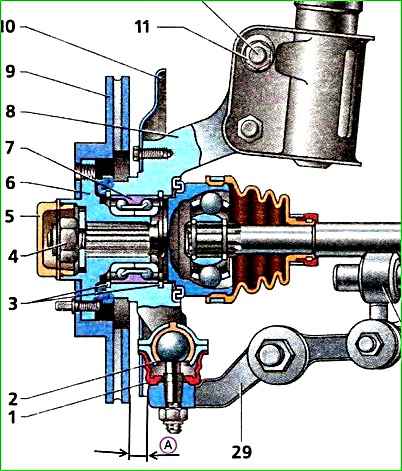
Replacing the ball joint of the suspension arm
Stop the car with the parking brake and place wheel chocks under the rear wheels.
Only loosen or tighten wheel bolts with the vehicle on the ground. Bolt tightening torque 65–95 Nm (6.5–9.5 kgf m).
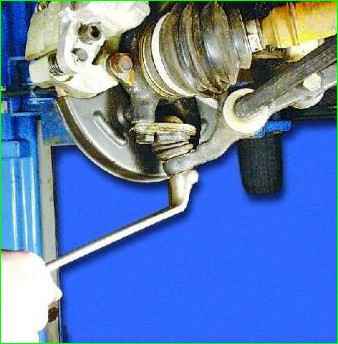
Lift and place the front of the vehicle on supports.
Remove the wheel.
Unscrew the ball joint nut using a 19mm wrench.
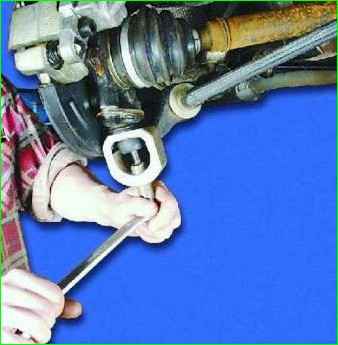
Press the ball joint pin out of the arm using a puller.
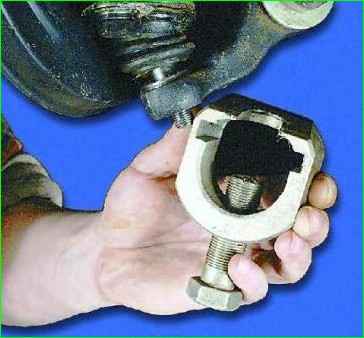
If there is no puller, do not unscrew the nut completely.
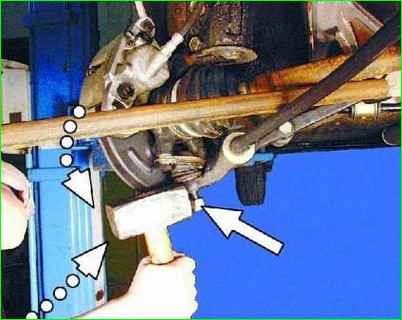
Press the lever with a pry bar and with hammer blows along the axis of the lever, press the hinge pin out of the lever.
After this, completely unscrew the nut.
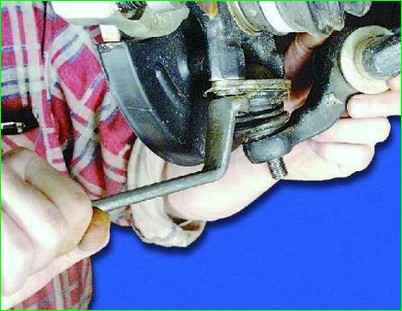
Unscrew the two bolts securing the ball joint to the steering knuckle using a 17mm wrench
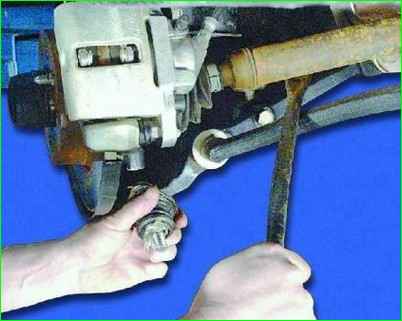
Press the lever down with a mounting tool and remove the ball joint
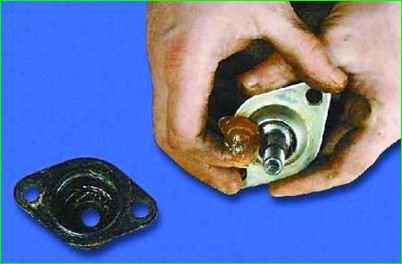
Before installation, lubricate the hinge and the internal cavity of the cover with grease
Install the ball joint in the reverse order of removal.
Having lowered the car to the ground, rock it vigorously several times.
Tighten with appropriate torques: nut securing the ball joint to the lever - 80-96 Nm (8.0-9.6 kgf m), nut securing the ball joint to the steering knuckle - 50-63 Nm (5.0-6. 3 kgf m).
After driving 100 km, tighten these threaded connections again to the required torque.
When installing, do not damage the protective cover of the ball joint.
Be sure to replace a damaged case.


