The coolant pump is being repaired due to coolant leakage from the inspection hole
Repair sequence
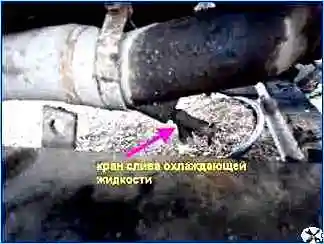
Drain the coolant
Loosen the tension on the pump drive belt and remove the belt
Loosen the coolant supply clamp
You can unscrew the pump pipe
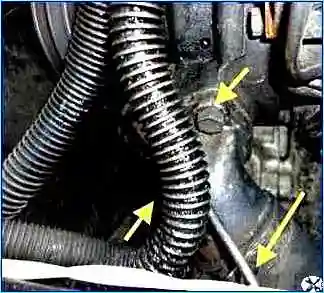
Remove the three pump mounting bolts
Remove the pump, while removing the supply pipes to the thermostat housing and fluid coupling
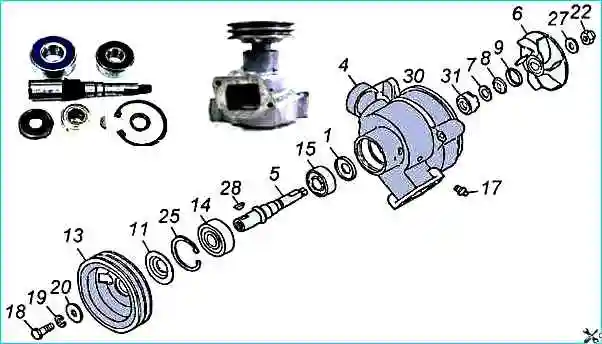
Unscrew the bolt securing the pump pulley 18
Unscrew the cap nut securing the impeller 22
Using a soft metal drift and a hammer, knock out the shaft along with the bearings and cuffs
Assemble in the sequence shown in the figure
After assembly, press Litol 24 through a grease gun. We replace the O-rings and gasket.
When installing the pipes, lubricate the O-rings with Litol.
Spare parts are supplied as an assembled roller with bearings and cuffs, or separately.
To replace the oil seal, the water pump is disassembled in the following sequence: the lock washer is bent and the cap nut is unscrewed, while keeping the shaft from turning.
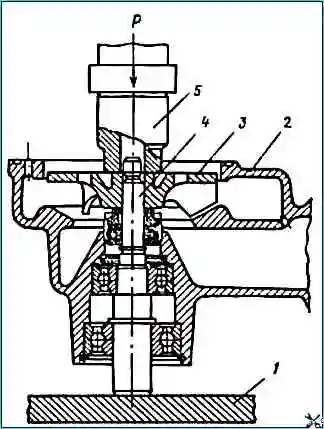
After this, the impeller with the seal, the sealing ring and the thrust ring are removed in sequence: using a puller I-81.33.000; Using the I-81.40.000 puller, the pulley is removed, the key is knocked out, the dust deflector and retaining ring are removed, and the roller assembly with ball bearings is pressed out.
The seal is then removed from the pump housing. The defective seal is replaced with a new one.
Assembly of the water pump is carried out as follows.
The roller assembly with bearings is installed in the housing.
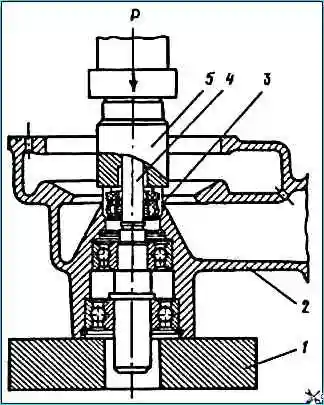
After this, the seal is pressed onto the pump shaft with a mandrel, as shown in the figure, and the impeller is pressed with another mandrel, as shown in the figure.
A retaining ring, a dust deflector, a key are installed on the second end of the roller, and a pulley is pressed on.
After assembly, the cavity of the ball bearings is filled with Litol-24 lubricant.
During operation, the lubricant is replenished at each maintenance-2.


