Removing the hood
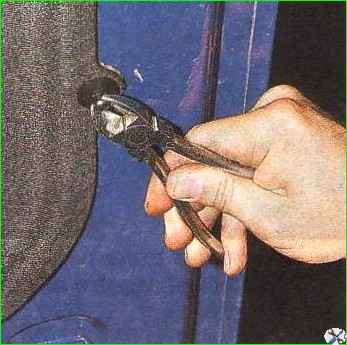
Using side cutters we pry up and remove the 14 pistons that secure the soundproofing lining to the hood
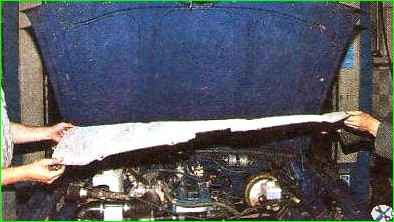
Remove the soundproofing pad
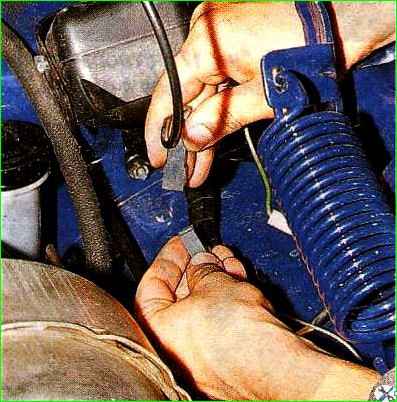
Disconnect the connector for the glass washer nozzle heaters.
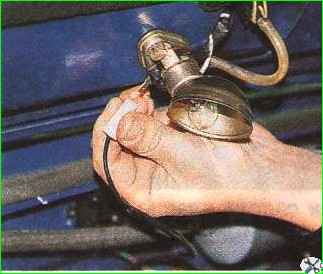
Disconnect the power plug for the engine compartment lamp
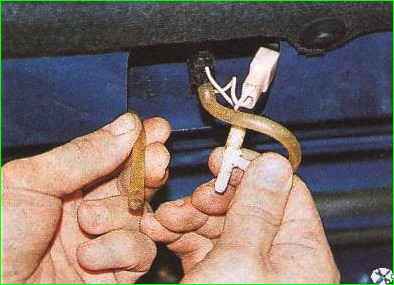
We remove the hood amplifier from the cavity and disconnect the central washer tube from the tee
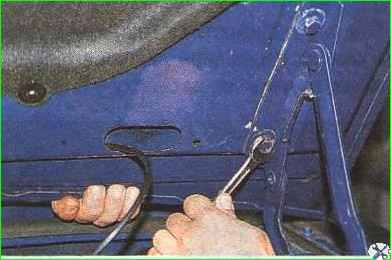
Mark the position of the hinges on the hood. Unscrew the four bolts securing the hood to the hinges
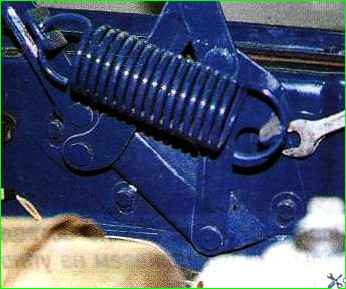
To remove the hinges, use a 12mm wrench to unscrew the four bolts securing the hinge to the mudguard
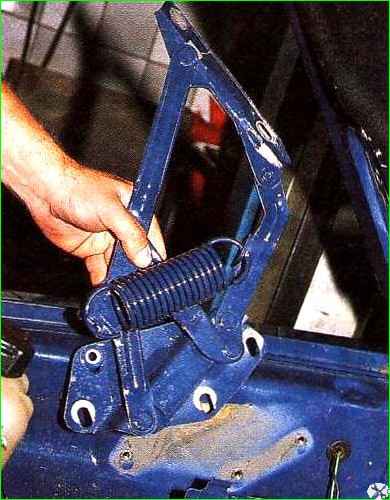
Remove the loop. We do the same with the second loop
It is allowed to move the installed hinges up and down within the slots.
Thus, the rear part of the hood rises and falls.
Adjusting the hood
Having loosened the bolts securing the hood to the hinges, lower it and set uniform gaps.
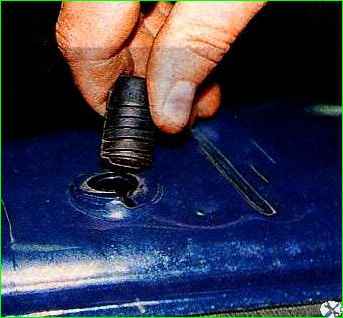
Carefully lift the hood and tighten the bolts.
The adjustment is made with the hood lock removed.
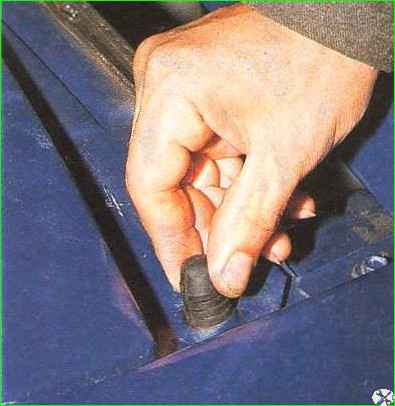
The height of the hood is adjusted with screw rubber buffers.
Removing the hood lock
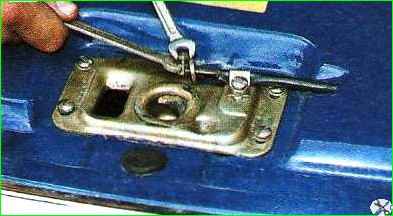
Using 10mm wrenches, unscrew and remove the lock drive rod clamp.
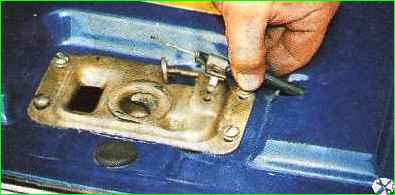
Unscrew the braid fastening clamp
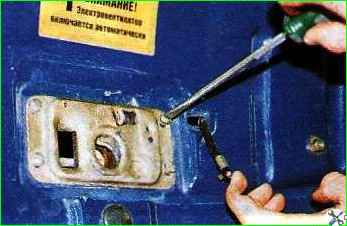
Remove the screws securing the lock plate
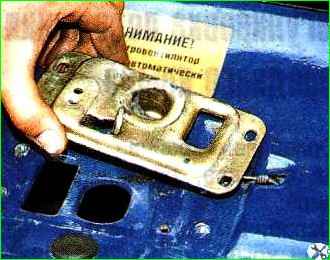
Removing the lock
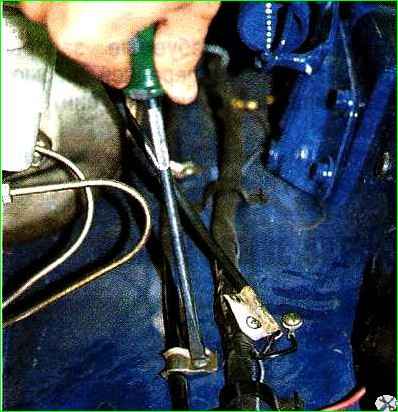
Unscrew the two braided rod flanging brackets
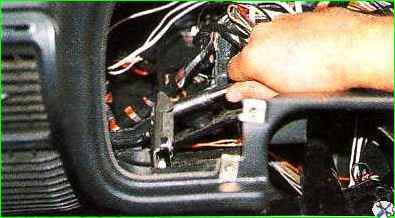
To unscrew the lock drive, remove the instrument cluster.
Using a 10 mm socket wrench, unscrew the two bolts securing the hood lock drive
Using a 10mm wrench, unscrew the two bolts securing the safety hook to the hood
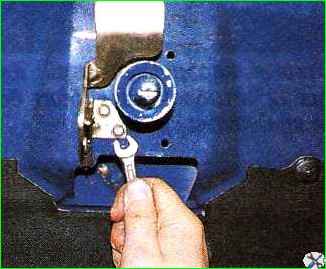
Remove the hook along with the spring
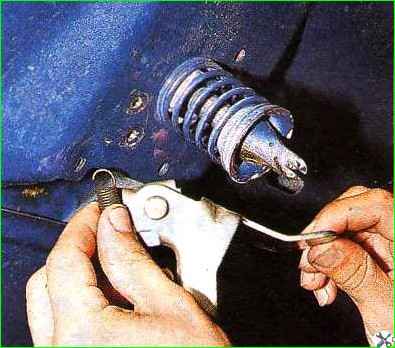
Holding the pin with a screwdriver, use a 22mm wrench to unscrew the pin together with the spring
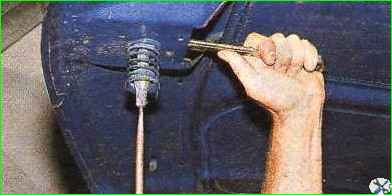
To adjust, move the hood lock along the front panel within the slots for the screws and ensure that the lock hole aligns with the hood pin.
The spring stiffness of the lock pin is adjusted by screwing it in or out, after which we lock the pin from the inside with a lock nut.


