The hood is removed when dismantling the engine, removing the cylinder head and other types of work
Before removing the hood, and in general when carrying out repair work, it is advisable to always remove the negative terminal from the battery.
Removing the hood lock and its drive
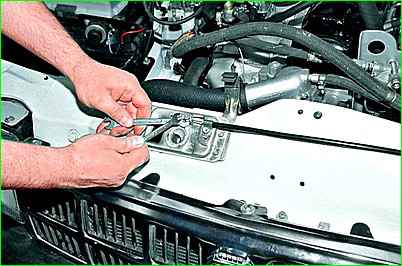
Using two “8” keys, disconnect the fastening of the hood lock drive rod.
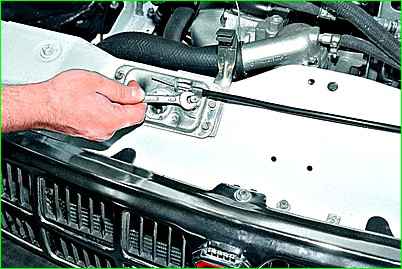
Use a 10mm wrench to unscrew the bolt securing the rod casing.
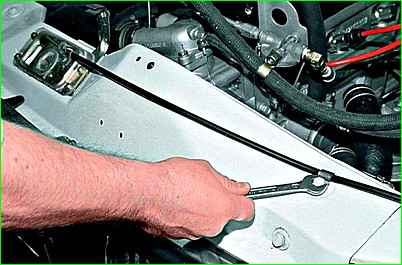
Using a 12mm wrench, loosen the bolt securing the rod shell and remove the rod from the top panel of the radiator trim.
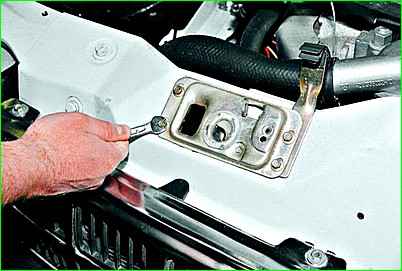
Use an 8 key to unscrew the four bolts securing the lock to the cladding panel
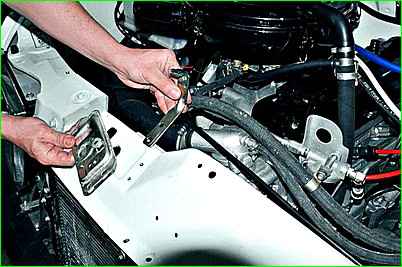
Remove the lock and stop with clamp
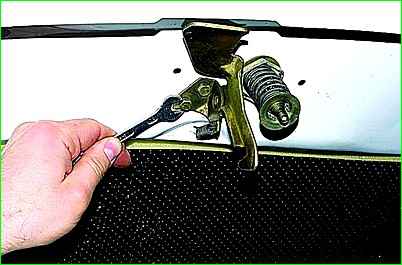
Using a 10mm wrench, unscrew the two bolts securing the safety hook to the hood
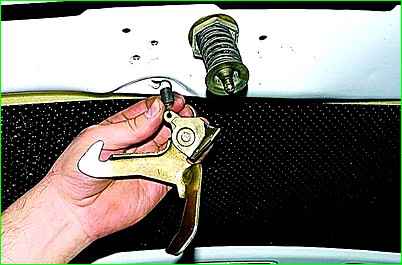
Remove the safety hook along with the spring.
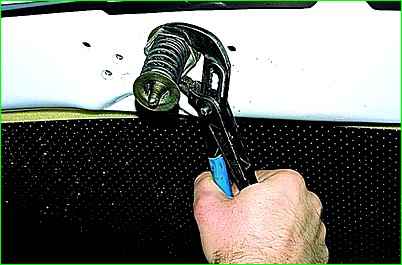
Use sliding pliers or a 36mm wrench to unscrew the pin nut
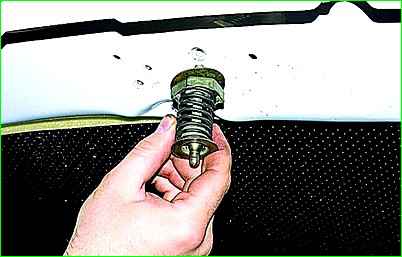
Remove the pin along with the spring and washer.
Having installed the parts in the reverse order, we adjust the lock, for which:
- Having loosened the pin nut, use a slotted screwdriver to tighten or unscrew the pin, ensuring that the hood fits snugly in the closed position, the lock operates clearly and there is no play.
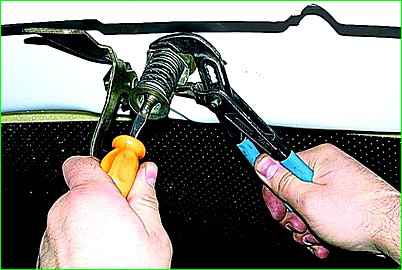
Then tighten the pin nut, holding it from turning with a screwdriver.
Removing the hood
We work together with an assistant.
Open the hood.
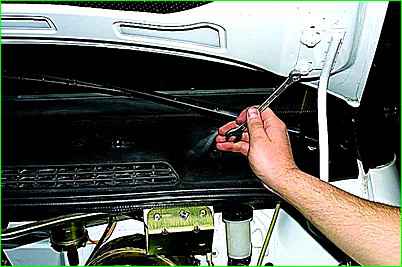
Holding the hood, use a 12mm wrench to unscrew the four bolts securing the hood to the hinges.
Spring and regular washers are installed under the bolt heads.
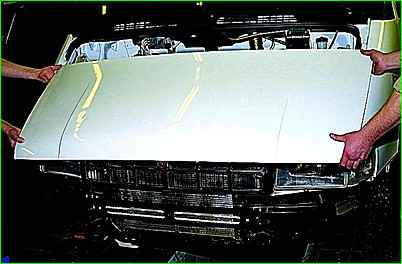
Remove the hood
Install the hood, aligning the hinges with their marks on the hood.
If the hood is new, then after installation it is necessary to adjust its position in the opening.
To do this, loosen the bolts securing the hood to the hinges, lower it and set uniform gaps.
Carefully lift the hood, tighten the bolts, and then check that it is positioned correctly in the opening.
We carry out the adjustment with the hood lock removed.
When opening, the hood should not touch the lining of the outer front panel.
If necessary, you can change the position of the hood.
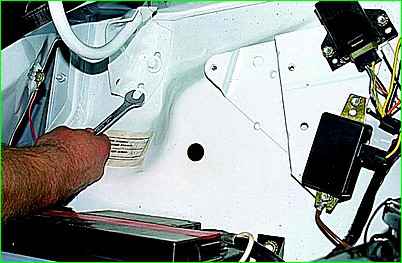
To do this, loosen the bolts securing the hood hinges to the body with a 12mm wrench and move the hinges within the slots.
At the same time, the rear edge of the hood is lowered or raised.
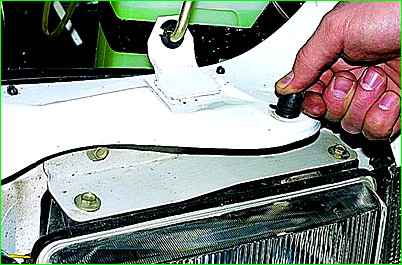
The position of the leading edge is adjusted by two threaded rubber stops on the front panel.
After installing the hood, we adjust its lock


