The rear wheel brake mechanism (Fig. 1) is a drum brake with automatic adjustment of the gap between the shoes and the drums.
The automatic gap adjustment device is located in the working cylinder.
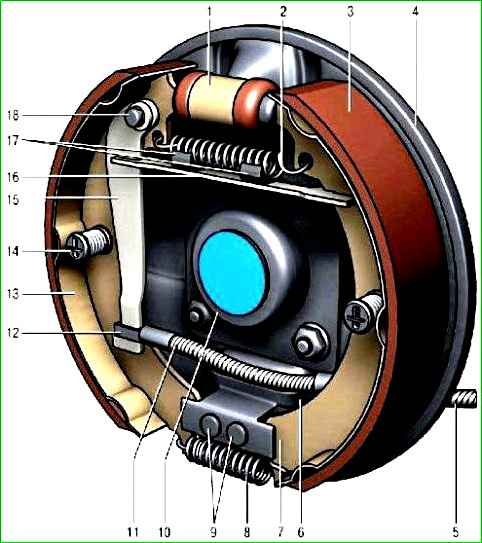
Its main element is a split thrust ring 9 (Fig. 2) mounted on piston 4 between the flange of thrust screw 10 and two crackers 8 with a gap of 1.25–1.65 mm.
Thrust rings 9 are inserted into the cylinder with an interference fit that provides a ring shear force along the cylinder surface of at least 343 N (35 kgf), which exceeds the force on the piston from tension springs 2 and 8 (see Fig. 1) of the brake shoes.
When the gap of 1.25–1.65 mm is completely selected due to wear of the linings, the flange on thrust screw 10 (see Fig. 1) is pressed against the flange of ring 9, as a result of which the thrust ring shifts after piston by the amount of wear.
When braking is stopped, the pistons are moved by the force of the tension springs until the crackers stop against the flange of the thrust ring.
Thus, the optimal gap between the pads and the drum is automatically maintained.

Removing and installing the brake drum
The brake drum is removed to replace it if the working surface is damaged or worn, as well as to check the condition of the brake mechanisms and to replace the brake shoes and working cylinders.
Perform the work on a car with the rear wheels raised (on a lift or a car installed with a jack on supports).
The parking brake drive lever must be lowered all the way down (the car is unbraked).
You will need: 12 mm wrenches, a screwdriver, two mounting blades.
Engage first gear and install stop blocks under the front wheels.
Check: the parking brake lever must be lowered all the way down (the car is unbraked). brakes released).
Remove the rear wheel.
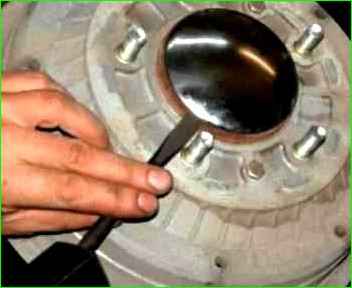
For ease of use, remove the decorative cap.
When replacing the drum, you do not need to remove the cap.
Wet the gap between the drum and the axle flange with some easily penetrating liquid (kerosene, WD-40, etc.).
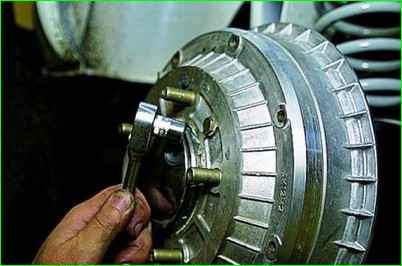
Remove the two bolts (one is visible in the photo) securing the brake drum to the axle shaft.
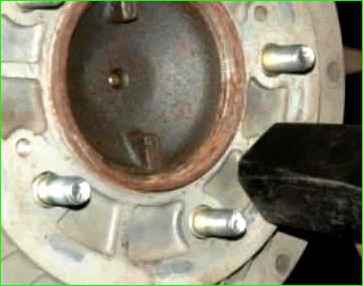
Break the drum off the axle shaft with light hammer blows.
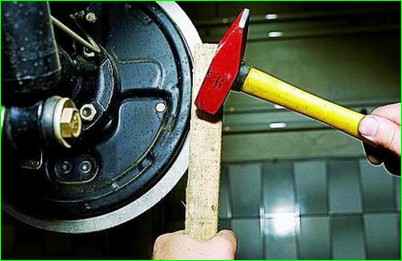
If the drum does not come off by hand, knock it off with a hammer using a wooden block, or
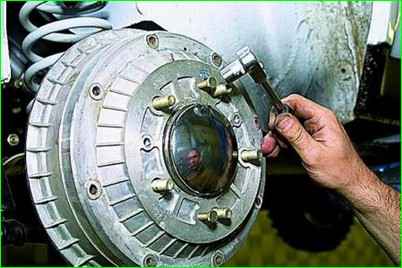
Press, evenly screwing the bolts into the two threaded holes of the drum.
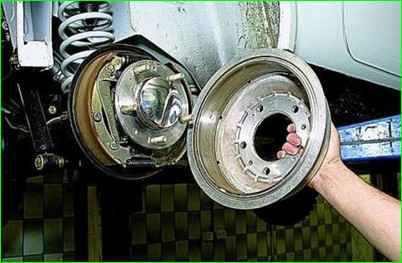
Remove the brake drum
When installing the old drum, use a file to remove the flange on the working surface of the drum formed as a result of wear.
Install the drum in the reverse order of removal.
Preliminarily clean the half-shaft seat belt from corrosion, lubricate it with graphite grease or LSC-15 grease and bring the pads together using two mounting blades.
Note that when pressing the pistons into the cylinders, the brake fluid level in the master cylinder reservoir rises.
Pump out the fluid if necessary.
Check the ease of rotation of the wheel. Slight contact of the drum with pads.
With the vehicle parked on the ground, press the brake pedal 2–3 times to bring the pads to the drum.
Replacing the rear brake slave cylinder
If during operation there are signs of brake fluid leakage on the brake drum and the inner side of the wheel, replace the slave cylinder.
Repairing the slave cylinder often does not lead to positive results, and special tools are needed for this. Therefore, it is recommended to replace the cylinder assembly.
You will need: a 10 mm spanner and a special spanner for brake pipe nuts.
Engage first gear and install stop blocks under the front wheels.
Remove the corresponding wheel.
Clean the brake pipe attachment point and brake cylinder mounting bolts from dirt on the back of the brake shield.
To make it easier to unscrew the cylinder mounting bolts and brake pipe mounting nut, apply WD-40 to the threaded connections.
Remove the brake drum.
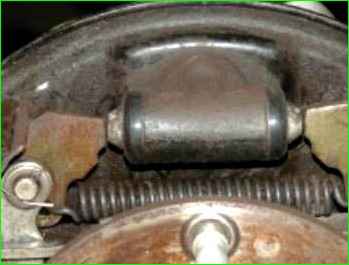
Lift the parking brake lever, while the upper ends of the shoes will come out of the grooves of the piston.
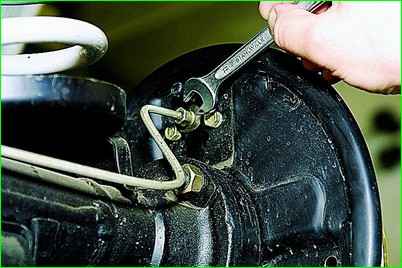
Unscrew the nut securing the brake pipe to the working cylinder
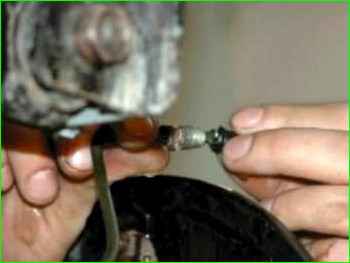
Cover the tube opening, for example with an air bleed valve cap
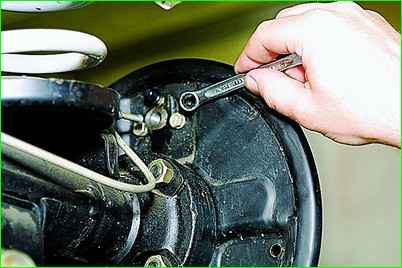
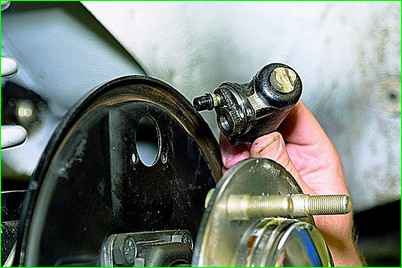
Unscrew the two bolts securing the master cylinder, holding it on the other side, and remove the master cylinder
After long-term use, the brake pipe nut "grows together" with the pipe into one piece, and when you try to unscrew the nut, the pipe twists and breaks.
In this case, just slightly move the pipe nut, then unscrew the cylinder mounting bolts and disconnect it from the pipe, unscrewing the cylinder from its nut.
After disconnecting the cylinder from the pipe, the mobility of the released nut can be restored by wetting it with brake fluid and turning the nut with a wrench alternately in both directions.
Install the working cylinder in the reverse order of removal.
Bleed the brake system (only the working cylinder on the wheel being replaced is possible).
Be sure to install the protective cap on the release valve air.
Replacing the rear brake pads
The minimum permissible thickness of the brake pad friction linings is 1.5 mm.
Replace the pads in the following cases:
- – the thickness of the friction linings is less than permissible;
- – the surface of the linings is oily;
- – the friction lining is not firmly connected to the base;
- – the linings have deep grooves and chips.
Do not use gasoline, diesel fuel or any other mineral solvents to clean the brakes.
Replace the pads in the brake mechanisms of both rear wheels at the same time.
It is not allowed to replace the front and rear pads between each other, as well as between the left and right wheel.
This may result in uneven braking.
Inyou will need: pliers or a screwdriver, two mounting blades.
Engage first gear and install stop blocks under the front wheels.
Check: the parking brake lever should be lowered all the way down (the car is released).
Remove the wheel.
If the brake fluid level in the master cylinder reservoir is at the "MAX" mark or is approaching it, pump out some of the fluid from the reservoir.
Otherwise, it may splash out when replacing the pads.
Remove the brake drum.
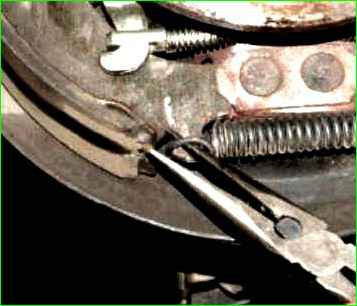
Remove the lower tension spring with pliers
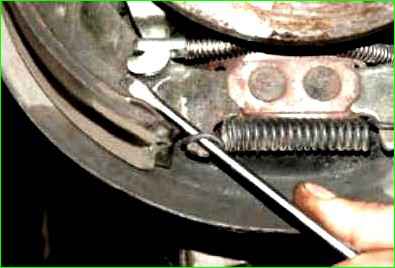
You can remove the spring with a screwdriver.
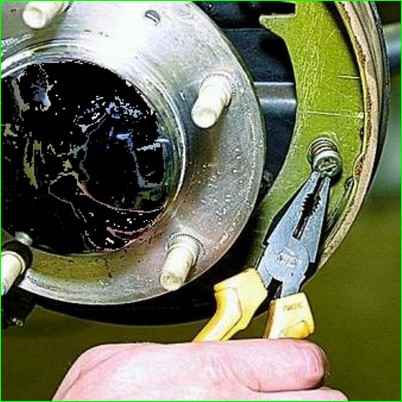
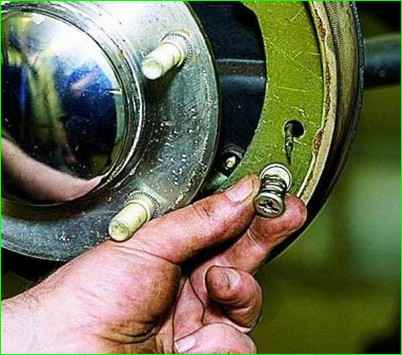
Turn the upper cup of the pressure spring 90° and remove it together with the spring and the lower cup.
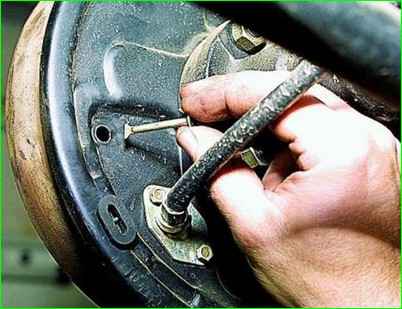
Remove the pressure spring rod from the brake shield.
Remove the second pressure spring in the same way.
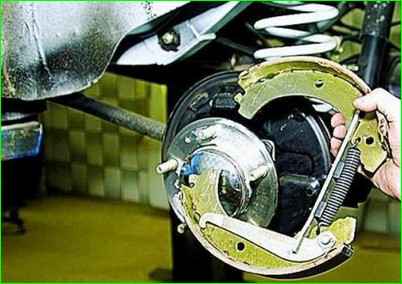
Remove the pads together with the spacer bar and upper spring
By moving the lever, disconnect the parking brake cable.
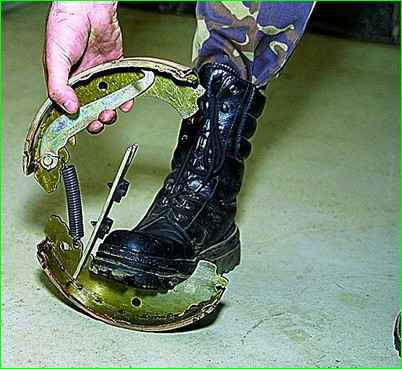
Holding one of the pads with your foot, stretch the spring and remove the spacer bar.
Remove the upper tension spring.
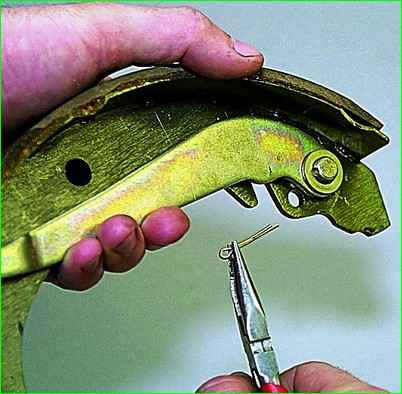
To replace the rear shoe, remove the cotter pin from the parking brake lever.
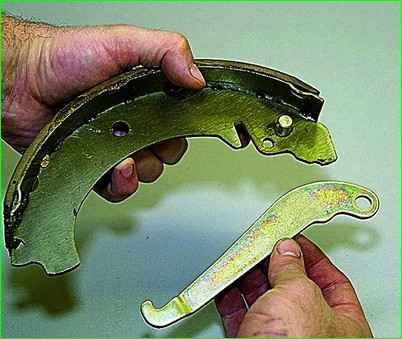
Remove the washer and lever
Remove the pin.
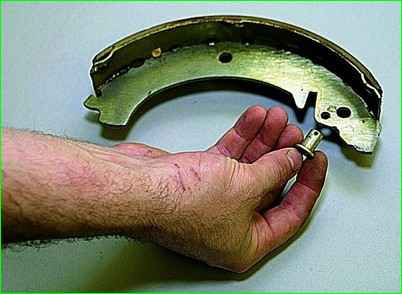
Install the removed parking brake drive components onto the new brake pad in the reverse order of removal.
To prevent the parking brake drive from seizing, lubricate the working surface of the pin with a thin layer of grease.
Install the pads in the reverse order of removal.
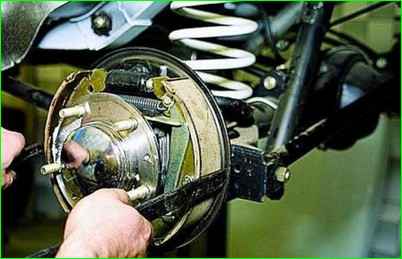
After installing the pads, bring them together, pressing them with two mounting blades.
Install the brake drum.
Press the brake pedal several times to set the wheel cylinder pistons to the working position.
Install the wheel. Check that it rotates easily.
Replace the brake pads of the other wheel in the same way.
After installing the brake pads, adjust the parking brake system (see How to repair the handbrake on a Niva Chevrolet).


