To disassemble, remove the gearbox from the car for this:
Place the car on a lift or inspection pit
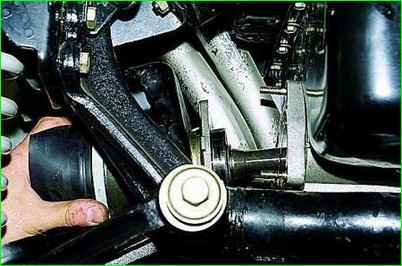
Remove the right front wheel drive, see the article - Replacing the front wheel drives Niva Chevrolet
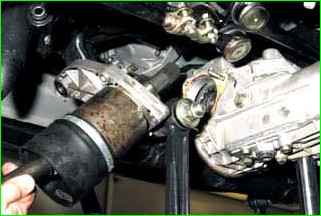
Remove the left front wheel drive
In this case, the gearbox remains suspended on an adjustable stop
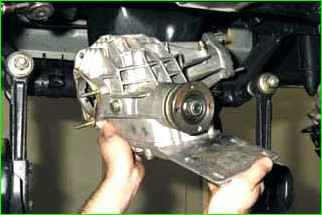
Supporting the gearbox, remove the adjustable stop from underneath it and remove the gearbox
Clean the gearbox before disassembling.
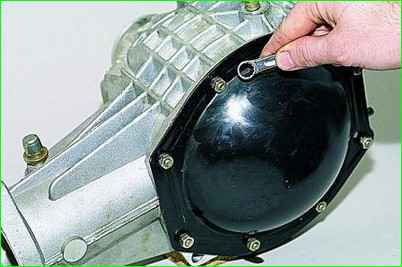
Using a 10 mm open-end wrench, unscrew the eight nuts securing the front cover to the gearbox housing.
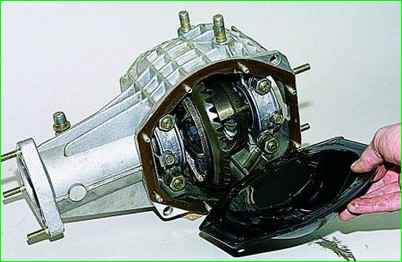
Remove the cover
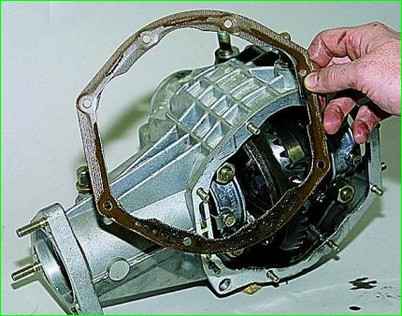
Remove the gasket
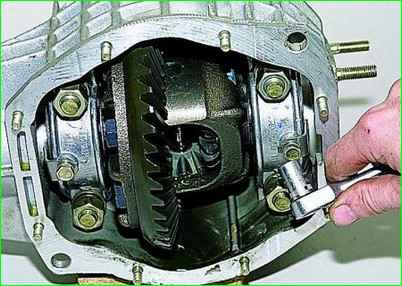
Using a 10 mm socket, unscrew the bolt securing the locking plate of the left differential bearing cover and remove the plate.
Also remove the locking plate of the right cover.
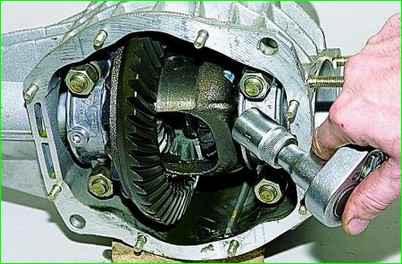
Using a 19 mm socket, unscrew the four nuts securing the differential case bearing caps
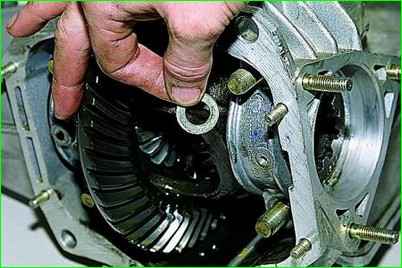
Remove the washers from the studs
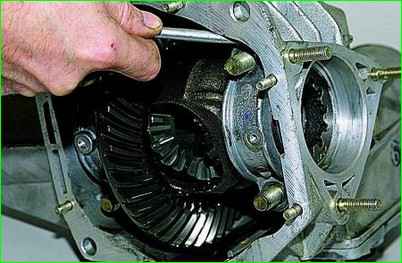
Pry it off with a slotted screwdriver
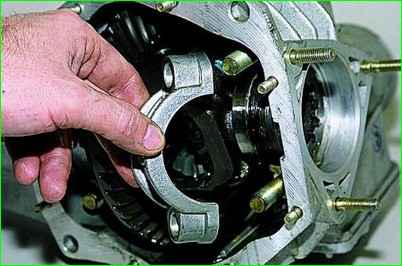
Remove the cover of the left bearing of the gearbox differential.
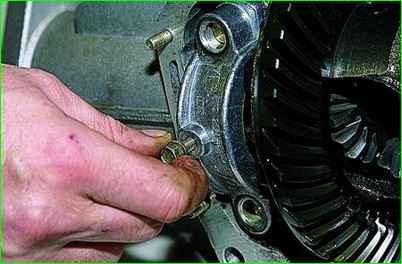
To remove the right bearing cover, screw the bolt into the lock plate mounting hole and, pulling the bolt, remove the cover
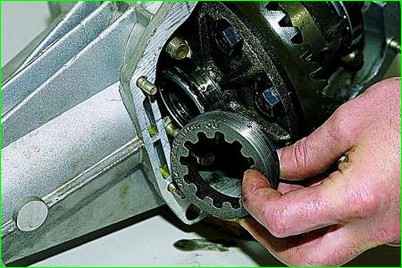
Removing the adjusting nuts
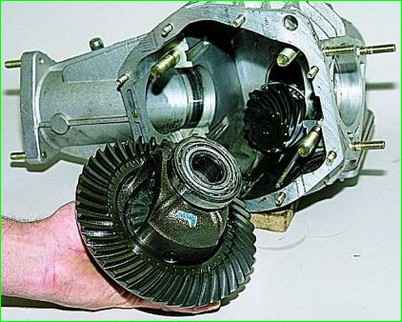
Removing the differential box assembly with the driven gear of the main gear
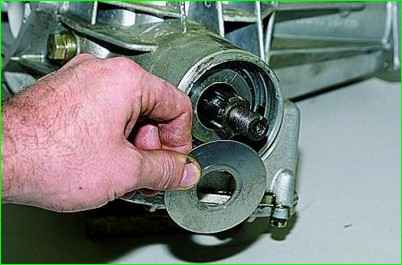
Remove the oil deflector from the pinion shank
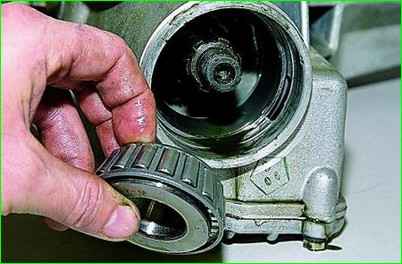
Remove the inner ring of the rear bearing of the pinion with the separator and rollers
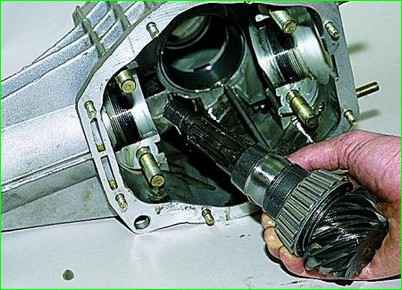
We take out the drive gear with the inner ring, separator, spacer sleeve and rollers of the front bearing.
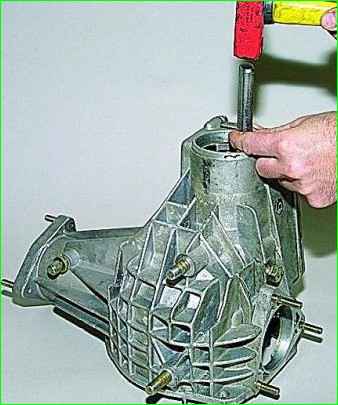
By striking the hammer on the drift, we knock out the outer ring of the front bearing and take it out ring.
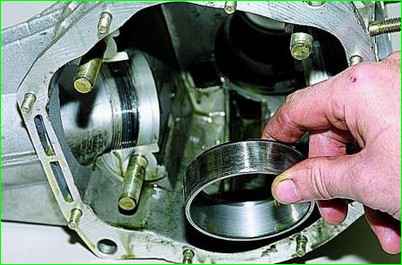
Also dismantle the outer ring of the rear bearing.
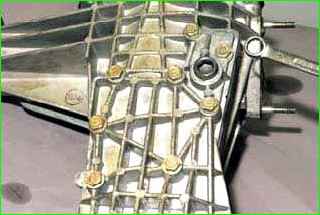
If oil leaks from under the lower cover of the front axle gearbox housing, use a 13 key to unscrew the eight bolts securing it and remove the cover.
The connection is sealed with sealant
Checking the technical condition of the parts, as well as the parts of the rear axle
In addition, we check the condition of the ball bearings of the housings of the inner joints of the drives.
The bearings should not have damage on the raceways of the rings, on the separators and balls, as well as cracks and chips on the rings.
The radial clearance should not exceed 0.05 mm.
There should be no cracks or signs of wear on the seats of the gearbox housing.
Replace worn and damaged parts with new ones.
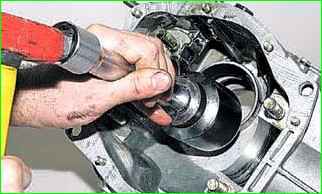
We press in new outer bearing rings of the drive pinion with a piece of pipe or a tool head of a suitable diameter.
When installing a new pair of gears of the main transmission, it is necessary to make sure that their gear ratio (marking on the gears - 2106) is equal to the gear ratio of the main pair of the rear axle gearbox.
To set the preliminary tension of the differential box bearings, we tighten both adjusting nuts of the bearings sequentially and evenly so that the distance between the covers increases by 0.08-0.11 mm.
Clean the mating surfaces of the covers and the gearbox housing from the remains of sealant and oil.
Replace the sealing gasket of the front cover of the gearbox housing with a new one.
Install the lower cover of the gearbox housing on the sealant.


