Removing and installing the rear brake drum
The maximum permissible diameter of the drum working surface is 201.5 mm
Replace the drum if the diameter exceeds or is equal to the maximum permissible value.
There should be no burrs or deep scratches on the working surface of the drum.
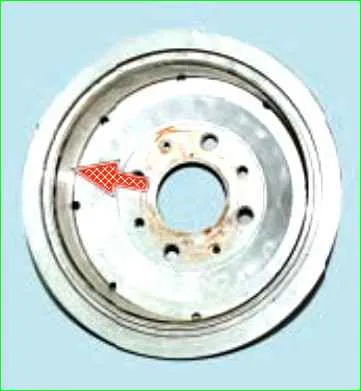
Otherwise, replace the drum or machine its working surface.
After machining, grind the surface fine-grained abrasive bars, after processing the drum diameter should not exceed 201 mm.
Replace the drum if cracks are found in it.
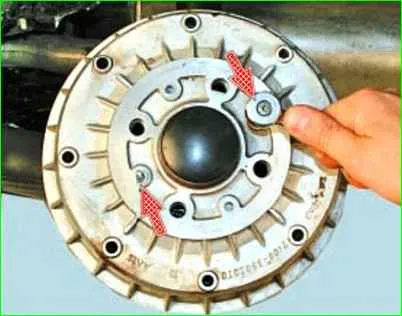
Use a 7 mm spanner to remove the two mounting pins.
Apply WD-40 to the hub and, after waiting a few minutes, clean off any dirt or rust from this area.
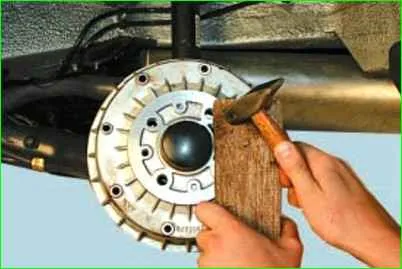
Use a hammer to knock the drum off the hub through a wooden spacer.
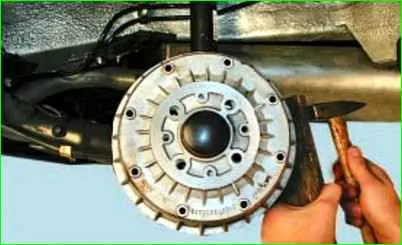
Remove the drum from the hubs.
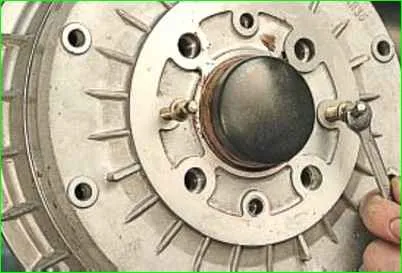
If this cannot be done, knock it off with a hammer, striking it through a wooden spacer on the flange on the back side of the drum or press it by evenly screwing pins or suitable bolts into two threaded holes in the drum.
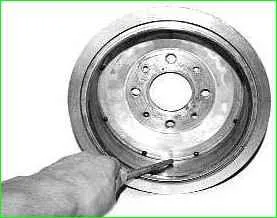
When installing the old drum, use a file to remove the flange on its working surface formed as a result of wear.
Install the drum in the reverse order of removal.
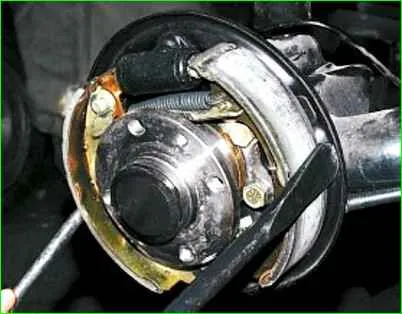
Pre-lubricate the hub seating belt with graphite grease or LSC-15 grease and bring the pads together using two mounting blades.
Check the ease of rotation of the wheel.
Slight contact of the drum with the pads is allowed.
With the vehicle parked on the ground, press the brake pedal two or three times to bring the pads to the drum.
Replacing the brake pads of the rear wheel brake mechanism
The minimum permissible thickness of the friction linings of the brake pads is 1.5 mm.
The pads are replaced in the following cases:
- – the thickness of the friction linings is less than the permissible value;
- – the surface of the linings is oily;
- – the friction lining is not firmly connected to the base;
- – the linings have deep grooves and chips.
You will need: a key "on 7”, flat-blade screwdriver, mounting blade, hammer, pliers or punch for removing tension springs.
Engage 1st gear and install stop blocks under the front wheels.
Make sure that the parking brake lever is lowered all the way down (the car is released).
Remove the wheel and clean the brake mechanism from dirt.
If the brake fluid level in the master cylinder reservoir is at the “MAX” mark or is approaching it, pump out some of the fluid from the reservoir, otherwise it may splash out when replacing the pads.
Remove the brake drum.
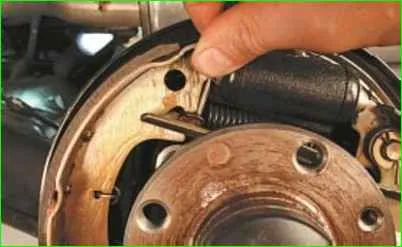
Use a punch or screwdriver to remove the upper tension spring.
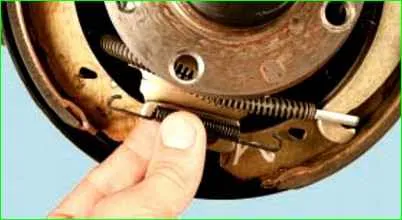
Remove the lower tension spring in the same way.
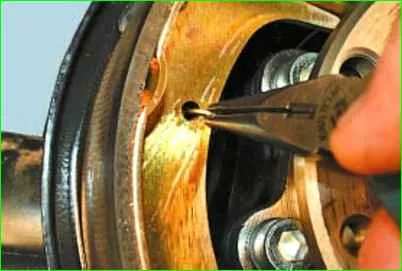
Remove the front shoe guide spring.
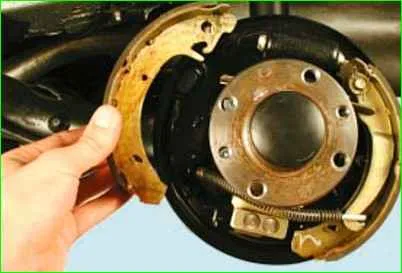
Remove the front shoe.
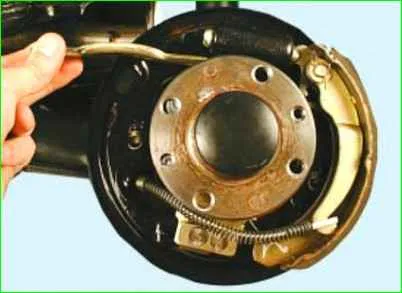
Remove the expansion bar.
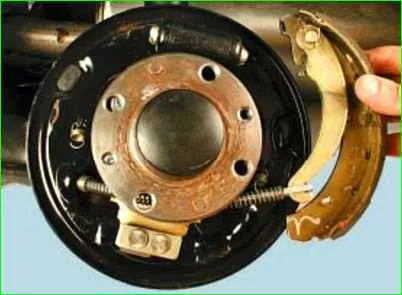
Remove the rear shoe guide spring, and then the rear shoe, disconnecting the drive lever from the end of the parking brake cable
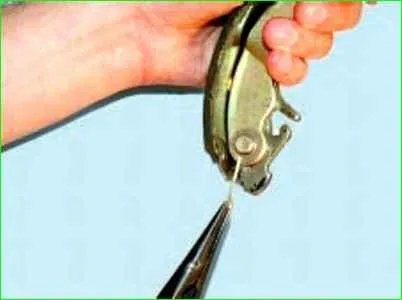
Remove the cotter pin.
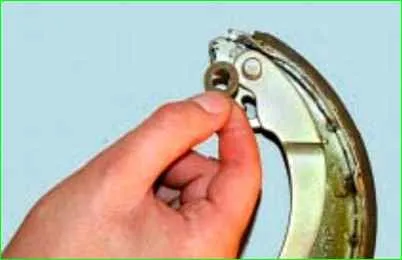
Remove the support washer from the rear shoe drive lever pin.
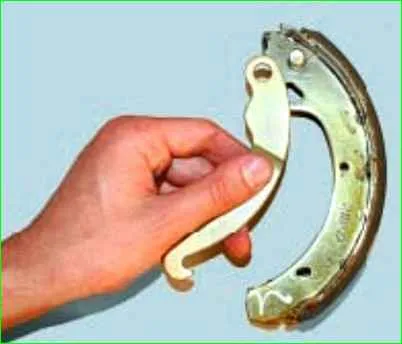
Remove the rear pad drive lever
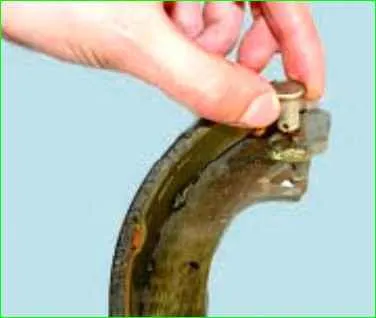
Press the drive lever pin and remove the pin from the pad
Install new pads in the reverse order of removal.
When installing, insert the upper ends of the pads into the grooves piston.
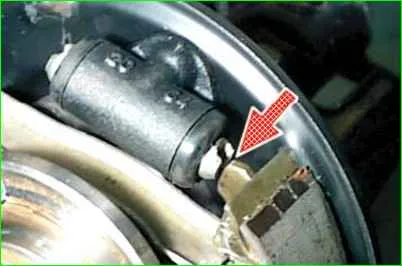
Bring the brake pads together with two mounting blades to move the pistons to the center of the cylinder.
Install the brake drum in the reverse order of removal.
With the vehicle parked on the ground, press the brake pedal two or three times to bring the pads to the drum.
Replacing the rear brake slave cylinder
If, during operation, brake fluid leaks appear on the brake drum and the inner side of the wheel, replace wheel cylinder.
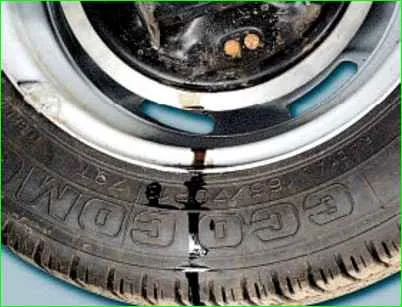
Repairing the wheel cylinder usually does not lead to positive results, and special tools are needed for this.
It is recommended to replace the cylinder assembly.
You will need: a 10 mm wrench, a special 10 mm wrench for unscrewing the brake pipe nuts.
Engage 1st gear and install stop blocks under the front wheels.
Remove the corresponding wheel and brake pads.
From the back of the brake shield, clean the brake pipe attachment point and wheel cylinder mounting bolts from dirt.
To make it easier to unscrew the cylinder mounting bolts and brake pipe mounting nut, apply a special threaded connection fluid to the threaded connections.
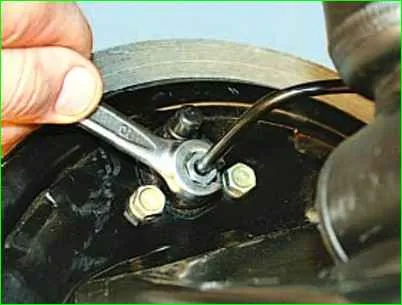
Unscrew the nut securing the brake pipe to the wheel cylinder.
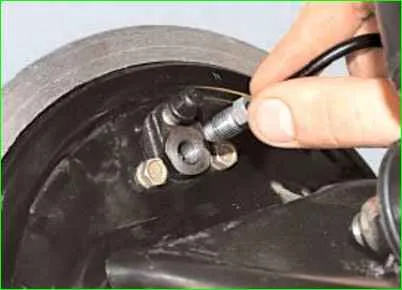
Disconnect the brake pipe from the wheel cylinder, by plugging the hose hole, for example, with a bleeder valve cap.
Remove the brake drum.
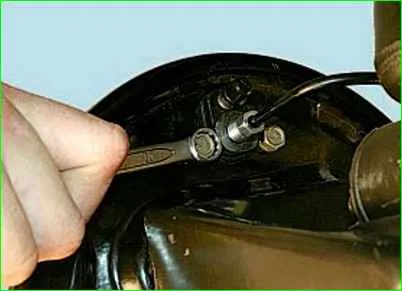
Unscrew the two wheel cylinder mounting bolts, holding it on the other side
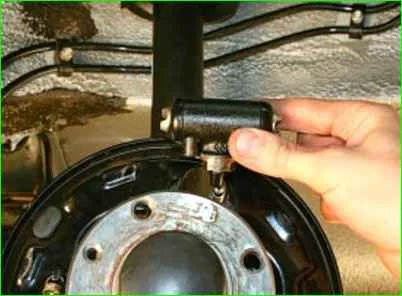
Remove the wheel cylinder from the brake shield
Install the wheel cylinder in the reverse order of removal.
After that, bleed the brake system (only the wheel cylinder on the wheel being replaced is possible).
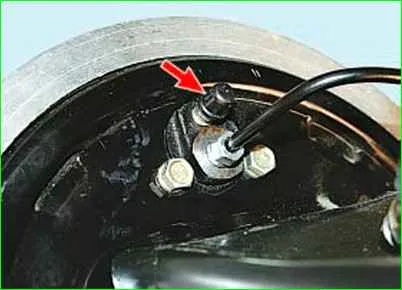
Be sure to install the protective cap on the bleed valve.


