Remove the oxygen sensors if they fail and when dismantling the exhaust pipes
Set up the car to perform the work.
Remove the negative terminal from the battery.
Carry out the work on a cold engine.
If the car has a K4M engine
Remove the noise muffler and air filter housing (article - "Removing and installing the air filter and noise muffler").
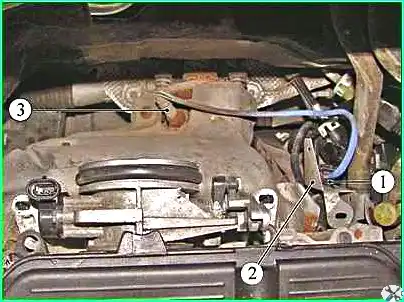
Disconnect the wiring harness connector from connector 1 (Figure 1), the control oxygen sensor.
Disconnect the control oxygen sensor connector from bracket 2.
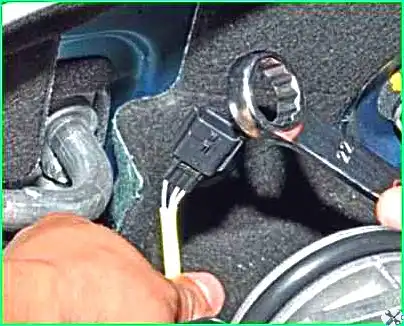
Pull a long socket wrench or open-end wrench through the sensor wire
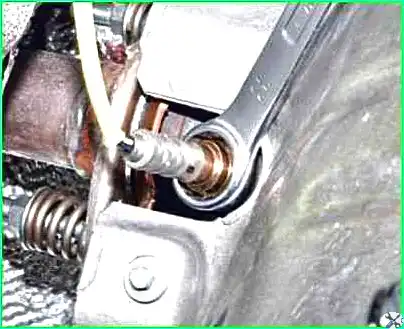
Unscrew the control sensor
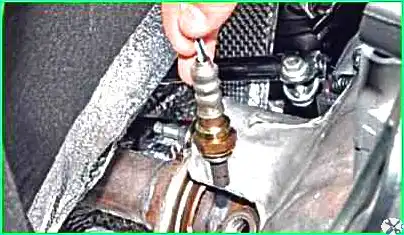
Remove the sensor from the exhaust manifold
Install the sensor in the reverse order.
Before installing the sensor, apply graphite to the thread grease. Apply carefully, so that the grease does not get on the sensor tip.
Tighten the sensor to a torque of 45 Nm.
For cars with a K7M engine
Prepare the car for the task
Remove the engine crankcase guard
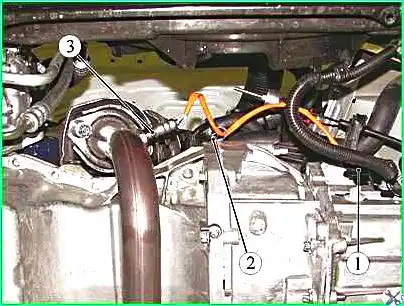
Remove connector 1, control oxygen sensor from the holder by sliding it
Disconnect the wiring harness connector from the control oxygen sensor connector
Disconnect clamp 2
Unscrew control oxygen sensor 3
Install the sensor in the reverse order
Removing the diagnostic oxygen concentration sensor
We carry out work to prepare the car for the work. Disconnect the negative terminal of the battery.
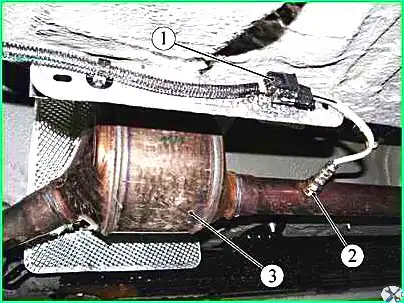
Disconnect the wiring harness block from block 1 (Figure 5).
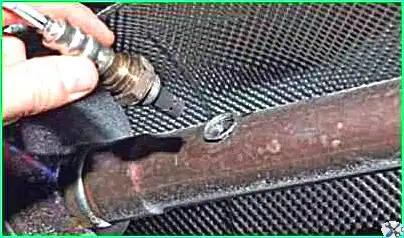
Pull a 22 mm open-end wrench through the sensor wire and unscrew the sensor
Remove the sensor from the exhaust pipe
Install the sensor in the reverse order.
Before installing the sensor, apply graphite to the thread grease.
Apply carefully so that the grease does not get on the sensor tip.
Tighten the sensor to 45 Nm.
Install the negative terminal to the battery.


