Replacing the windshield of GAZ-3110
Unscrew the fastening bolts and remove the instrument panel from the body (see article - GAZ-3110 instrument panel removal).
Remove the windshield blower pipes.
Press the upper part of the windshield from the inside of the body with your palms, while an assistant should hold the glass as it comes out of the opening.
If the glass is broken, carefully remove the fragments from the seal and remove the seal using a wooden or plastic spatula.
Clean the opening from the remains of old mastic.
If the removed seal is in good condition, it can be used after cleaning and wiping.
Insert fresh mastic into the groove under the glass seal and put the seal on the glass.
Insert decorative edging into the seal.
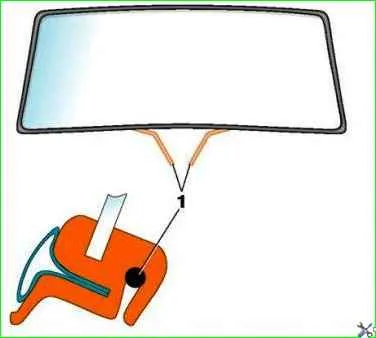
Insert mounting cord 1 into the groove under the flange of the window opening of the seal (you can use a strong rope with a diameter of 4–5 mm), taking its ends out of the groove in the middle of the lower part of the glass.
To make it easier to install the glass, you can lubricate the cord with glycerin.
Apply a layer of mastic around the entire perimeter of the window opening flange.
Attach the glass from the outside to the opening, placing the protrusion of the seal in the middle of the lower part behind the flange of the opening and bringing the ends of the mounting cord inside the body.
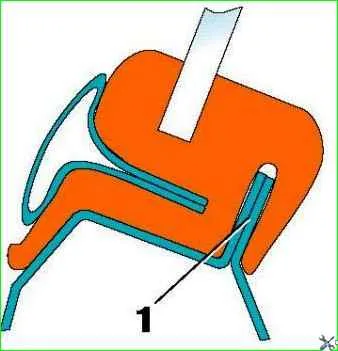
Evenly pulling the cord out of the groove in both directions and thereby moving the protrusion of the seal beyond the flange of the 1st opening, insert the glass into the opening.
In this case, an assistant must press the glass against the opening from the outside of the car in the places where the cord comes out.
During the installation process, light blows with the palm of your hand on the glass are allowed to ensure a tighter fit to the opening.
The rear window is replaced in the same way as replacing the windshield.
In this case, it is necessary to disconnect the block with the glass heating wires.
Let's look at this process in detail
Remove the front strut covers.
Remove the sun visors with clips.
Remove the rear view mirror.
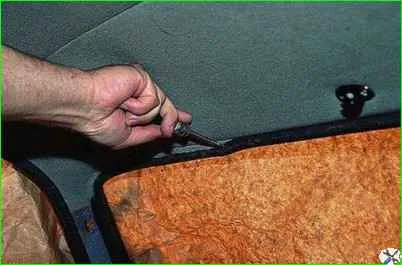
Use one flat screwdriver to pry up and tuck the rubber seal behind the roof edge.
Holding it in this position, use another flat screwdriver to pry it up in the same way and tuck the seal from the started area in any direction.
When it is tucked in at a length of about 10 cm, the first screwdriver can be removed.
Continuing in this way, we pass the roof and two side pillars.
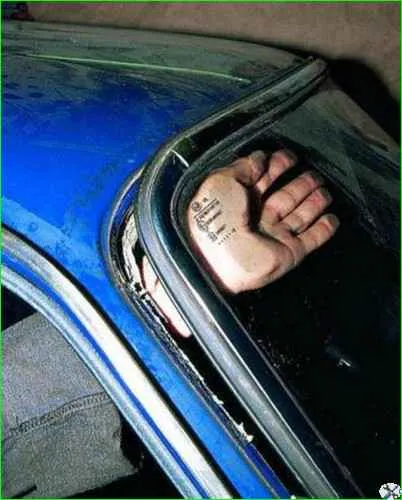
Carefully squeeze the glass out of the opening on both sides at the same time
Installing the windshield.
An assistant is required for this operation
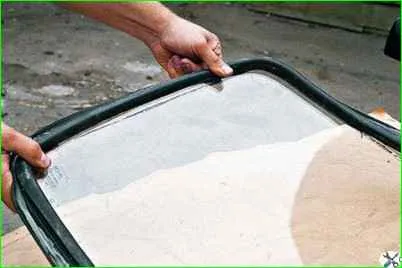
We place a cloth or some other soft material on the table (or on the hood of the car).
We place the glass on it, turning it upside down.
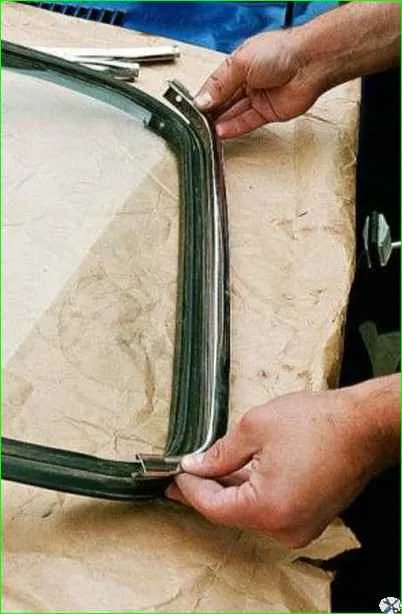
Put the rubber seal on it, starting from the corners.
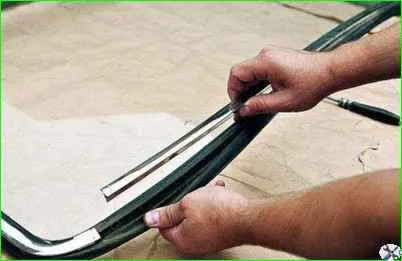
Turn the glass over and insert parts of the edging into the seal.
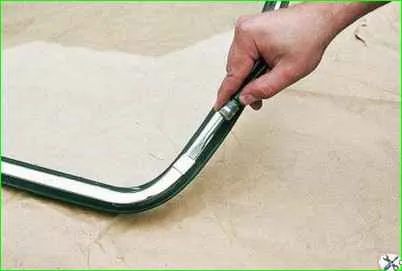
We close the joints between them with couplings-overlays.
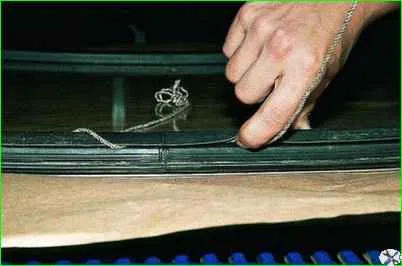
We turn the glass over again and thread a rope into the slot of the seal, starting from the middle of the lower part and returning to it.
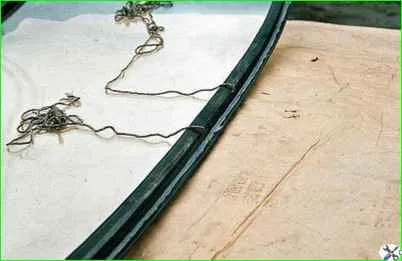
An overlap of about 10 cm is made at the joint, and the ends of the rope are brought out
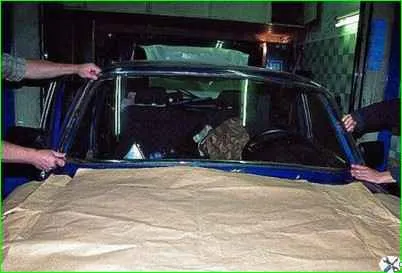
The glass is applied to the opening and centered.
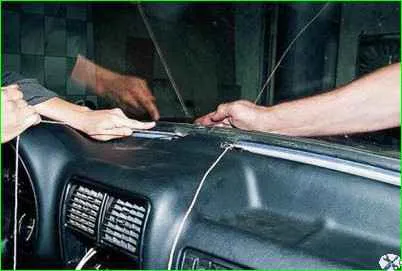
From inside the cabin, smoothly pull out the rope, while an assistant presses the glass and keeps it from moving.
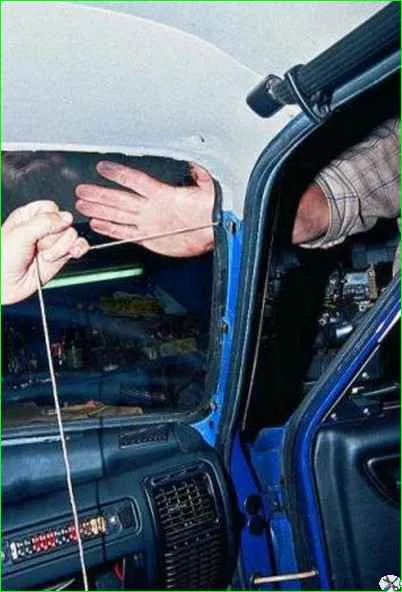
First, the entire lower part is traversed, then, one by one, the racks.
If necessary, lower the glass by lightly tapping its upper part with the palm of your hand from top to bottom
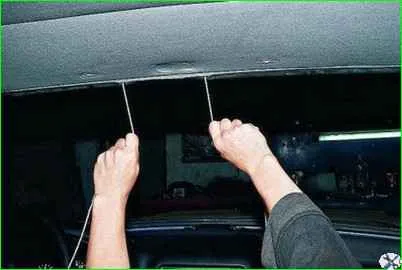
Finally, fill the upper part of the glass in the direction from the edges to the middle
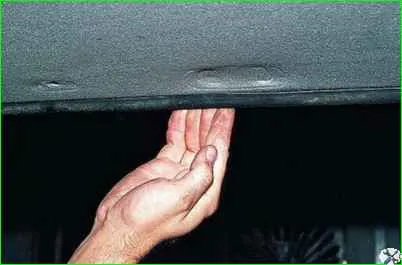
After the glass is inserted, press the seal with your fingers.
Reinstall the removed visors and rear view mirror.


