We adjust the bearings every 20 thousand km, as well as when increased play appears in them, change the lubricant and replace the bearings
Adjusting the front wheel bearings
Turn on the parking brake
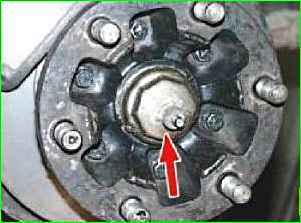
Hang up the front wheel, remove the wheel cover
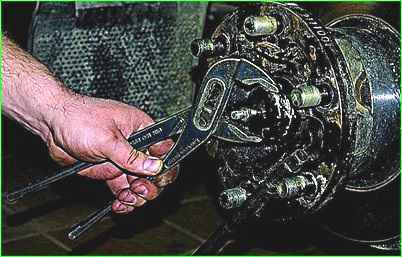
Using sliding pliers or a special “50” tubular wrench, unscrew the hub cap and unscrew the adjusting nut.
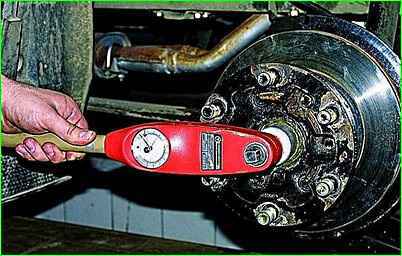
Using a 36mm socket with a torque wrench, tighten the adjusting nut to a torque of 5–8 kgf.m.
At the same time, we constantly rotate the wheel to self-install the rollers in the bearings
Unscrew the nut at an angle of 45° (no more than one slot in the nut) and secure it with a cotter pin. The wheel should rotate freely, without axial play.
Assembly is carried out in the reverse order. We adjust the bearings of the other wheel in the same way.
We finally check the correctness of the adjustment by driving the car for 8–10 km without heavy braking.
If the hub is very hot (over 70°C, the hand cannot tolerate it), the adjustment should be repeated or other possible causes of heating should be eliminated (damage to the bearings or lack of lubrication).
Replacing bearings and front wheel hub cuff
Remove the front wheel.
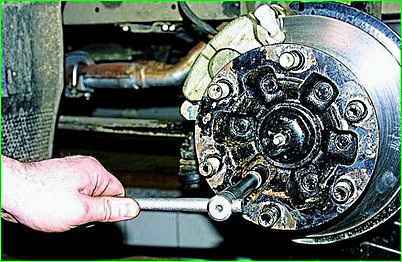
Using a 14mm socket, unscrew the six bolts securing the brake disc to the hub. In this case, the hub can be stopped from turning either by pressing the brake pedal.
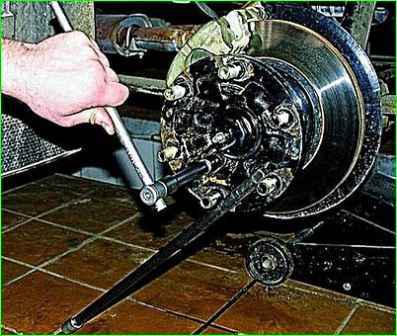
You can insert a rod between the wheel studs.

Use sliding pliers or a special tubular wrench “50” to unscrew the hub cap
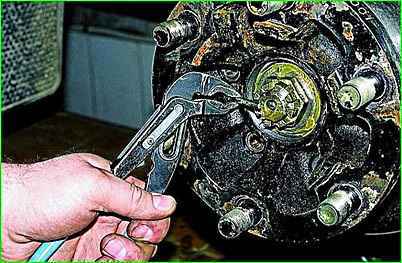
Use pliers to unscrew the adjusting nut and remove the cotter pin
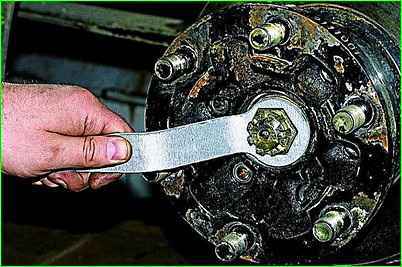
Use a special wrench from the standard set to unscrew the nut
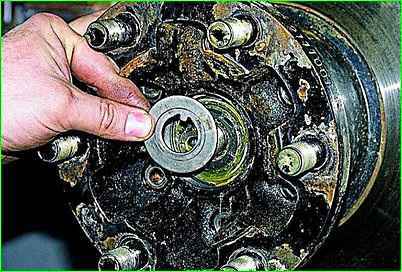
There is a washer installed under the nut.
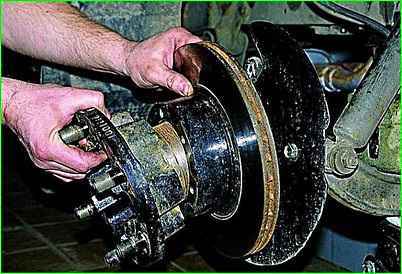
Carefully, so as not to drop the outer bearing, remove the hub from the axle.
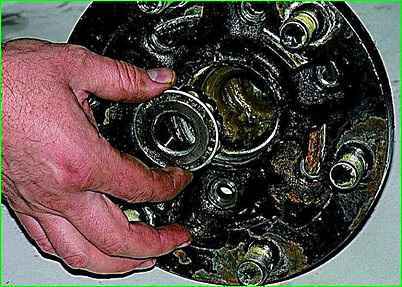
Remove the inner ring of the outer bearing from the hub.
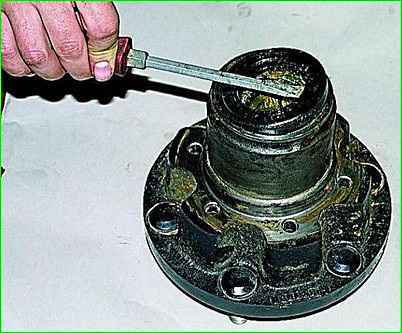
Turn the hub over and, using a screwdriver, press out the cuff
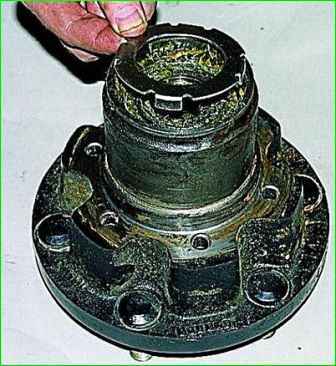
There is a spacer ring installed underneath.
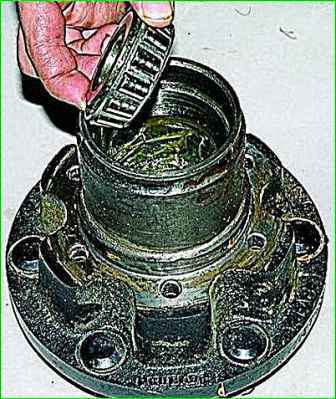
Take out the inner ring with the rollers of the inner bearing.
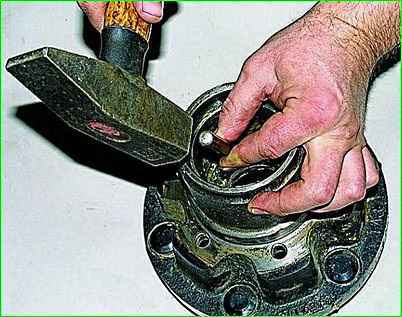
Use a mandrel or a soft metal rod to knock out the outer rings of the inner and outer bearings.
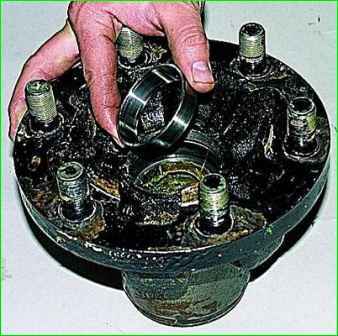
Having washed the hub and other parts in kerosene, we press in the outer rings of new bearings.
Lubricate the bearings generously with Litol-24 grease.
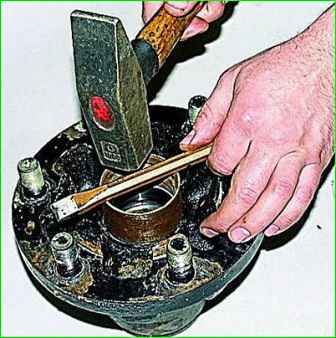
Insert the inner ring of the inner bearing, the spacer ring and press in a new seal, applying lubricant to its edge.
The cuff should be flush with the end of the hub.
Fill the inner cavity of the hub with the same lubricant in the amount of 75 g, after which we install the inner ring of the outer bearing.
Install the hub with bearings onto the axle, put on the washer and tighten the adjusting nut.
Install the remaining parts in reverse order.


