Checking the thermostat
After starting a cold engine, the main thermostat valve is closed, and the upper part of the thermostat housing in good condition remains colder than other parts of it for some time
As the engine warms up, the main valve opens and the thermostat housing cover quickly heats up, confirming that the coolant has begun to circulate in a large circle (through the radiator).
The appearance of fluid circulation through the radiator is signaled by the sequential heating of the upper hose, the right tank and the right side of the radiator.
Engine 406
Drain the cooling system.
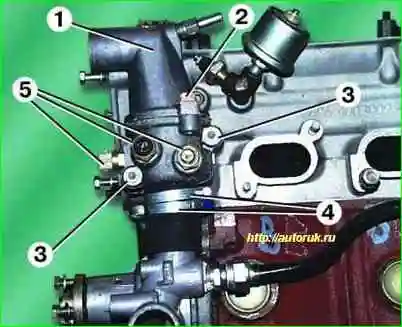
Disconnect the two hoses from the fittings of cover 1 of the thermostat housing.
Remove the two screws 2 and remove the cover 1.
If you need to remove the thermostat housing, you must disconnect the wires from the sensors 5, loosen the clamps 4 and unscrew the two bolts 3, remove the thermostat housing.
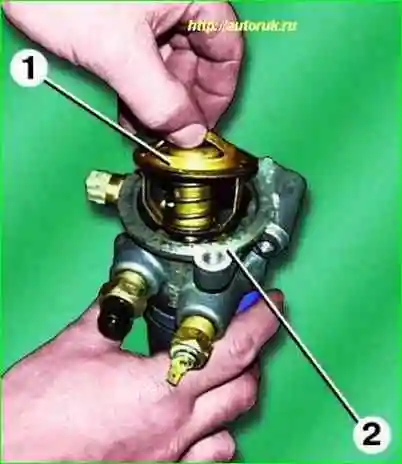
Remove thermostat 1 from housing 2.
Install the new thermostat in reverse order.
Engine 402
Drain the cooling system.
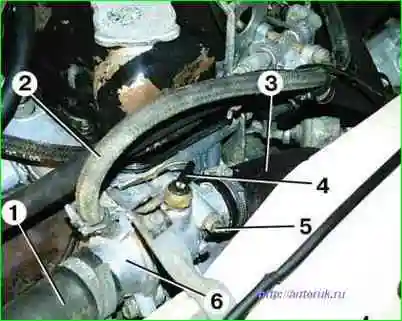
Disconnect hoses 1 and 2 from the cover 6 of the thermostat housing, after loosening the clamps.
If you need to remove the thermostat housing, disconnect hose 3 and wire 4 from the coolant temperature sensor from it.
Unscrew two bolts 5 (the second bolt from the bottom of the housing) and remove the thermostat housing.
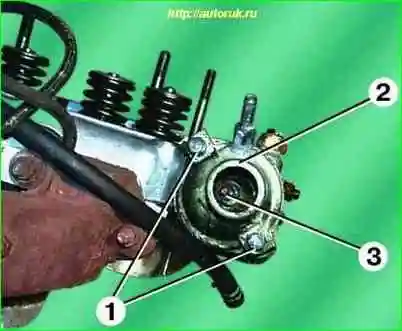
Unscrew the two screws 1 and remove the cover 2. Remove the thermostat 3 from the housing.
Install the new thermostat in reverse order.
More details:
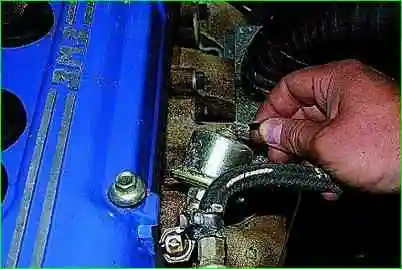
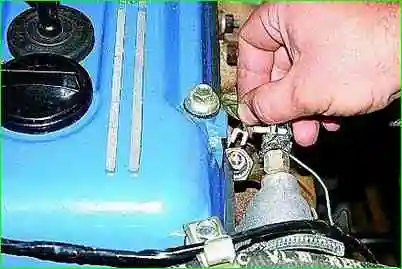
Using a screwdriver, loosening the screws, disconnect the wires from the sensors of the pressure indicator and the emergency oil pressure indicator.
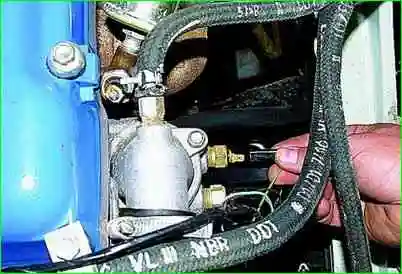
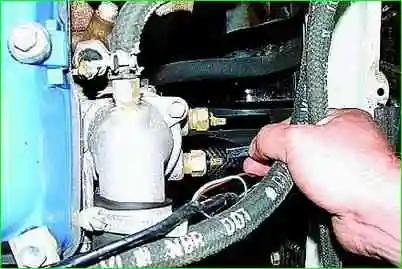
Disconnect the wire ends from the overheating sensors and the coolant temperature gauge.
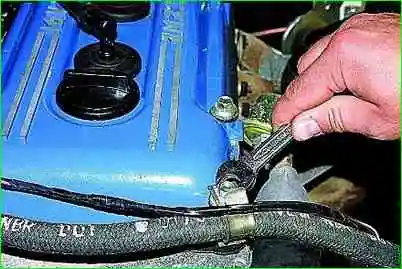
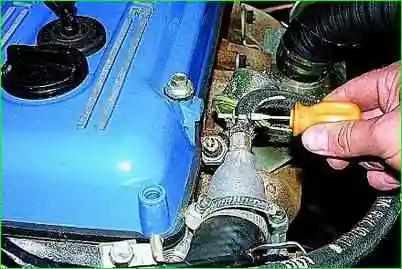
Using the “12” key, we unscrew the bolt securing the head cover of the block and set aside the vacuum brake booster hose.
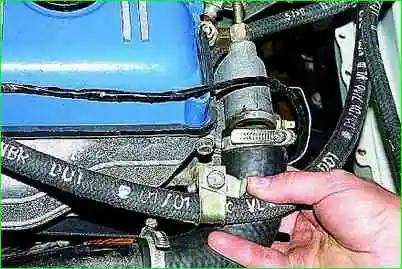
Use a screwdriver to loosen the clamps and disconnect the steam outlet and upper radiator hose from the thermostat housing.
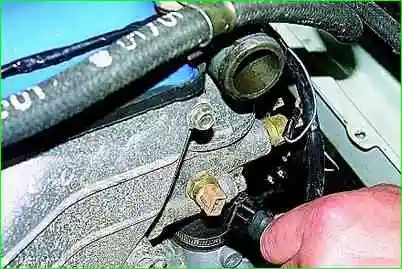
Prying off the spring clip with an awl, disconnect the wire block from the temperature sensor for the control unit.
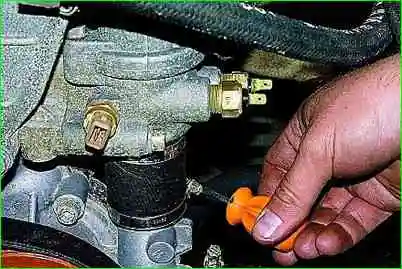
Loosen the clamp of the lower hose of the thermostat housing (the radiator lining has been removed for clarity).
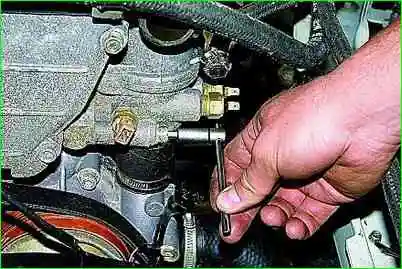
Using a “6” hexagon, unscrew the two bolts securing the thermostat housing to the block head.
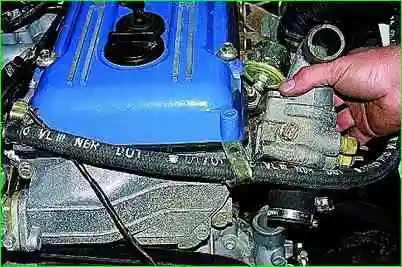
Remove the thermostat housing.
A sealing gasket is installed between the head of the block and the thermostat.
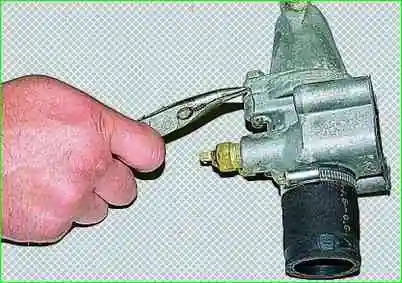
Use thin pliers to remove the sealing wire from the hole of the outer bolt.
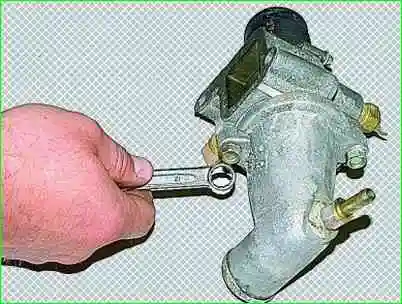
Using the “12” key, unscrew the two bolts securing the thermostat housing cover and remove the cover from the housing.
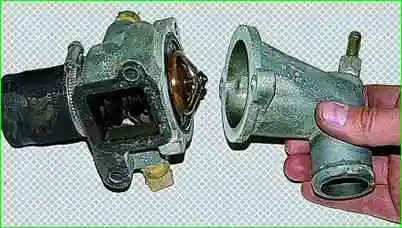
Remove the thermostat from the housing.
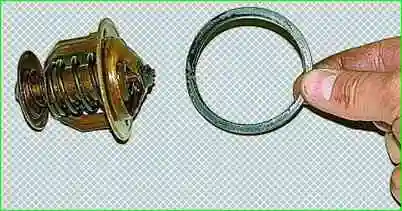
Remove the rubber sealing ring from the thermostat.
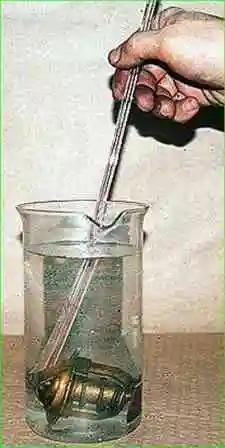
We lower the thermostat into a transparent container with water heated to 100 ° C.
The thermostat should fully open the upper (main) valve and close the lower (bypass) valve.
As the water cools, the thermostat should close the main valve. At 80°C, the top (main) valve should close completely.
Replace a defective thermostat.
Install the thermostat in reverse order.


