We remove the engine cooling radiator for replacement if a leak appears from the tanks or radiator cells, as well as during repair work related to access to engine components and parts.
We show the operations for removing the radiator on a car with air conditioning.
Without air conditioning, the operations will be simpler.
We prepare the car to perform the task.
We install the car on a lift or inspection ditch.
We drain the coolant (see the article - Replacing the coolant Niva Chevrolet)
We remove the front bumper (see the article - Replacing the bumpers Niva Chevrolet)
We remove the air conditioning condenser (described in the article - Removing and installing the air conditioning condenser of the VAZ-2123 car)
On a car without air conditioning remove the radiator guide covers
Remove the horn
Unscrew the fastening elements of the power steering radiator
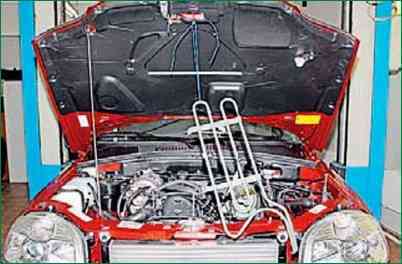
Tie the power steering radiator to the hood loop without disconnecting the fluid supply and drain hoses from the radiator
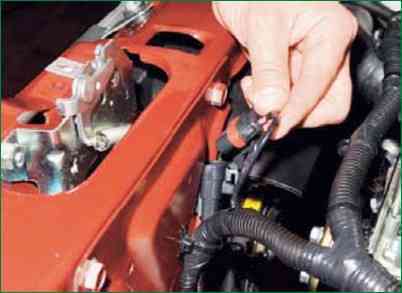
Disconnect the wiring block of the ECU from the wiring block of the additional resistor
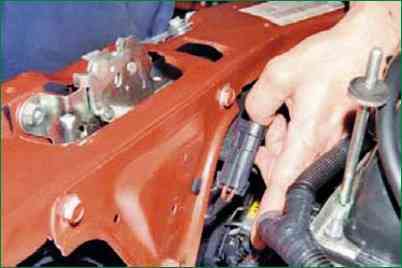
Move the wiring block of the additional resistor from the plastic holder fixed on the frame spacer radiator
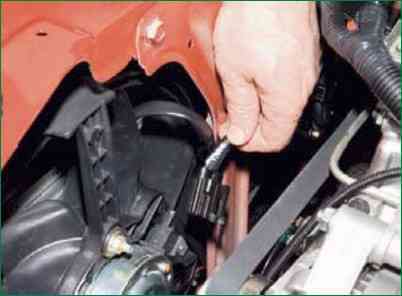
Disconnect the wiring block of the engine management system from the connector of the electric motor of the left fan
Also disconnect the wiring block of the engine management system from the connector of the electric motor of the right fan
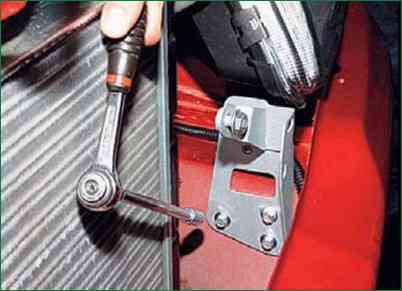
Using a 10 mm head, unscrew the three bolts securing the horn bracket and remove the bracket
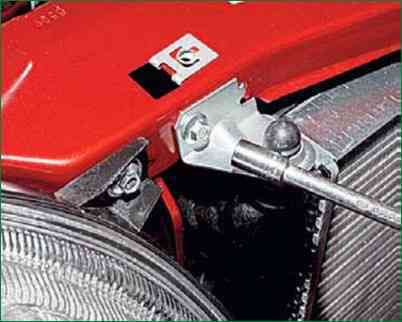
Using an 8 mm head, unscrew the bolt securing the bracket of the right upper radiator support and remove the bracket with the support
Also remove the bracket with the left upper radiator support
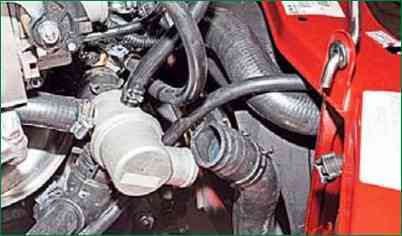
Having squeezed the ends of the clamp of the radiator outlet hose to the thermostat pipe with pliers, we slide the clamp along the hose and remove the hose from the thermostat pipe
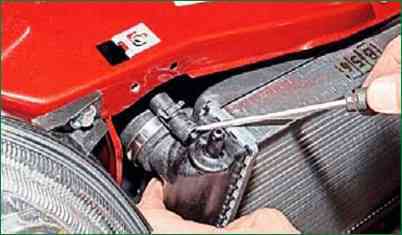
Tilting the upper part of the radiator forward, squeeze the ends of the clamp securing the steam-air hose to the radiator nipple with pliers and slide the hose off the nipple.
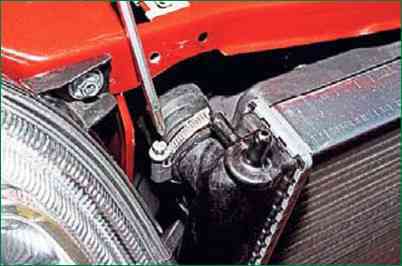
Using a screwdriver, loosen the clamp securing the inlet hose to the upper radiator pipe
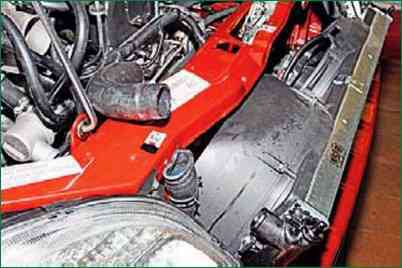
Remove the supply hose from the radiator pipe
Tilt the radiator assembly with fans forward and lift, removing the rubber cushions of the lower supports from the holes in the lower cross member of the radiator frame
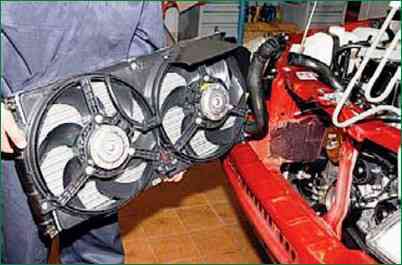
Remove the radiator assembly with fans
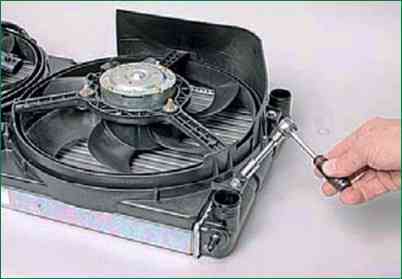
Using a 10 mm head, unscrew two bolts of the side fastenings of the fan casing to the radiator on each side and two nuts of the central fastening of the casing.
Remove the fan casing from the radiator
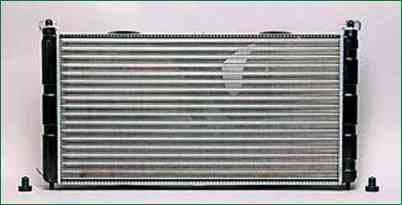
We install the radiator in the reverse order.


