Replacing the front bumper
Removing the front bumper of a Niva Chevrolet is not difficult.
It is advisable to remove the front bumper at least once or twice, especially in the summer, regardless of the condition of the car.
Because even with a good wash, a lot of insects and grass and dust residues accumulate on the radiators of the air conditioner and engine, which subsequently interferes with heat exchange.
We also remove the bumper when repairing the horn and for other types of maintenance.
You will need: keys "8", "10", "13", a key for wheel nuts, a screwdriver.
Remove the front wheels.
Remove the front parts of the fenders.
Open hood.
Disconnect the wire from the negative terminal of the battery.
Remove the radiator grille.
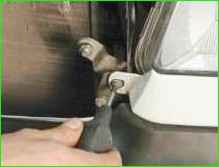
Remove the front screw securing the headlight grille
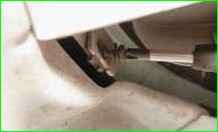
Remove the side screw securing the headlight trim.
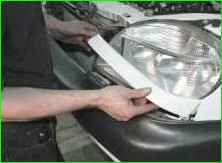
Remove the trim.
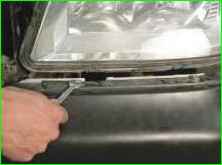
Remove the upper screws for fastening the bumper cover.
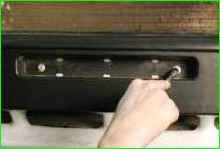
Remove the screws located behind the license plate
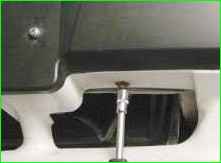
Remove the screws at the bottom of the bumper.
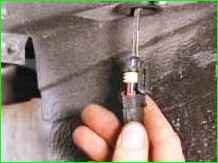
Disconnect the fog light wiring harness connectors
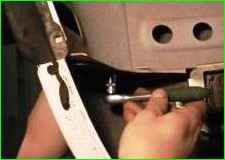
Remove the bolt securing the trim to the body
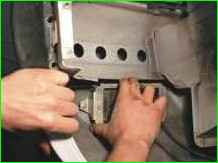
Remove the fog lamp from the bumper beam
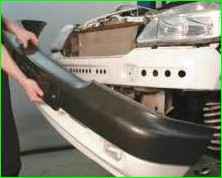
Remove the bumper cover.
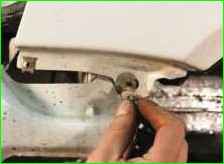
Remove the screw securing the bumper beam and front wing.
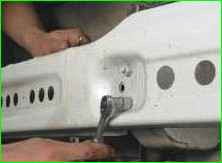
Remove the nuts securing the beam to the body.
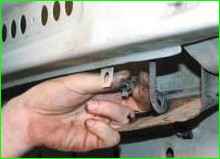
Remove the outside temperature sensor from the beam bracket.
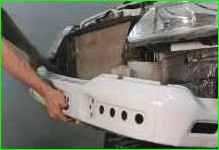
Remove the beam
Install the beam, bumper pad and all removed parts in in the reverse order of removal.
Removing and installing the front bumper of a Niva Chevrolet since 2009
Put the car on a lift or inspection ditch, if this is not possible, then you can remove the bumper on a parked car.
Open and lift the hood.
Turn the front wheel in the right direction to get to the screws that attach the bumper to the mudguard on the side.
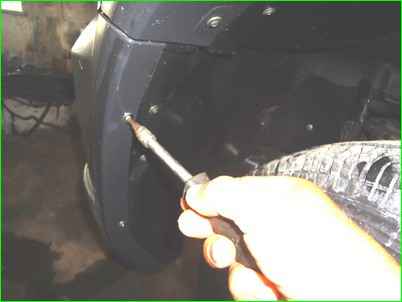
Of course, you can remove the mudguards, but if there is no such need, it is better not to do this operation.
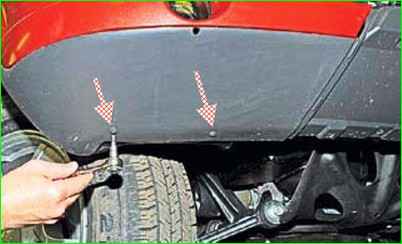
Using a T-20 wrench, unscrew two screws on the right and left sides (Fig. 1), and two screws on the bottom.
Unscrew and remove the front license plate.
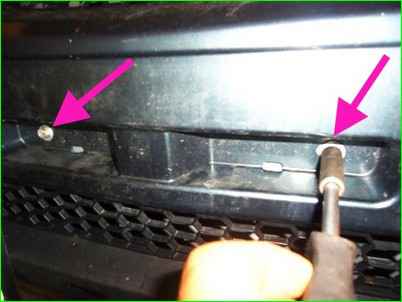
Unscrew two bolts with a 10 head under the license plate (Fig. 2)
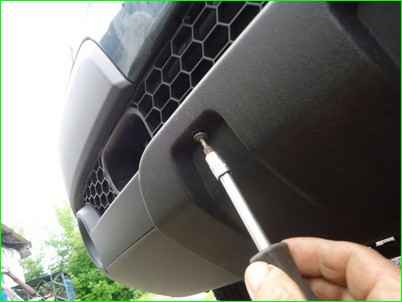
Using a T-20 wrench, unscrew the four screws securing the lower part of the bumper trim (Fig. 3) and remove it.
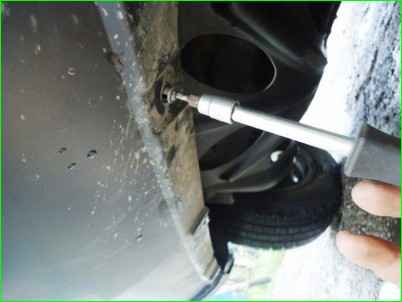
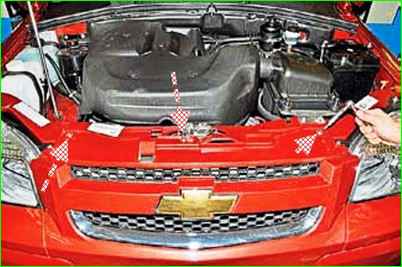
Unscrew the three screws under this cover (Fig. 4)
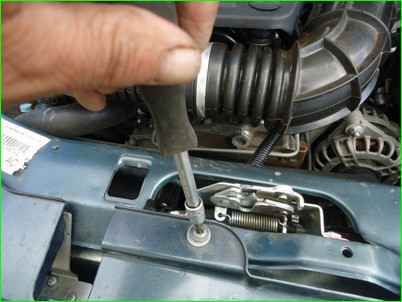
After this, using a torxT-30 key, unscrew the three screws that secure the upper part of the bumper (Fig. 5)
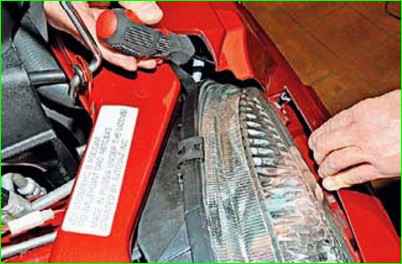
Now you need to press the upper part of the bumper forward a little and, having inserted a thin, long screwdriver into the resulting gap, press the plastic tab of the decorative trim covering the lower part of the headlight (Fig. 6)
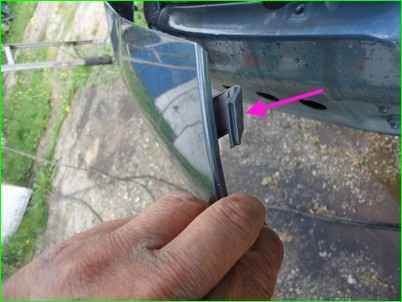
This latch (tongue) looks like this, you can see it in Figure 7.
This decorative trim is also glued with double-sided tape, but in some cases at the factory it is attached with glue for gluing windshields. This glue or tape is applied to the middle of this overlay.
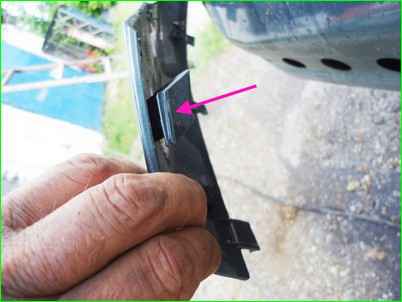
The arrow in Figure 8 shows the place where this layer is applied.
When you press this overlay, you can see two screws on one side and the other that secure the bumper.
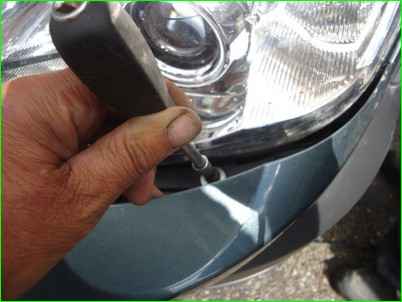
Unscrew these screws with a T-30 key (Fig. 9)
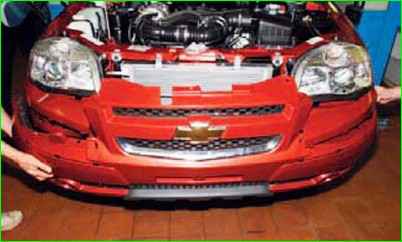
After this, carefully remove the bumper.
Install the bumper in the reverse order.
When installing the decorative panels under the headlights, you need to make sure that the lower fasteners fit into the corresponding holes.
When installing the bumper, you must first bait and secure the four screws under the headlights.
After this, the lower part of the bumper, you first need to screw in all the screws, only then tighten them all.
Replacing the rear bumper
You will need: a 10 mm wrench, a lug wrench, a screwdriver.
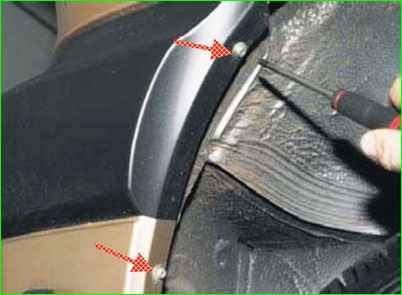
Disconnect the wire from the negative terminal of the battery.
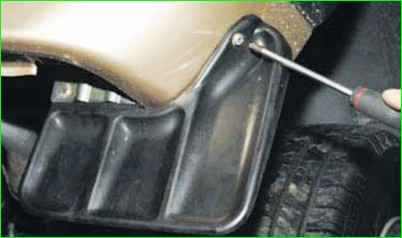
Unscrew the side screws securing the bumper trim to the body on both sides.
Unscrew the mudguard mounting screws
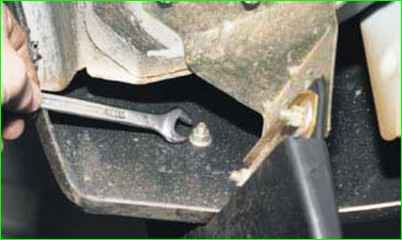
Unscrew the mudguard mounting nuts and remove it.
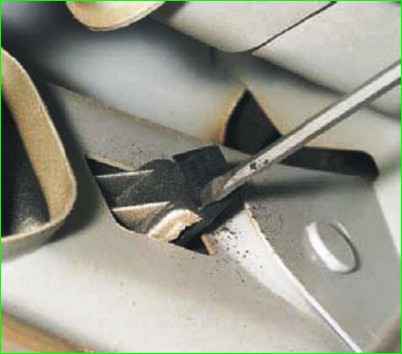
Use a screwdriver to pry up and disengage the plastic reflector retainer.
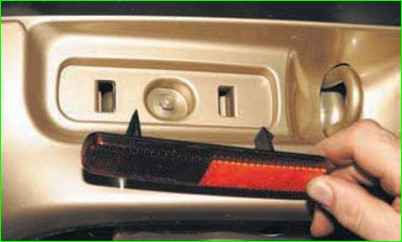
Remove the reflector by disengaging the second latch.
Also remove the second reflector
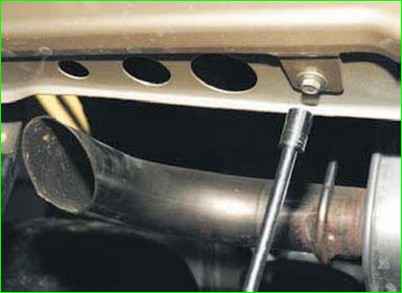
Using a 10 mm socket, unscrew the two lower bumper mounting bolts
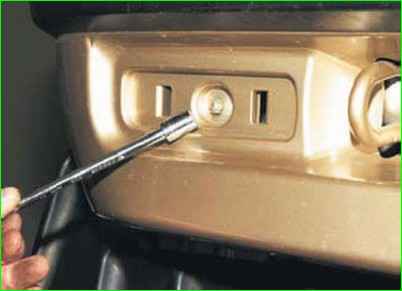
Using a 10 mm socket, unscrew one nut on each side, located in the niche under the reflector
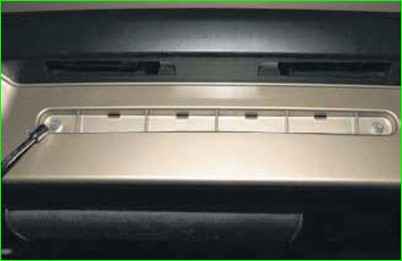
Unscrew the two nuts securing the bumper under the license plate
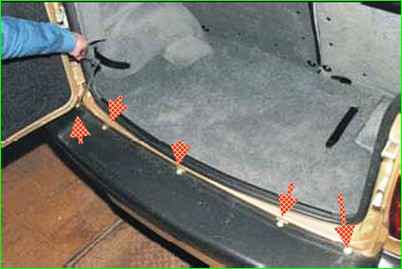
Open the tailgate
Using a 10 mm socket, unscrew the five upper bumper mounting bolts
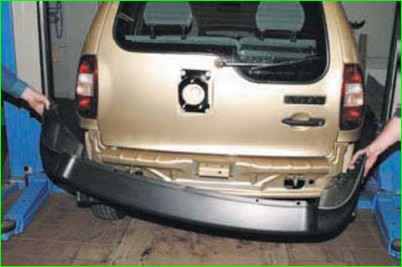
Remove the bumper from its mountings and push the protective caps of the license plate lights with wires into the bumper holes
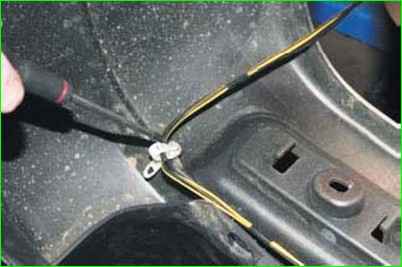
Using a Phillips screwdriver, unscrew the four screws securing the light wire holders and remove the bumper from the car
Install the bumpers in the reverse order.


