Press the brake pedal all the way down several times with the engine off and, holding the pedal down, start the engine
The brake pedal should move forward due to the pressure difference in the booster cavities.
If this does not happen, check the tightness of the vacuum booster hose connections and, if necessary, eliminate the air leak.
If this does not give a positive result, then the booster is faulty and must be replaced.
To check the tightness of the vacuum booster, you need to open the hood and start the engine for 1 minute.
Approximately 30 seconds after the engine has been turned off, press the brake pedal 2 times, while you should hear the characteristic hiss of air entering the booster.
Otherwise, replace the booster.
Blow out the hose with a reverse valve at both ends.
Air should only pass from the side of the check valve.
Otherwise, replace the check valve.
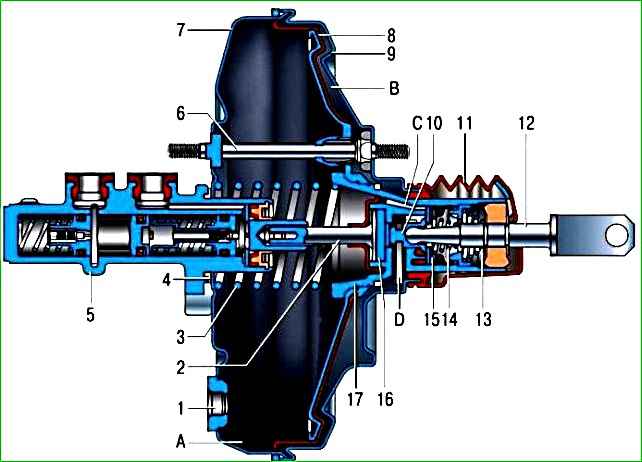
The design of the vacuum brake booster is shown in Fig. 1.
The vacuum booster is quite complex, its repair requires some skills and special equipment, so if the booster fails, replace it as a whole.
Removing and installing the vacuum booster
You will need: keys "10", "13", "17".
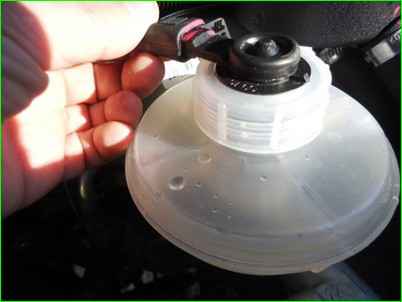
Disconnect the wire ends from the brake fluid level sensor.
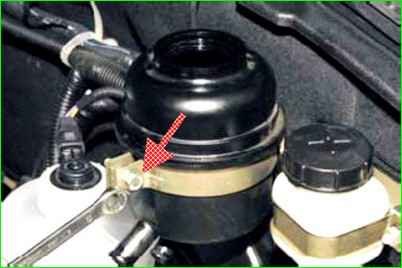
Remove the power steering reservoir bracket bolt
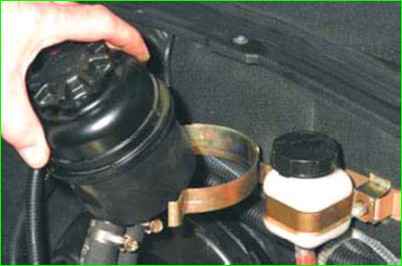
Remove the reservoir from the bracket and move it to the side
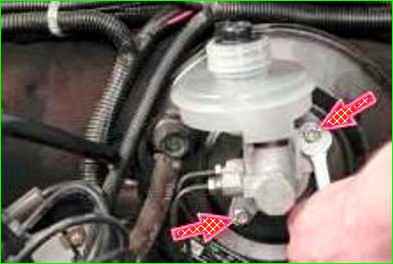
Unscrew the two nuts securing the brake master cylinder to the vacuum booster
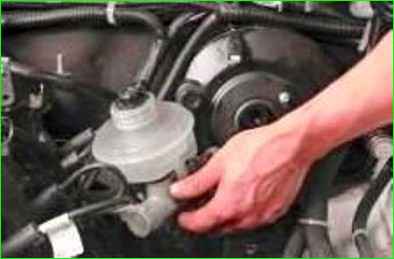
Without bending or twisting the brake pipes, carefully move the brake master cylinder to the side
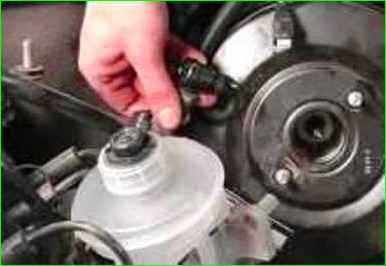
Holding the check valve, disconnect the hose from it
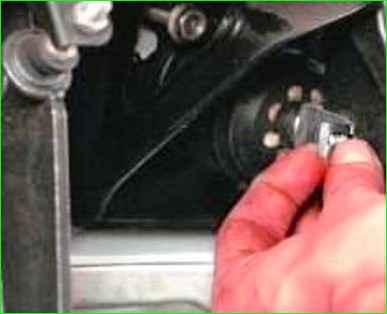
From inside the cabin, remove the locking clip from the pin brake pedals
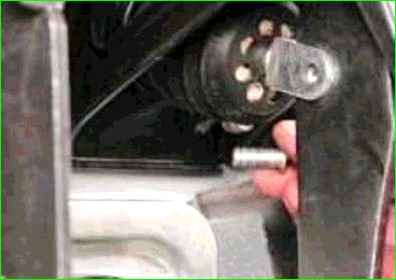
Remove the brake pedal pin, thereby disconnecting the vacuum booster pushrod from the pedal
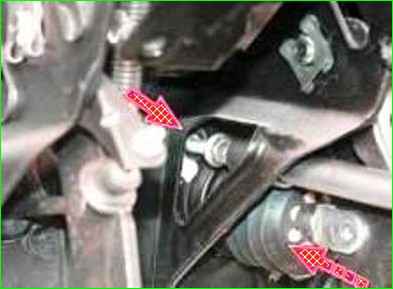
Unscrew the vacuum booster mounting nuts
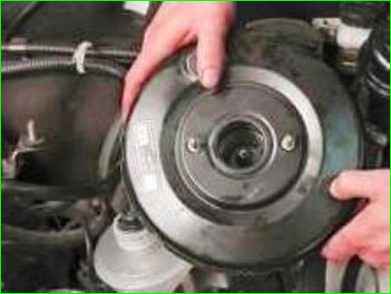
Remove the vacuum booster
Install the vacuum booster in the reverse order of removal


