We carry out the work in an inspection pit or on a lift
From the bottom of the car, using a 13 mm spanner, loosen the tightening of the nut of the coupling bolt of the clamp securing the control rod to the shank of the gear selector rod hinge (Fig. 1)
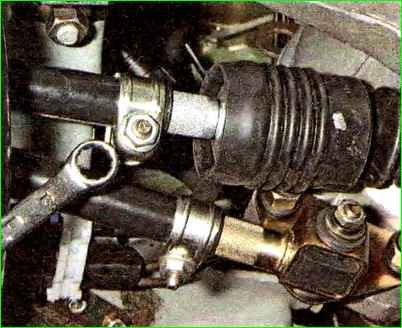
Use a slotted screwdriver to unclench the clamp and move it along the rod.
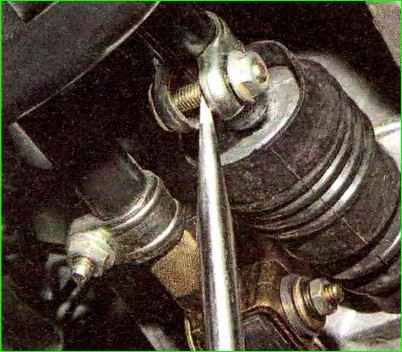
Remove the transmission control rod from the shank of the gear selector rod hinge.
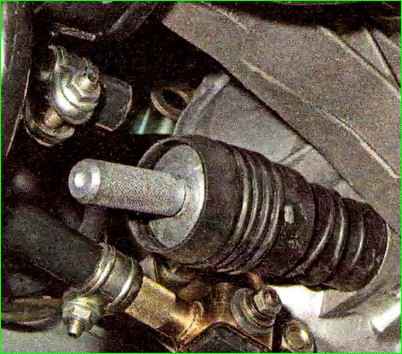
Remove the clamp from the rod.
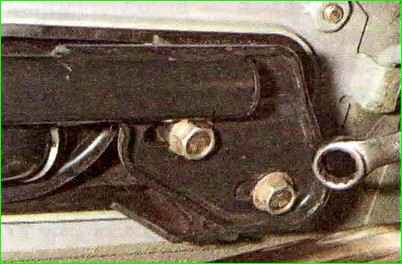
Using a 13mm spanner, unscrew the two bolts securing the torque rod to the base of the gear shift lever.
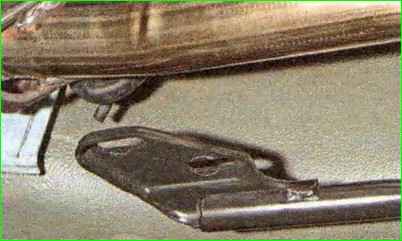
And disconnect the jet rod from the base. In the cabin we remove the lining of the floor tunnel.
After unscrewing the fastening nuts, disconnect the air ducts for blowing the feet of rear seat passengers from the heater and lift the air ducts.
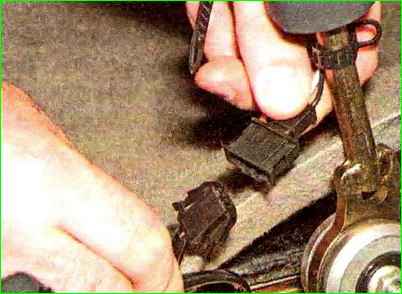
Squeezing the clamps of the wire block, disconnect it from the block of the reverse gear lock solenoid switch.
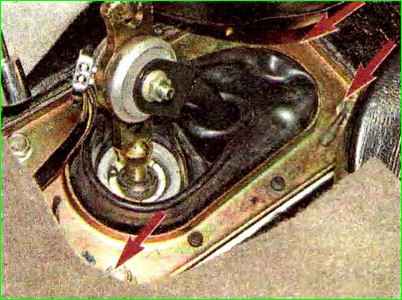
Using a 13mm socket, unscrew the three bolts securing the base of the gear shift lever, and unscrew the fourth bolt under the air duct with a 13mm wrench
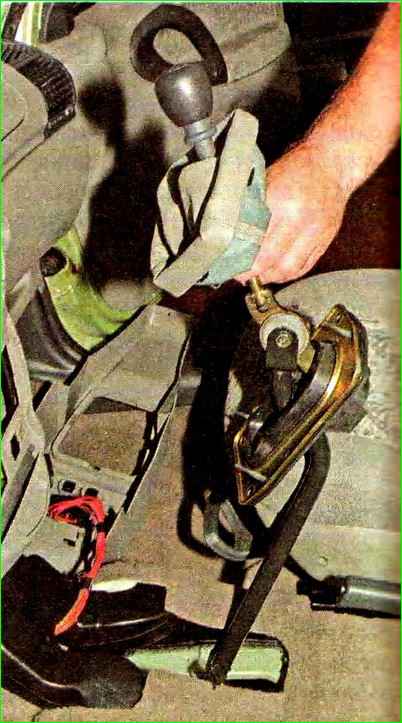
Remove the gear shift lever with its base, bringing the control rod into the cabin through a hole in the floor.
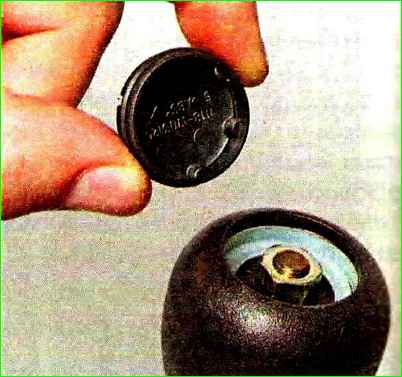
Use an awl or a thin slotted screwdriver to pry up and remove the plug for the gear shift lever handle.
Use a 13mm socket to unscrew the locknut securing the handle.
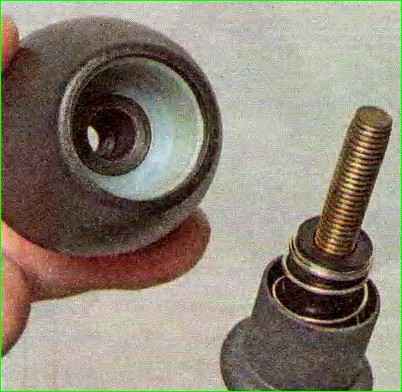
Unscrew and remove the handle from the lever.
Turning the decorative cover inside out, loosen the plastic clamp securing the cover or cut the clamp.
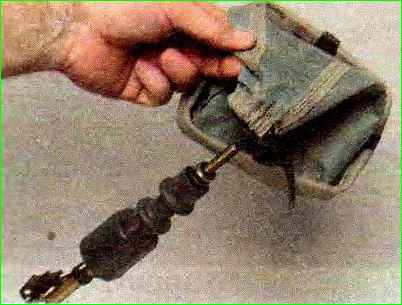
Remove the cover from the lever.
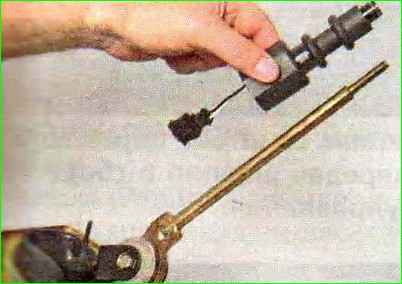
After loosening the plastic clamp securing the solenoid switch wires, remove the switch.
If it is necessary to replace only the reverse gear lock solenoid switch its progress, then these operations can be performed on the car without removing the entire gearbox control drive.
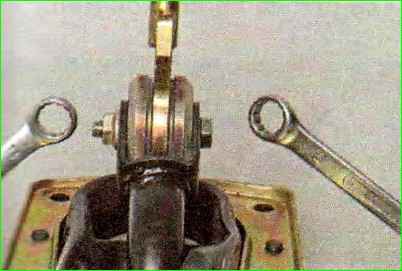
Using a 13mm wrench, unscrew the nut of the control rod axle bolt, holding the bolt - axle from turning with a 13mm wrench.

We take out the bolt - axle and remove the metal washers, plastic bushings and spacer bushing.
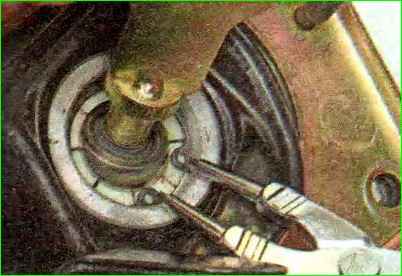
Using snap ring pliers, remove the lock ring of the ball joint of the lever.
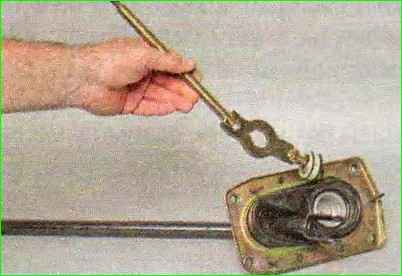
Remove the gear shift lever with the ball joint from the base.
The gear shift lever can be removed from the vehicle without removing the entire drive assembly.

To replace the upper rubber sealing ring of the ball joint, use a screwdriver to pry up the ring and remove it.

Remove the ball joint from the lever.
Remove its lower sealing ring (rectangular section) from the ball joint.
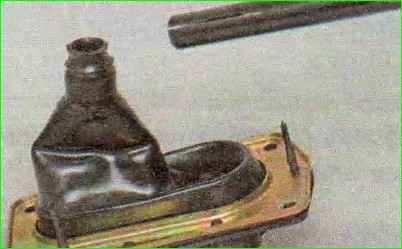
Remove the gearbox control rod from the cover. The cover on the pull rod fits tightly. Therefore, to make removal easier, we moisten the rod with soapy water.
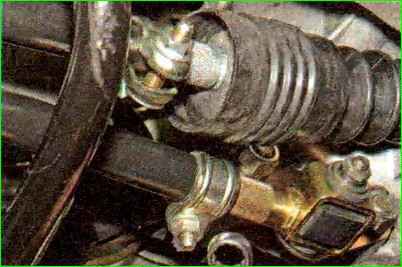
If you need to remove only the reaction rod of the drive, then use a 13 mm spanner to loosen the tightening of the nut of the coupling bolt of the clamp securing the reaction rod to the tip.
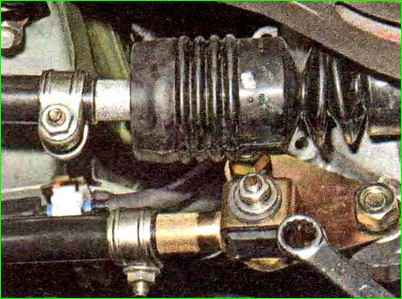
Remove the two bolts securing the torque rod to the base of the gear shift lever.
Using a 13mm spanner, unscrew the nut securing the torque rod tip to the gearbox bracket
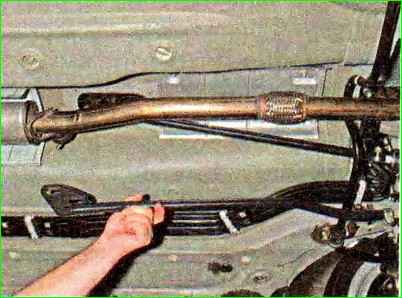
Remove the jet rod assembly with the tip.
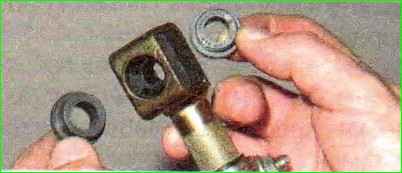
Remove two plastic bushings from the torque rod tip
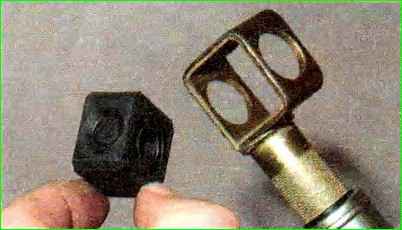
Remove the rubber damper
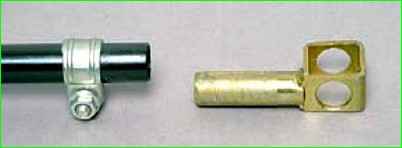
Opening the clamp, remove the tip from the rod
Assemble and install the gearbox control drive in reverse order.
Prior to assembly, put LSC-15 lubricant in the ball joint of the lever.
Adjusting the transmission control drive
You will need an assistant to adjust the drive.
Make sure that the switch rod in the gearbox is in the neutral position.
Do not tighten the clamp bolt nut.
Check the ease of axial movement and rotation of the box control rod relative to the shank of the switch rod hinge.
In case of jamming, use a slotted screwdriver to release the groove of the rod.
Install the gear shift lever so that its lower part is perpendicular to the floor of the body, and the handle is located from the front passenger seat at a distance equal to ⅓ of the distance between the seats.
Having installed the control rod clamp at a distance of 2-3 mm from the end of the rod, tighten the nut of the clamp bolt.
Check that the drive is adjusted correctly - nothing should interfere with the movement of the lever, the gears should engage easily and without jamming.
Otherwise, repeat the adjustment.


