We disassemble the fuel module to replace the fuel coarse filter, replace the electric pump, pressure regulator and fuel level sensor
Remove the fuel module, as described in the article - How to remove the fuel module of a Lada Granta
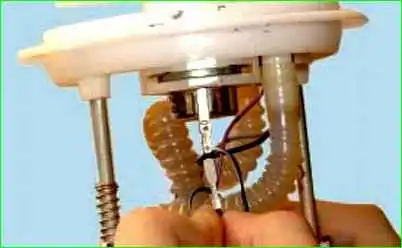
Disconnect the tip of the ground wire from the contact ring terminal on the fuel pressure regulator body
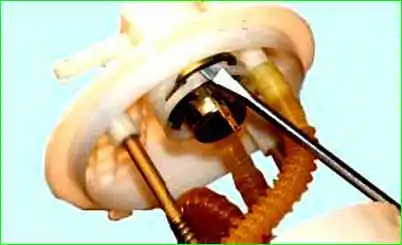
Use a flat-head screwdriver to pry off the pressure regulator mounting bracket
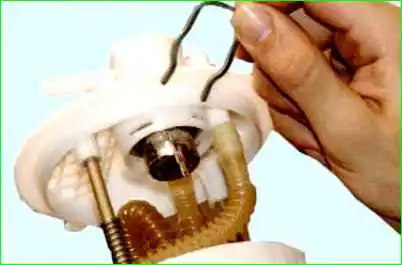
Remove the bracket
If installed, remove the slip ring from the pressure regulator body
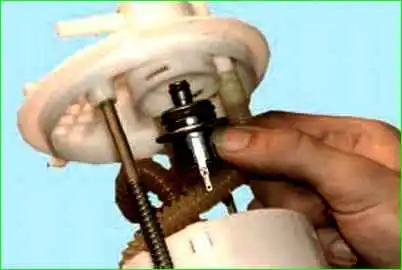
Remove the fuel pressure regulator from the module cover socket
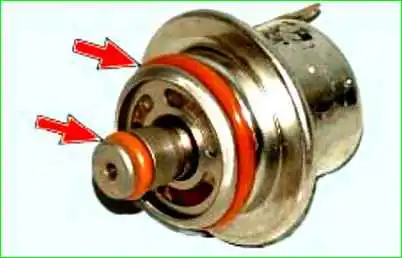
The regulator has two o-rings
If the sealing rings have lost their elasticity or other defects have appeared, replace the rings
If the pressure regulator is suspected of being faulty, it must be replaced.
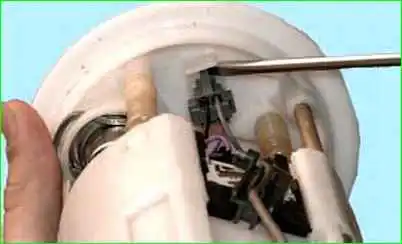
Use a flat-head screwdriver to press out the clamp of the wire block
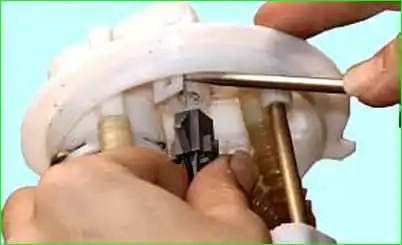
Disconnect the wire block from the cover connector
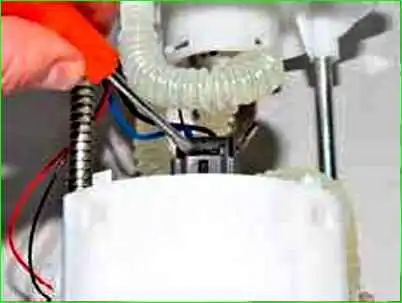
Press the slotted screwdriver onto the wire block clamp
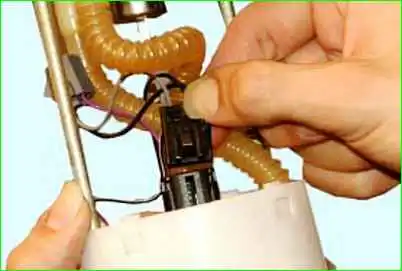
Disconnect the wire block from the fuel pump connector
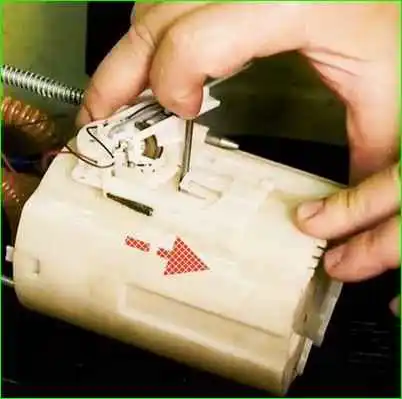
Using a flat-tip screwdriver, press out the lock of the fuel level sensor and slide the sensor along the grooves of the module cup
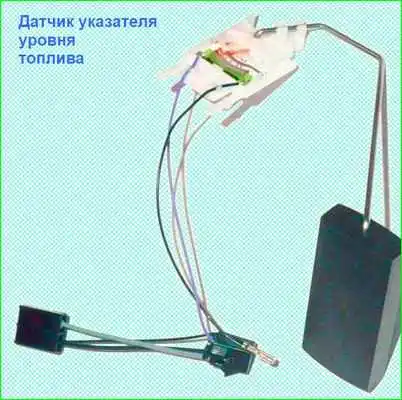
Remove the fuel level indicator sensor assembly with the float, wires and wire blocks
Irregularities in the operation of the fuel level indicator sensor are most often associated with wear of the contact part of its rheostat.
You can verify this by measuring its electrical resistance with an ohmmeter while smoothly moving the lever with the float from one extreme position to the other.
In many cases, malfunction of the fuel level sensor is associated with contamination of the contact group or oxidation.
The faulty sensor should be replaced.
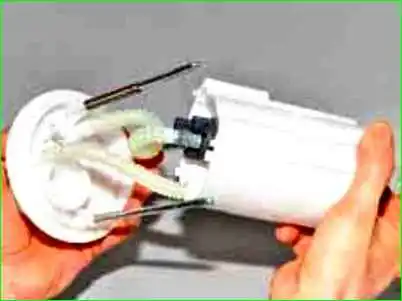
Use a marker to mark the guide on which the spring is placed
Pull out the guide posts of the module cover from the grooves of its glass
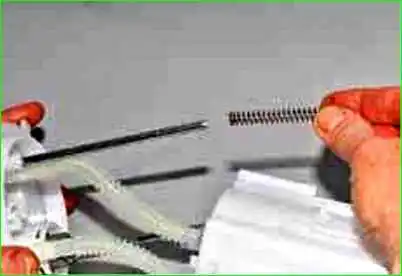
Remove the spring from the module cover post guide
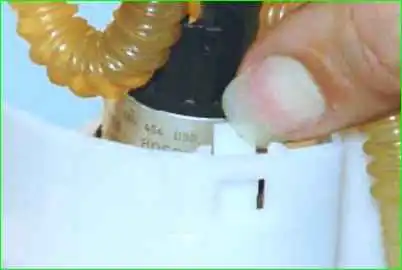
Press the three fuel holder latches pump
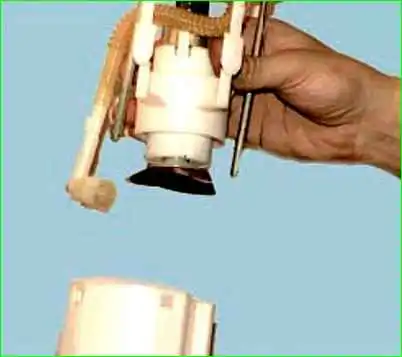
Remove the holder with the pump from the module glass
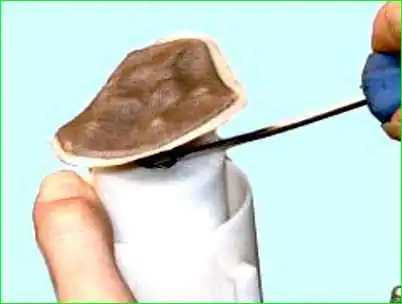
Pry up the mesh filter with a slotted screwdriver
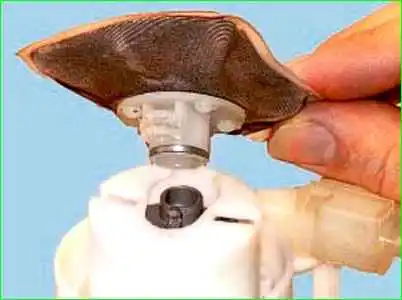
Remove the mesh filter
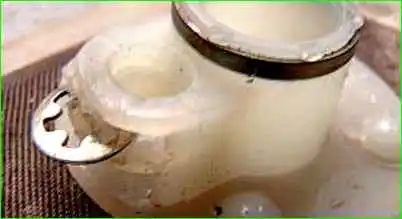
Remove the lock washer from the slot in the strainer housing
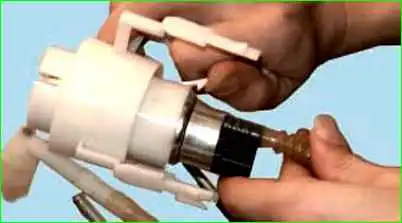
Press the fuel pump fastening clamp
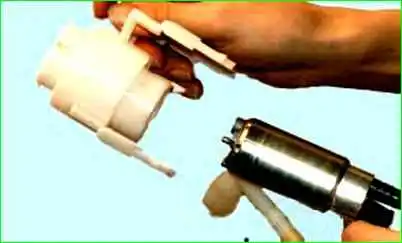
Remove the fuel pump from the holder
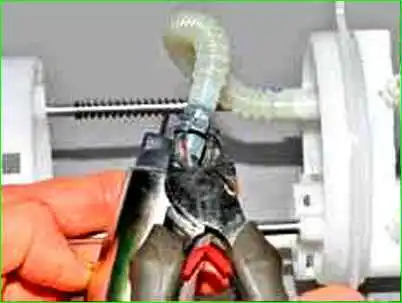
Use side cutters to cut through the tube mounting clamp, if installed
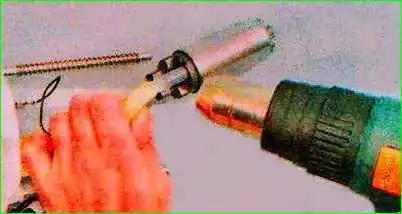
Heat the corrugated tube with a technical hair dryer (you can pour boiling water on it)
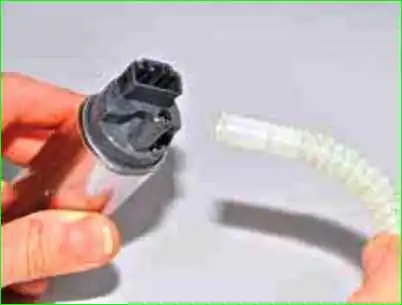
And remove the tube from the pump fitting
A valve is installed in the fuel module cup to prevent fuel from leaking
We assemble and install the fuel module in the reverse order
We wash the mesh filter in solvent for nitro paint and blow it with compressed air (from a compressor or foot pump).
If the mesh filter is very dirty and cannot be cleaned, replace it
Remove dirt deposits from the intake chamber of the fuel module and rinse in clean gasoline.
When installing the strainer, either straighten the lock washer with pliers or change it
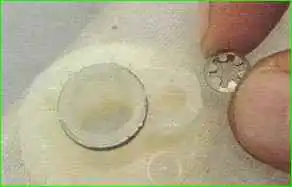
Replace the clamp securing the corrugated fuel supply tube to the pump fitting.
The vehicle is equipped with a Bosch fuel pump No. 0580 454 035
Before installing the fuel pressure regulator, apply a thin layer of engine oil to its o-rings.
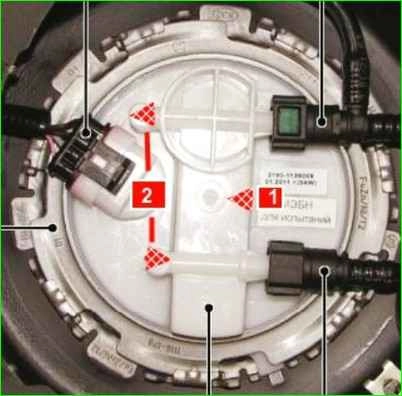
When installing the fuel module into the tank, arrow 1 on the fuel module cover should be directed towards the trunk.
Arrows 2 on the bosses of the cover fittings indicate the direction of fuel movement
Place the tips of the fuel pipes onto the fittings of the module cover until the spring clips click.
Having connected the negative terminal of the battery, start the engine and check the tightness of the connections of the fuel pipes.
After this, close the fuel module cover.


