Removing the door (how to remove the door, see the article - “Removing, installing and adjusting the sliding door of a Gazelle car”
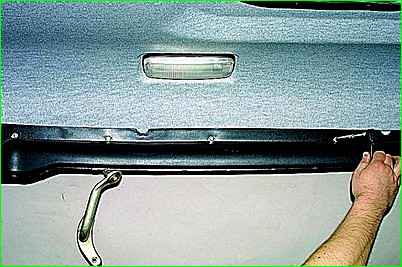
Use a wrench or a socket “8” to unscrew the four bolts securing the upper guide casing.
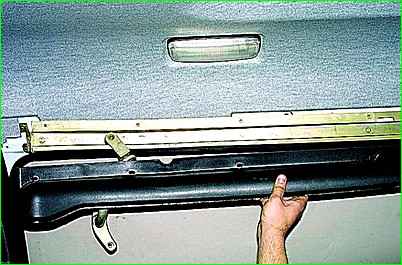
Remove the casing.
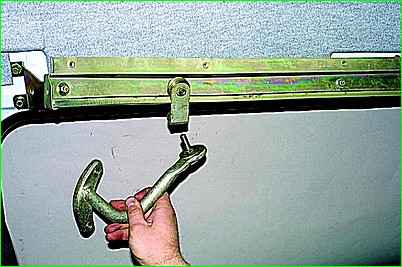
After loosening the locknut, unscrew the bolt securing the upper support to the roller carriage.
Disconnect the support from the carriage.
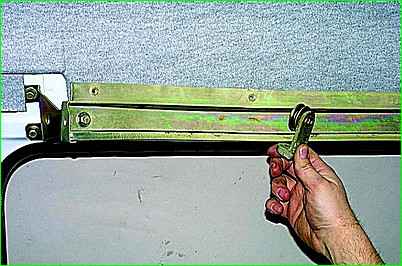
Remove the carriage with the roller from the top guide.
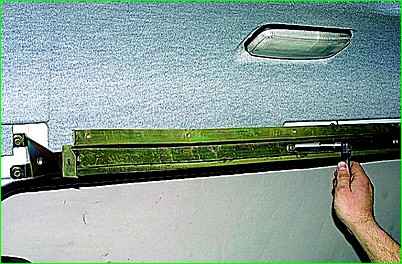
Use a 10mm socket to unscrew the four bolts securing the upper guide.
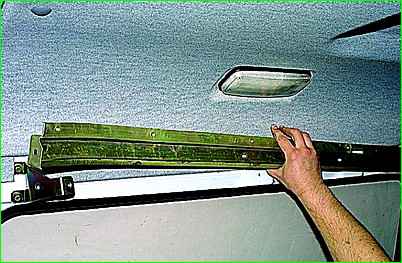
Remove the top guide.
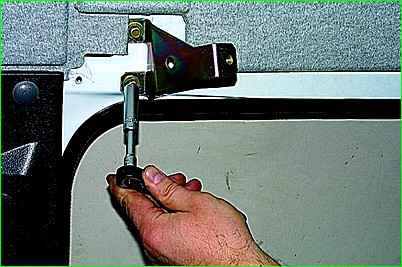
Use the same key to unscrew the two bolts securing the upper guide support to the body.
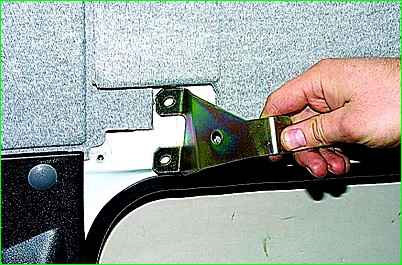
Remove the support
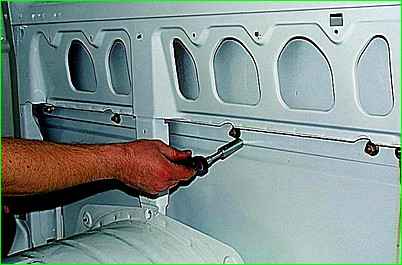
Using a 13mm socket, unscrew the four nuts of the middle rail mounting studs.
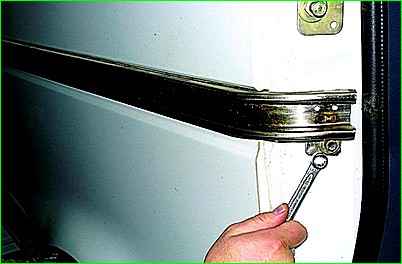
Use a 12mm wrench to unscrew the bolt for the external fastening of the guide.
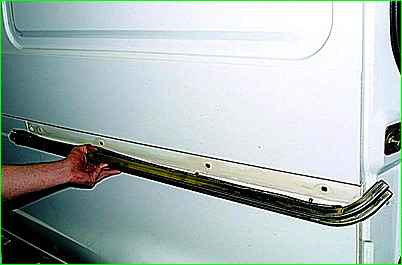
Remove the middle guide.
A rubber sealing gasket is installed between the guide and the body.
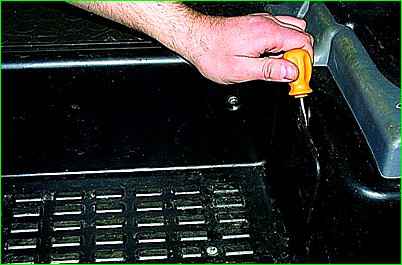
Use a screwdriver to pry up and remove the hatch in the body step lining.
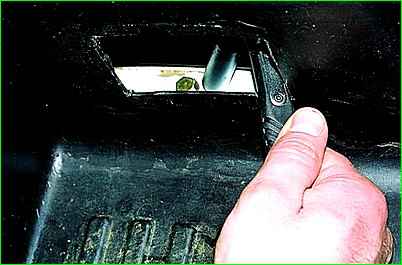
In the opened niche, use a 12mm socket to unscrew the bolt securing the lower guide
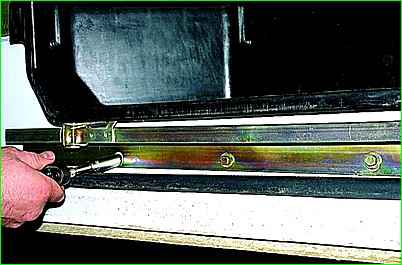
Use a 10mm socket to unscrew the other three bolts securing the lower guide
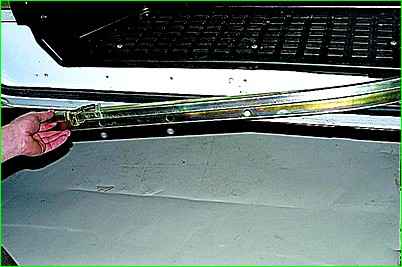
Remove the bottom guide.
We install all the guides in the reverse order, and then coat their working surfaces with Litol-24 or ShRB-4 lubricant.


