Disassembling and assembling the rear door of the Niva Chevrolet
Preparing the car for work
Remove the negative terminal of the battery.
To complete the task, you will need tools: a set of screwdrivers, an 8-mm head.
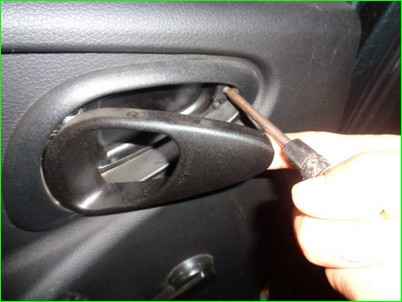
Using a Phillips screwdriver, unscrew the screw securing the interior handle trim
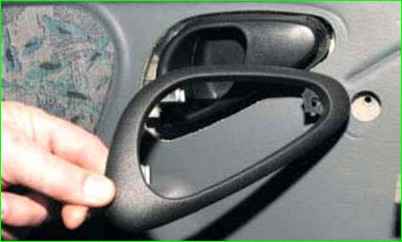
Removing the handle trim
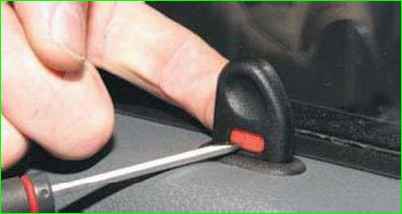
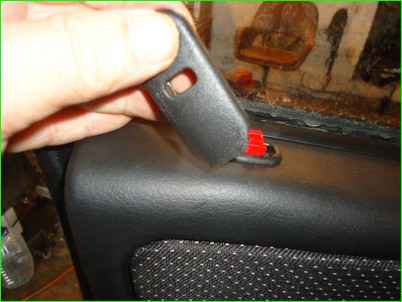
Squeeze the tabs of the retainer and remove the door lock button
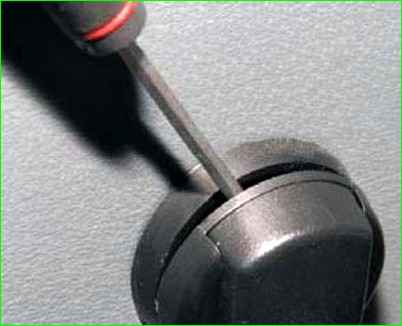
Insert a screwdriver between the socket and the trim of the window lifter handle
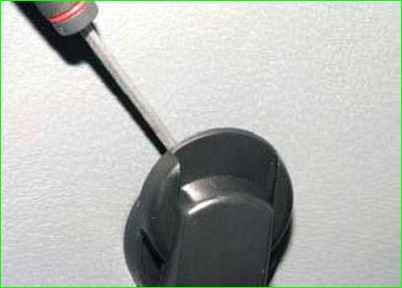
Moving the handle trim
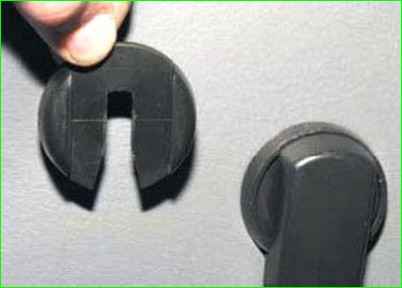
Removing the trim
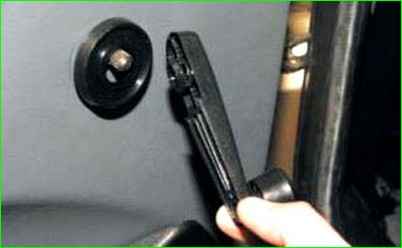
Removing the window handle
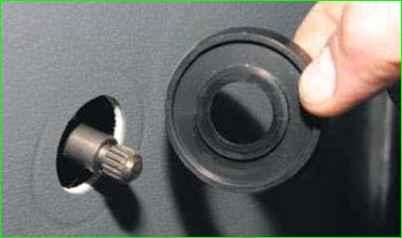
Removing the socket
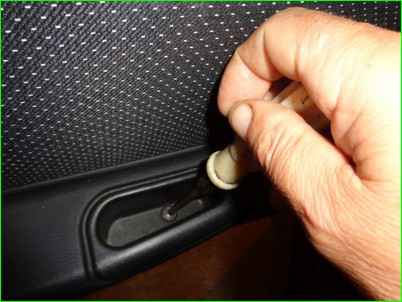
Using a Phillips screwdriver, unscrew the screw securing the trim installed in the armrest niche
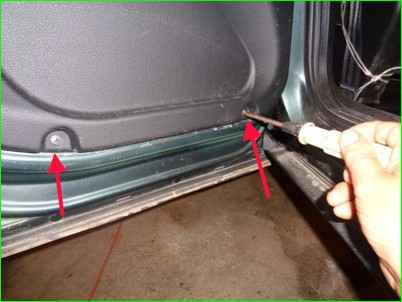
Using a Phillips screwdriver, unscrew the two screws securing the trim from below
Pull back the lower part of the trim, removing six pins its fastenings from the holes in the door panel
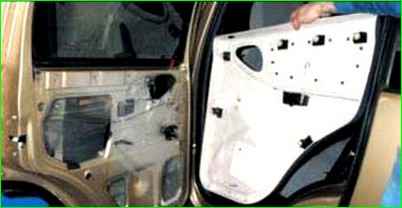
Removing the door trim
Removing the outer rear door handle
Remove the rear door trim as described above.
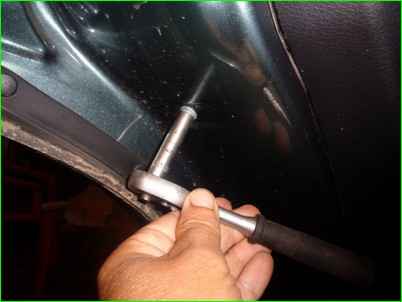
Using an 8 mm socket, unscrew the bolt
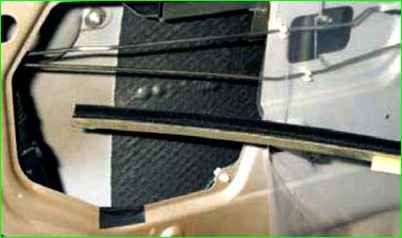
Removing the rear glass guide
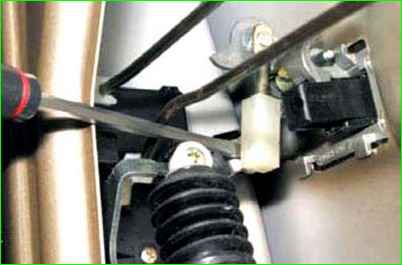
Using a screwdriver, we disconnect the rod of the outer handle from the lock lever
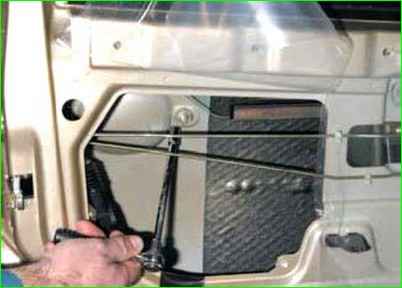
Using an 8 mm head, we unscrew the nut securing the outer handle
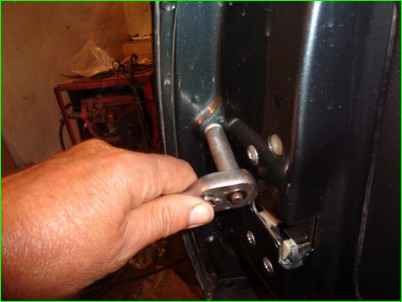
Unscrew the outer handle mounting bolt
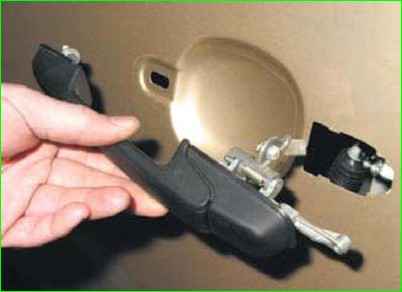
Move forward until it stops and lift the handle, removing it together with the rod from the door
Install the outer rear door handle in the reverse sequences.
Removing the rear door lock
Remove the door trim as described above.
Disconnect the outer handle rod from the lock lever.
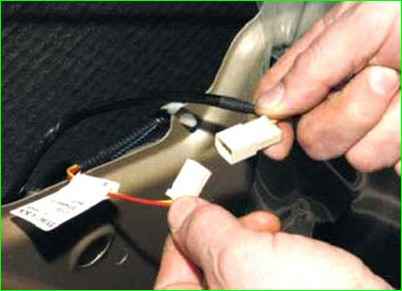
Disconnect the lock electric drive wiring block and the door wiring block
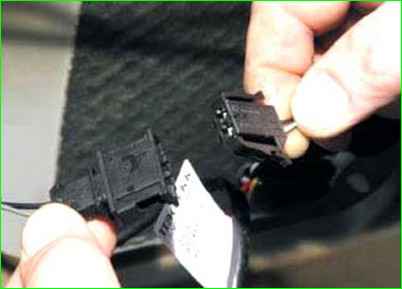
Disconnect the wiring blocks of the interior light switch (the switch is in the lock)
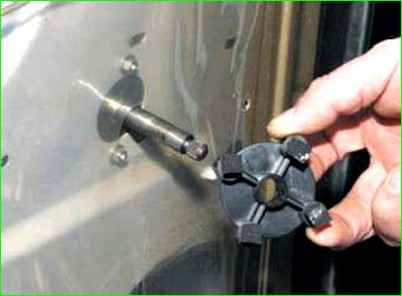
Remove the spacer sleeve from the window lifter axis
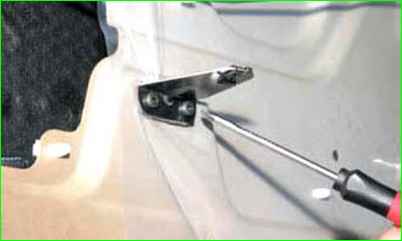
Use a Phillips screwdriver to unscrew the two screws
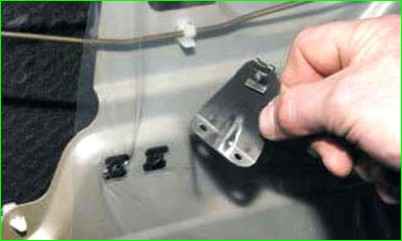
Remove the trim mounting bracket
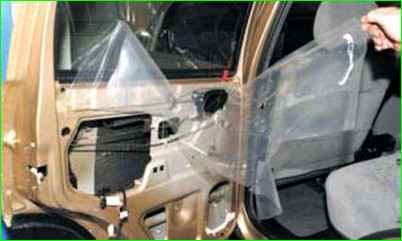
Peel off the protective film
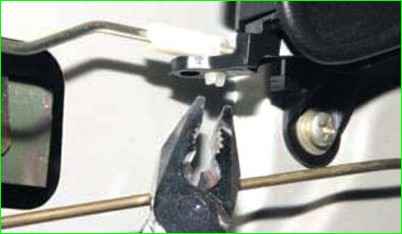
Squeezing the retainer with pliers, disconnect the rod from the inner door handle
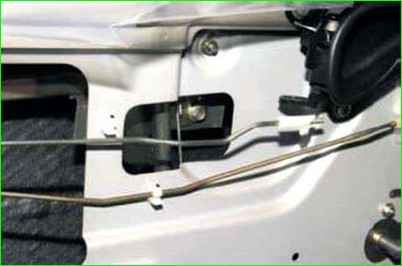
Removing the inner handle rod from the holder
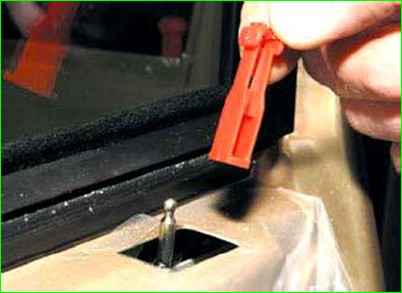
Removing the lock button insert from the lock
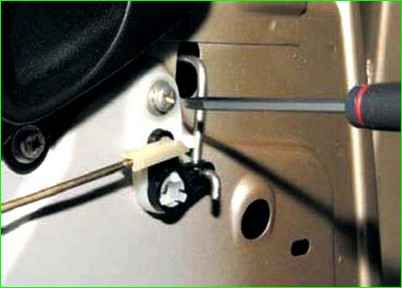
Using a Phillips screwdriver, unscrew the screw securing the lock release drive housing
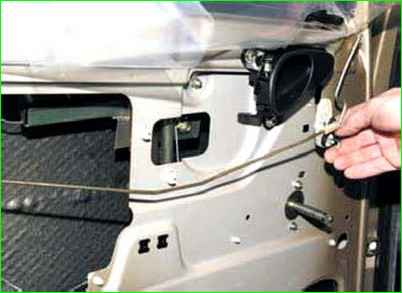
After moving the drive housing down, remove the housing and take the rod out of the holder
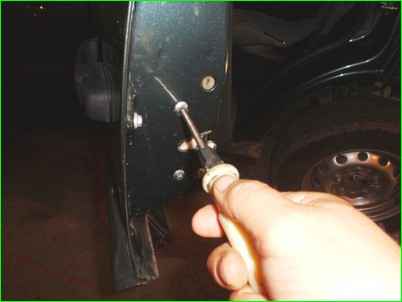
Using a Phillips screwdriver, unscrew the three screws securing the lock to the door
Removing the lock assembly with rods and electric drive
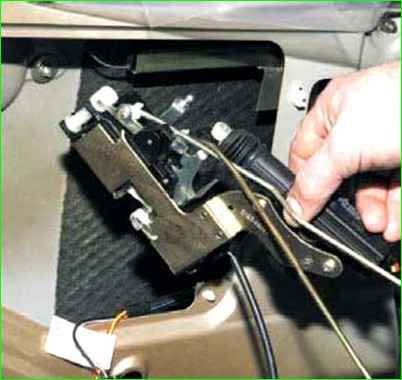
Install the lock in the reverse order.
Removing and installing the rear door window regulator
Remove the trim as described above
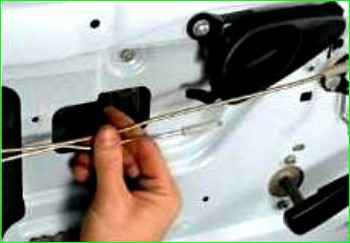
Disconnect the inner handle and lock lock rod
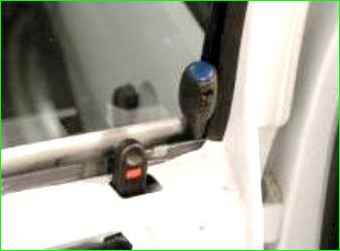
Fix the glass in the raised position (you can use a screwdriver)
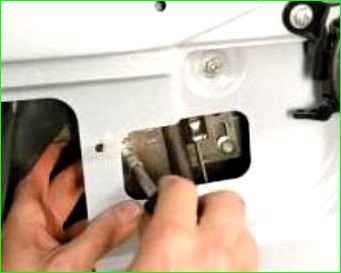
Unscrew the bolts of the lowering glass mounting plate
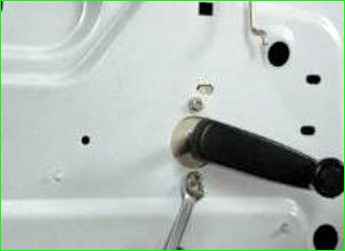
Unscrew the two central nuts securing the window regulator
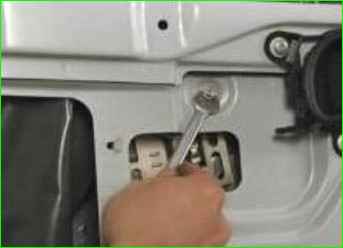
Unscrew the upper nut window regulator
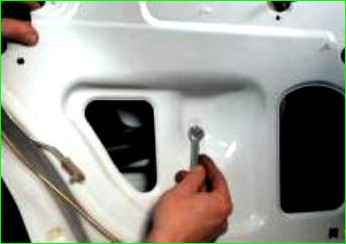
Unscrew the lower window regulator mounting nut
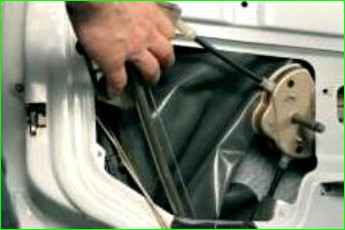
Removing window regulator assembly through the technological hole
We install the window regulator in the reverse order.
Lubricate the window regulator parts with Litol-24 grease or an analogue.
Replacing the lowering glass of the rear door of the Niva Chevrolet
Remove the door trim, as described above
Remove the window regulator.
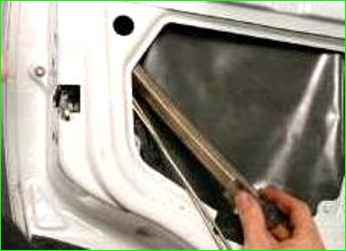
Unscrew the bolt securing the guide of the lowering glass and remove guide
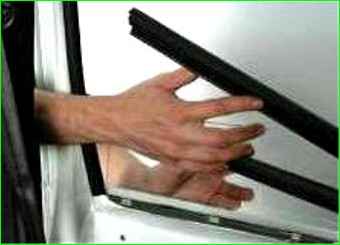
Removing the lower glass seal
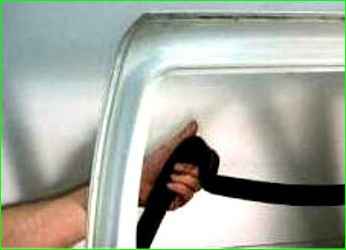
Remove the upper glass seal
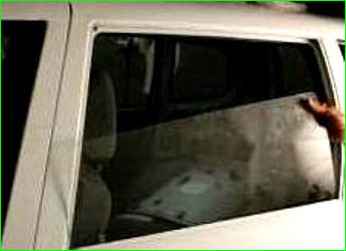
Turn the glass in the window opening, as shown in the photo
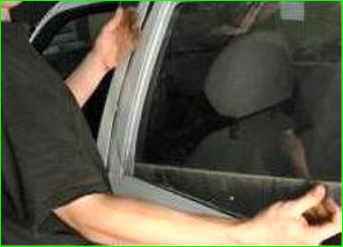
Remove the glass from the opening
Install the glass in reverse order
Removing and installing the rear door
Disconnect the negative terminal from the battery
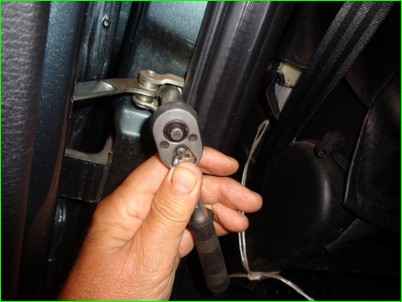
Unscrew the bolt securing the door opening limiter to the body
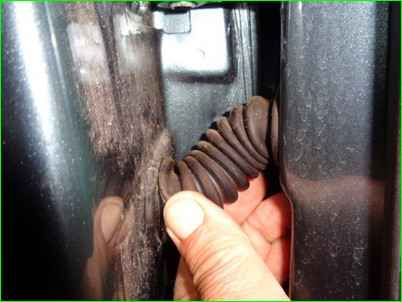
Removing the rubber protective tube of the wires from the central pillar
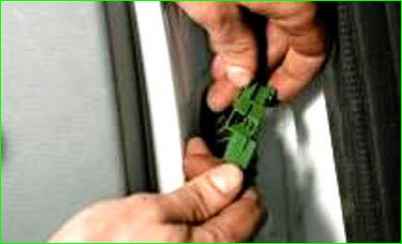
Holding the wires, pull the wire connector out of the pillar and disconnect it
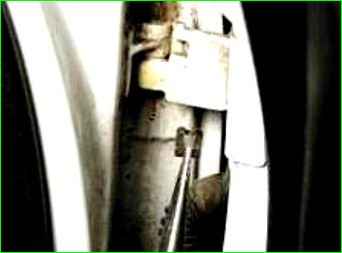
Removing the hinge axle locking brackets (old design)
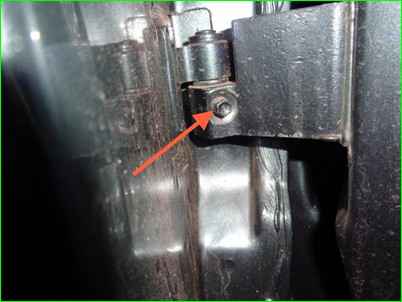
Using an 8 mm socket, unscrew the two hinge locking bolts (new design)
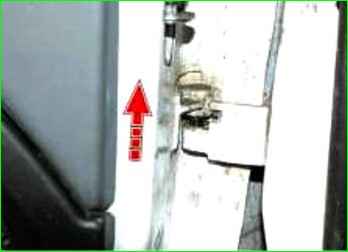
Removing the door by moving it upwards
Installing the rear door and all parts in reverse order


