We remove the radiator and expansion tank for replacement, as well as for repair and washing
During operation, the radiator honeycombs become clogged with deposits.
In this case, the engine heats up faster and the engine may overheat. In this case, it is best to replace the radiator.
Removing the expansion tank
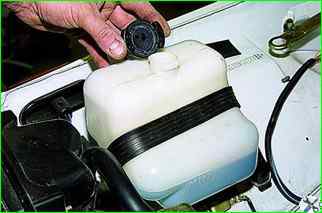
On a car with a VAZ-21214 engine, unscrew the expansion tank cap.
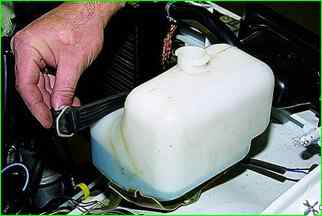
Unfasten the rubber fastening strap.
Drain the coolant into a substitute container.
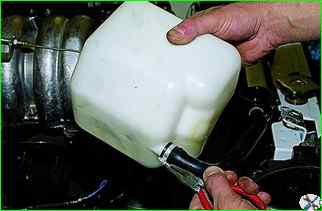
We loosen the clamp using pliers
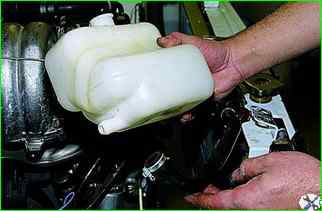
Having disconnected the hose from the tank nozzle, remove the expansion tank
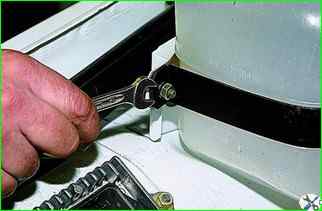
On a car with a VAZ-21213 engine, to remove the tank, use a “10” wrench to unscrew the nut securing the expansion tank clamp
Install the tank in reverse order.
Removing the radiator
Remove the spare wheel pipe. Drain the coolant (see Replacing the coolant).
On a car with a VAZ-21213 engine, remove the fan casing. for this:
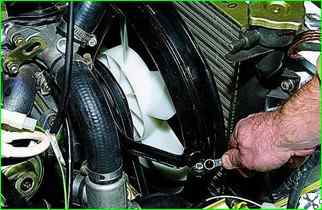
Using a 10mm spanner, unscrew the two nuts of the studs connecting the parts of the casing.
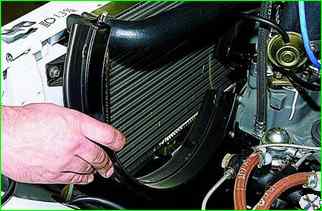
Remove the lower casing.
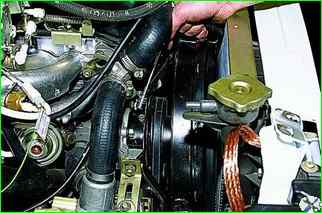
Using a 10mm socket with an extension, unscrew the bolt securing the upper casing to the bracket
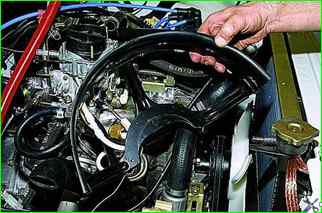
Remove the upper casing.
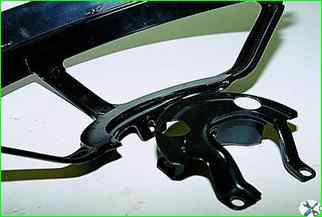
Install the fan casing in reverse order
When installing, please note that the upper casing with its groove must be placed on the semicircular protrusion of the bracket
We proceed directly to removing the radiator
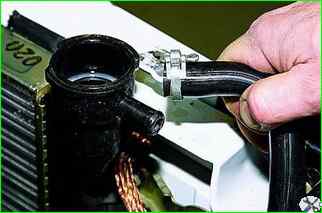
After loosening the clamp, disconnect the expansion tank hose from the radiator.
Loosen the clamps of the radiator outlet and inlet hoses.
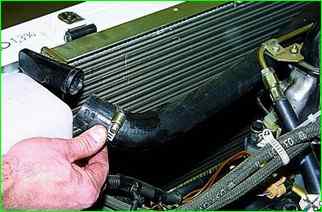
Remove the outlet and inlet hoses.
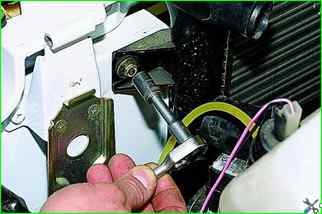
On a car with a VAZ-21214 engine, lift the windshield washer reservoir and move it to the side.
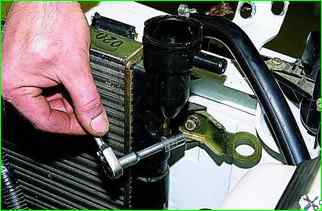
Use a 10mm socket to unscrew the left radiator mounting bolts and unscrew the right radiator mounting bolts.
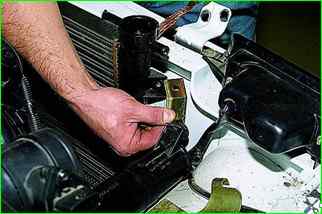
Remove the air intake bracket
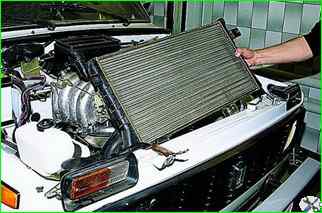
Tilt the radiator towards the engine and remove it.
In photo 6, the air filter housing with the air intake (injection engine) has been removed for clarity.
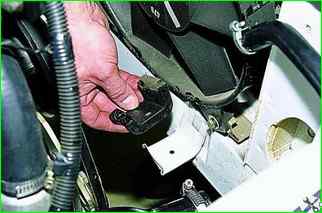
The radiator rests on the bracket through rubber pads.
Behind the radiator there is either a radiator guide casing (on a car with a VAZ-21213 engine) or electric fans (on a car with a VAZ-21214 engine)


