Execution order
Open the glove compartment.
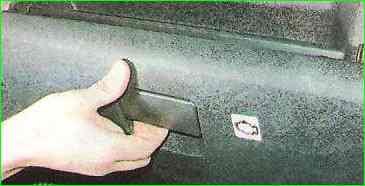
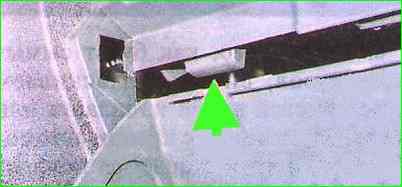
We disengage the two limiters located on the rear wall of the glove box.
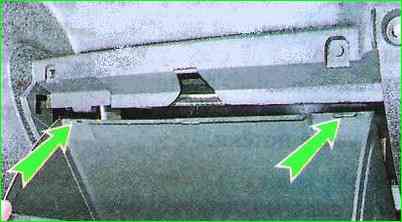
Remove the glove box by disengaging its lower stops from engaging the axles.
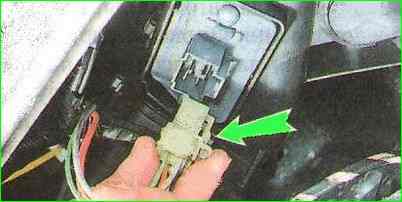
Under the instrument panel on the right, by pressing the latch, disconnect the wire block from the additional resistor.
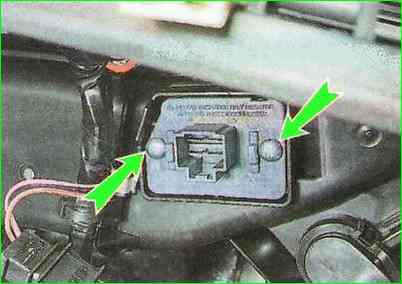
Use a screwdriver to unscrew the two screws securing the resistor.
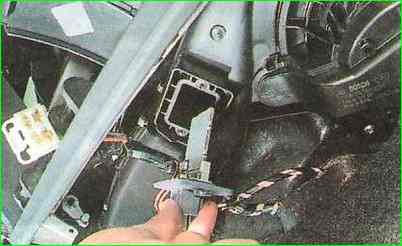
Remove the resistor.
Installing the resistor in reverse order
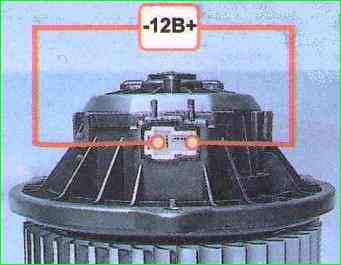
You can check the serviceability of the electric fan by applying 12 V voltage from the battery to its terminals
But it is difficult to perform such a check when the electric fan is located in the air conditioner housing.
The location of the connector is in the way.
You can apply voltage using two wires, the ends of which have tips for putting on the plugs.
You will have to connect the wires by touch.
It is advisable to insulate the tip of the wire connected to the positive terminal of the battery.
Another way is to remove the electric fan for inspection. But in this case, before testing, it must be securely secured to the body.
In this case, the fan impeller should not touch anything.
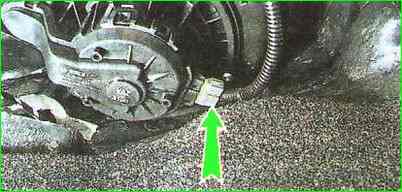
Pressing the latch, disconnect the wire block from the electric fan
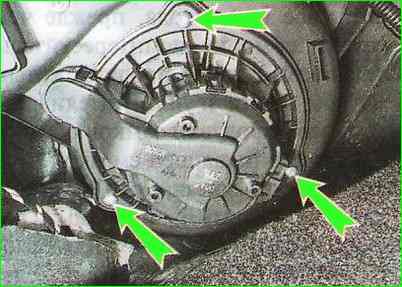
Remove the three screws securing the electric fan
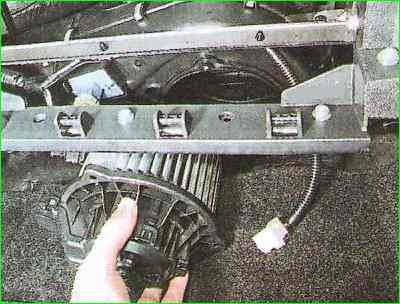
Remove the electric fan from the air conditioning unit.
Install the electric fan in reverse order.


