If you find a fuel leak from the tank, it is recommended to replace the tank. If the fuel pump screen often gets clogged, remove and wash the tank
If you find a leak along the junction line of the upper and lower parts of the tank, you can solder these places (it is recommended to do this in specialized workshops).
To do this, pour out the remaining gasoline, thoroughly rinse and dry the tank. Then solder the leak with soft solder.
You can only solder a thoroughly washed and dried tank that does not contain gasoline vapors, otherwise the vapors may ignite during soldering.
To wash the fuel tank, use detergents: "Lobomid", MS or ML.
Then, to remove the remaining detergent, rinse and steam the tank with a stream of hot water.
Dry the tank thoroughly.
Reduce the pressure in the fuel system (see "Reducing the fuel pressure of the Niva Chevrolet").
Disconnect the wire from the "-" terminal of the battery.
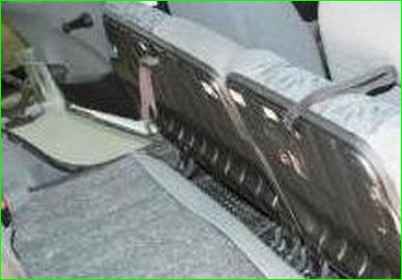
Fold forward both parts of the rear seat cushion.
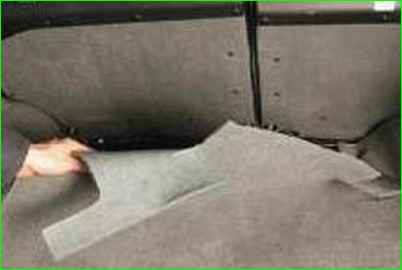
Remove the trunk mat.
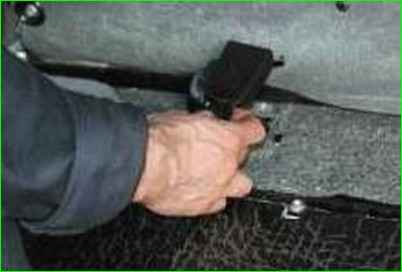
Move the rear seat belt buckles to the trunk, passing them under the back of the rear seat.
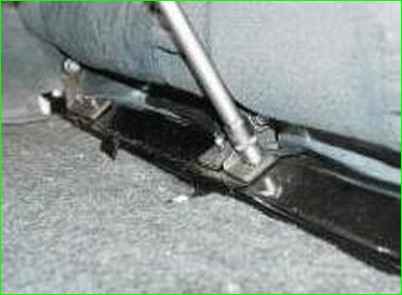
Unscrew the six nuts securing the rear seat backs and remove the backs.
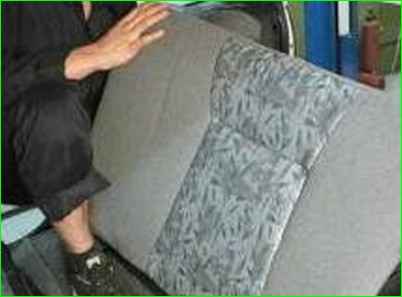
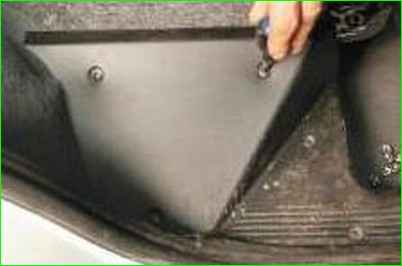
Turn out the screws securing the rear trim trim panels on both sides and remove the panels
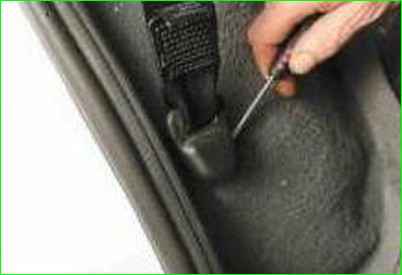
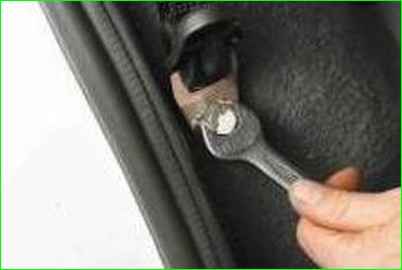
Remove the decorative covers of the side bolts securing the rear seat belts, unscrew the bolts and move the belts to the side
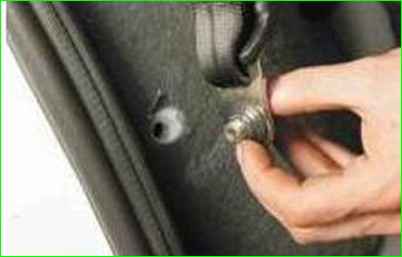
Please note: the bolts are equipped with spacers and noise-reducing washers. Don't lose them.
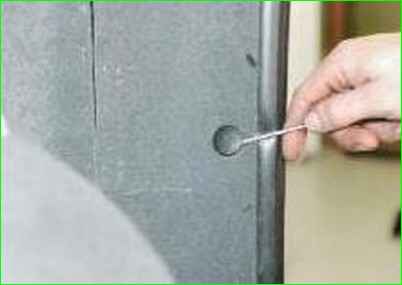
Remove the pins securing the right trunk trim
Unscrew the screws securing it and remove the trim.
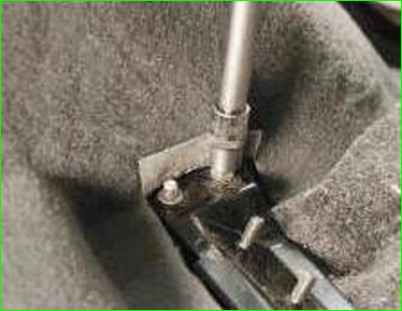
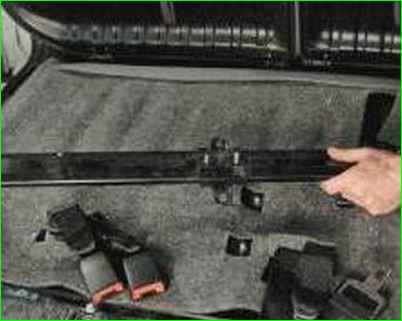
Unscrew the six nuts securing the rear seat back crossbar, remove the washers and crossbar
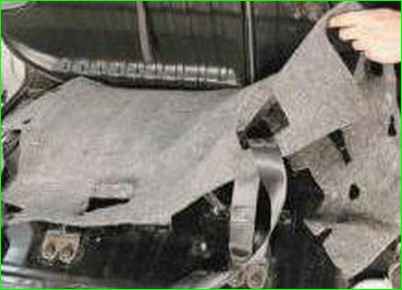
Remove the soundproofing mat from the boot floor.
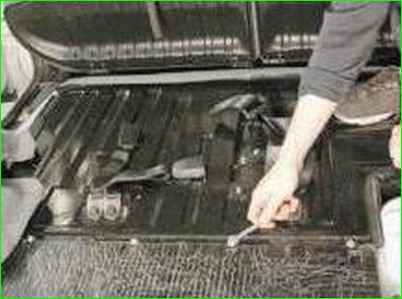
Unscrew the nuts securing the fuel tank compartment cover.
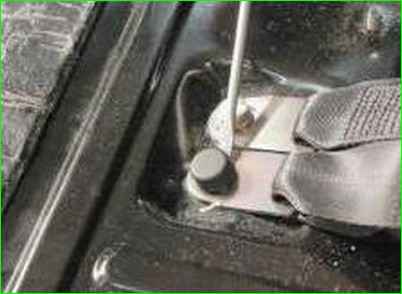
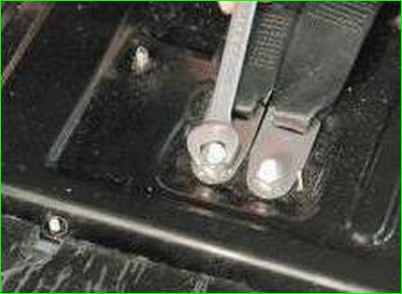
Remove the decorative caps of the bolts of the middle fastening of the rear seat belts, unscrew the bolts and remove the cover of the fuel tank compartment.
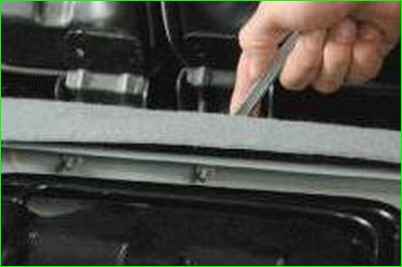
Unscrew the bolts of the rear cushions seats
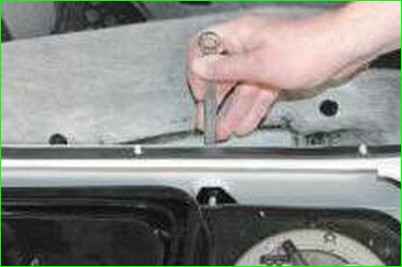
Move the floor mat aside and unscrew the bolts securing the front supports of the fuel tank
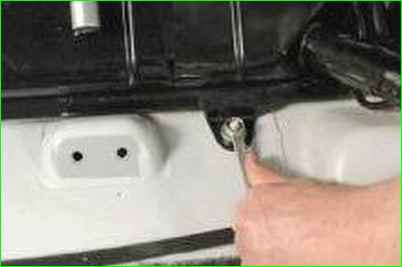
Unscrew the nuts securing the rear fuel tank supports.
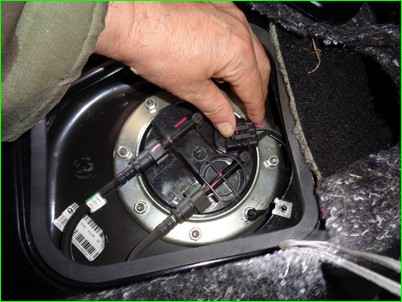
Disconnect the wires and hoses from the fuel pump (see. "Replacing the fuel pump Niva Chevrolet").
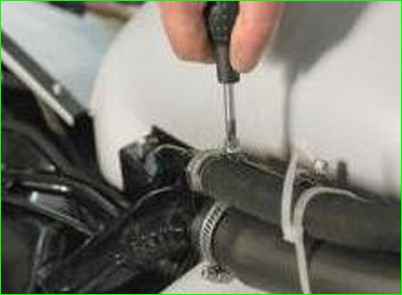
Loosen the clamps securing the feed and air outlet hoses of the filler pipe, the hose of the fuel vapor recovery system, remove the hoses from the fuel tank pipes and remove the tank
Install the fuel tank and all removed parts in the reverse order of removal.


