We disassemble doors to repair door elements
Removing the rear door trim
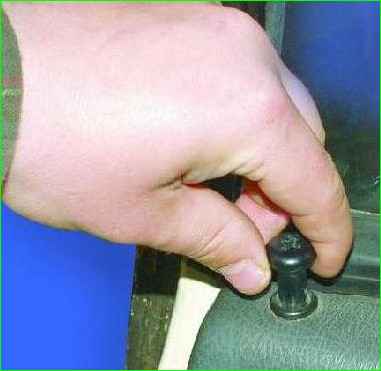
Use your hand to unscrew the lock button
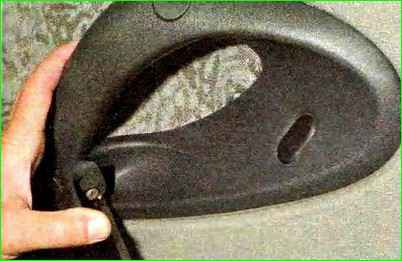
Having turned the inner handle so that the screw securing it to the lever is accessible, use a Phillips screwdriver to unscrew the screw and remove the handle.
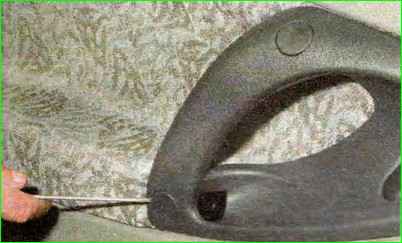
Use a screwdriver with a thin blade to pry up two decorative plugs and remove them from the holes in the armrest handle.
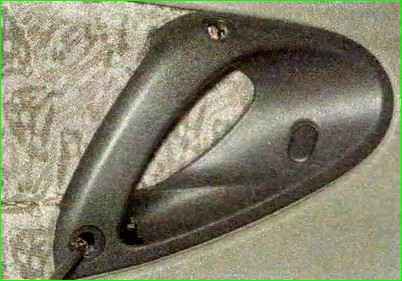
Use a Phillips screwdriver to unscrew the two screws securing the armrest handle
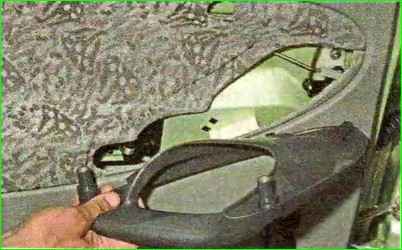
Remove the handle
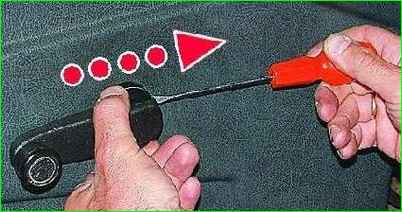
Use a screwdriver to press out the power window handle socket.
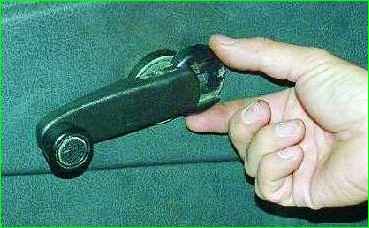
Pull out the latch and remove it.
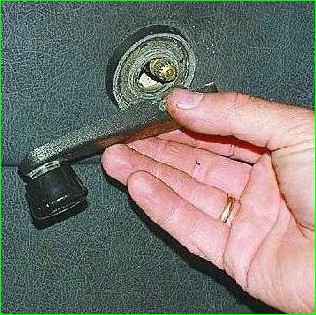
Remove the handle and socket from the shaft.
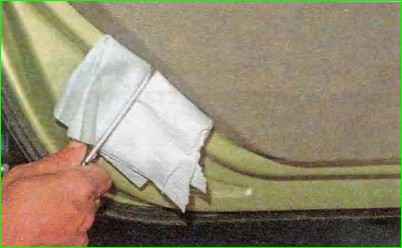
Using a screwdriver, placing soft material under it, press the lower edge of the upholstery away from the inner door panel, overcoming the resistance of the pistons.
It is better to start from the bottom, gradually moving the screwdriver along the entire perimeter of the upholstery.
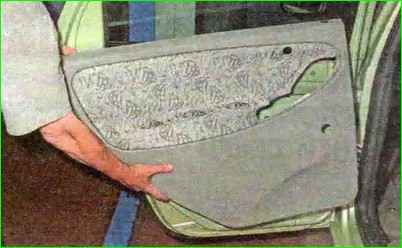
Remove the rear door trim
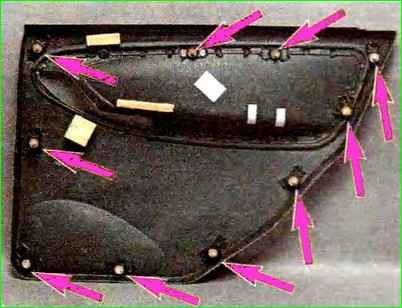
Location of ten pistons on the inside of the upholstery
Install the rear door trim in reverse order.
Replacing rear door glass
Remove the rear door trim.
Lower the glass so that you can unscrew the screw securing the decorative glass trim.
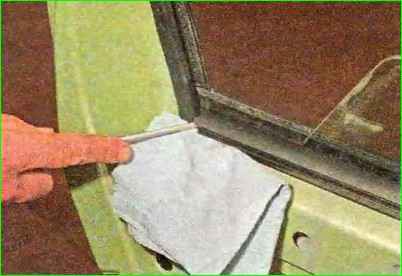
Use a flat-head screwdriver to pry up the edge of the inner glass seal.
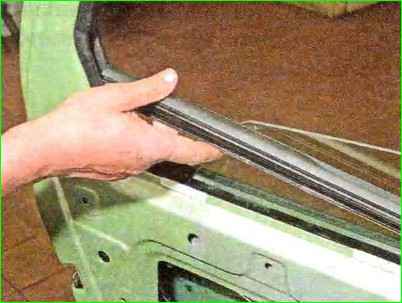
Lift the seal up, apply the necessary force, and remove the inner glass seal from the inner door panel.
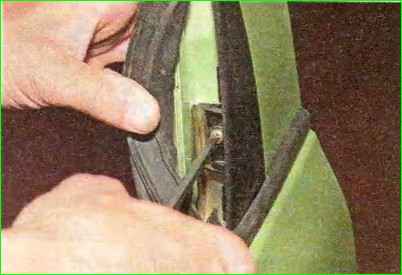
Bending the edge of the seal, use a Phillips screwdriver to unscrew the self-tapping screw securing the decorative glass trim.
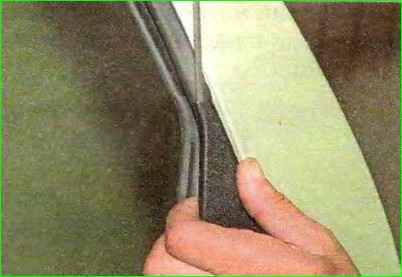
Use a slotted screwdriver to press out the upper corner of the decorative trim and remove it.
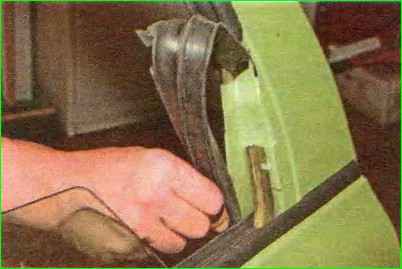
Remove the lower part of the seal from the door.
Raise the glass.
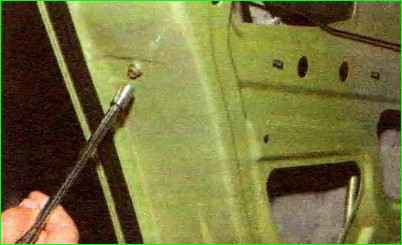
Use a 8-mm socket to unscrew the bolt securing the glass guide at the end of the door
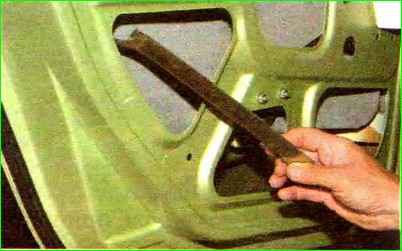
Take out the guide. Roll down the window
From the outside of the door, use a slotted screwdriver to pry up the decorative retainer of the glass seal.
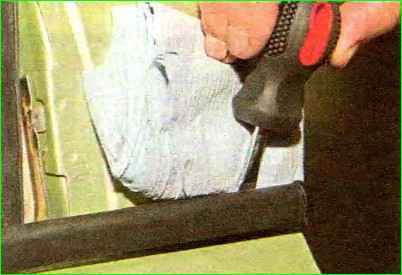
To avoid damaging the paint, place a soft material under the screwdriver, for example, a piece of fabric folded several times.
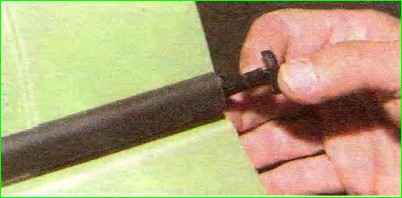
Pull out the lock from the outer seal and remove it.
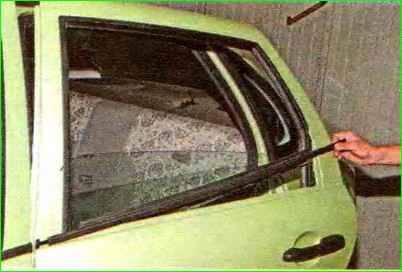
Remove the outer glass seal by pulling it off the front decorative clamp and lifting it up.
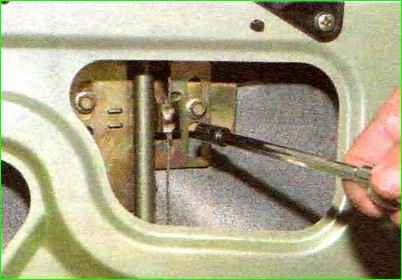
Using a 8-mm socket, unscrew the two bolts securing the glass holder to the window lifter slide
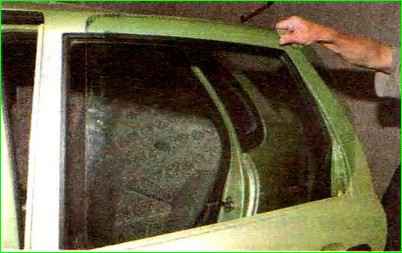
Remove the glass from the door. Install the rear door glass in reverse order
Replacing the rear door window lift mechanism
Remove the rear door trim.
Putting the handle on the shaft, set the glass to the upper position, and then remove the handle.
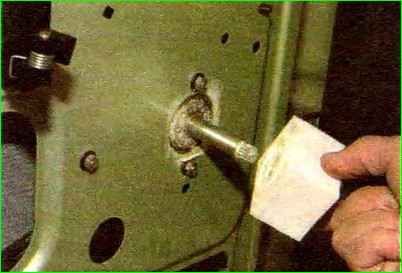
Remove the vibration damping element from the window handle shaft.
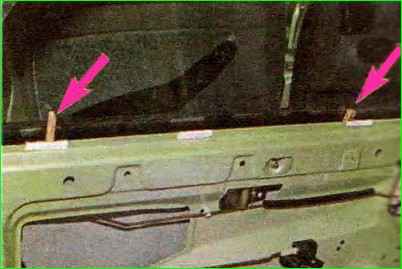
Fix the glass in the raised position by installing two wooden wedges between the glass and the inner door panel.
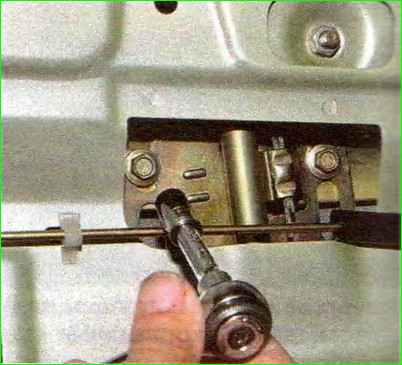
Using a 8-mm socket with an extension, unscrew the two bolts securing the glass holder to the guide slide of the window lift mechanism.
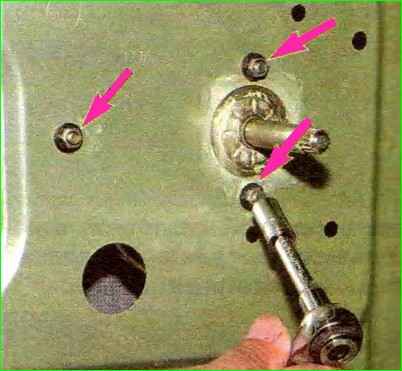
Use a socket or a 8mm wrench to unscrew the three nuts securing the window lift mechanism.
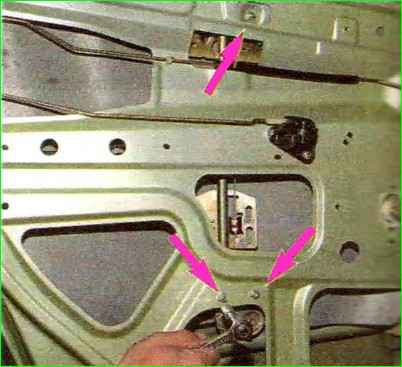
Use a socket or a 10mm wrench to unscrew the three nuts securing the window lift mechanism guide.
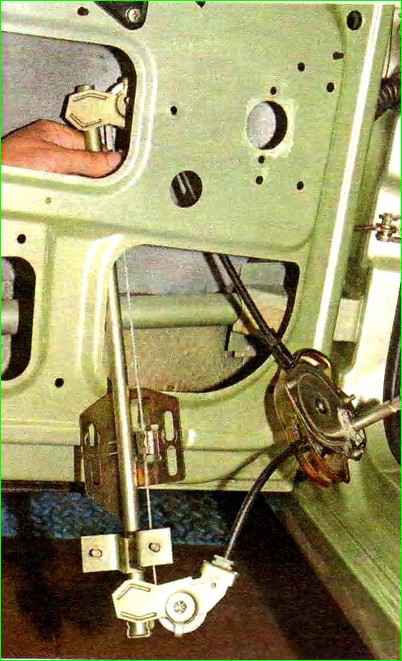
We remove the window lift mechanism through the lower technological hole in the inner door panel
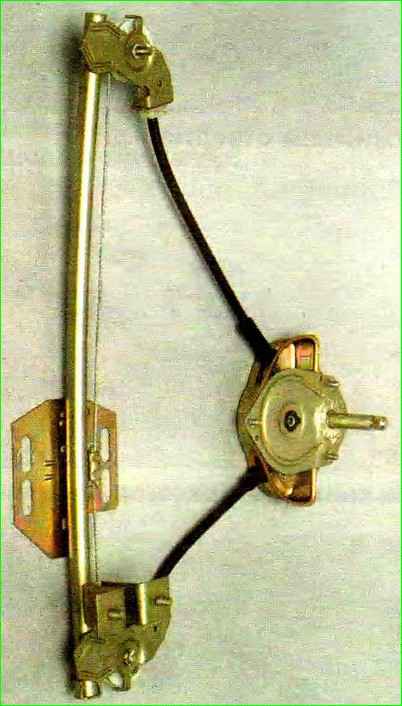
Install the rear door window lift mechanism in reverse order.
Replacing the rear door lock and outside handle
The outside handle can be changed without removing the lock.
Remove the door trim
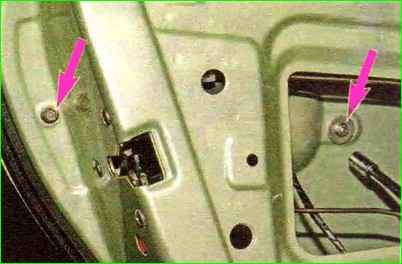
Using an 8-mm socket with an extension, unscrew the nut and bolt securing the handle and, moving the handle forward, remove it.
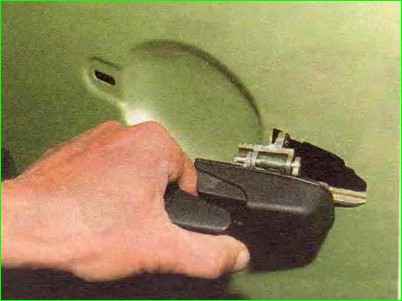
To remove the door lock, disconnect the wire terminal from the “negative” terminal of the battery
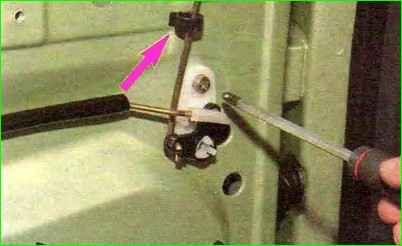
Using a Phillips screwdriver, unscrew the screw securing the intermediate lever of the locking rod, and remove the lever together with the rods from the rectangular protrusion, removing the locking rod from the plastic holder (shown by the arrow).
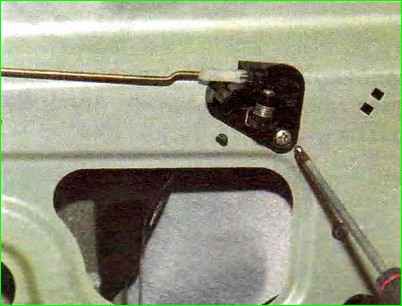
Use a Phillips screwdriver to unscrew the screw securing the base of the inner door handle and remove it. together with the thrust from the hollow pin.
Remove the decorative glass trim and take out the glass guide.
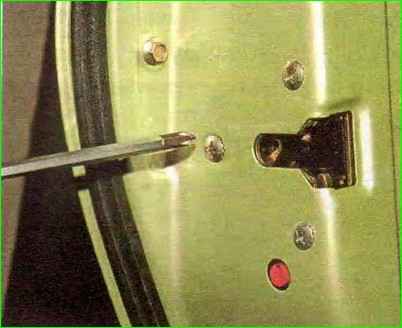
Use a Phillips screwdriver to unscrew the three screws securing the door lock.
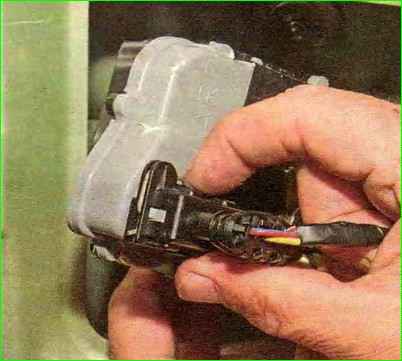
Remove the electric lock through the technological hole in the inner door panel
Squeezing the two clamps of the wiring harness block, disconnect the block from the electric drive and remove the lock with rods.
Rear door lock with electric drive and rod assembly
Install the rear door lock in reverse order.
Removing and installing the rear door
It is more convenient to disassemble and assemble the door when it is installed on the car.
At the same time, there is less chance of damaging the paintwork.
The sequence of disassembling the rear door is the same as when removing the front door. An assistant will be required to complete the work.
- 1. Remove the window regulator.
- 2. We remove the glass from the door.
- 3. Remove the outer door handle.
- 4. Remove the door lock.
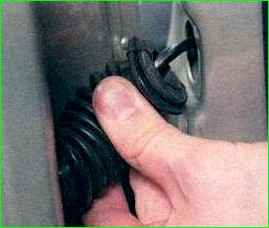
Disconnect the corrugated hose of the wiring harness from the rack.
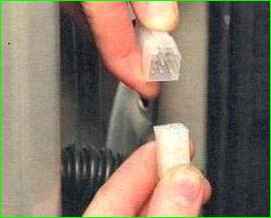
Disconnect the wiring harness blocks.
When disassembling the door, remove the corrugated hose from the wiring harness, and remove the harness through the door hole.
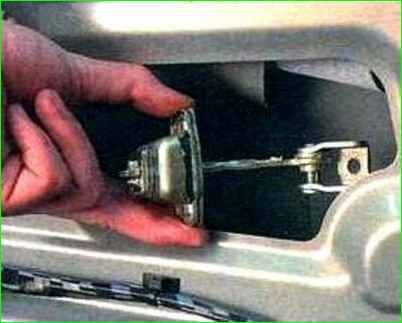
Disconnect the door opening limiter from the pillar.
We unscrew the axles from the hinges and remove them in the same way as shown on the front door. (see article - “How to repair the front door of a Lada Kalina”)
Having covered the working surfaces of the hinges and axles with grease, install and assemble the door in the reverse order
To ensure reliable contact in the connecting block of the door wiring harness, we treat its terminals with a special agent for cleaning and protecting electrical contacts.


