Seats are usually removed for cleaning the interior and the seats themselves, as well as for better access to the components and parts of the instrument panel and vehicle controls
Removing the front seat and slide
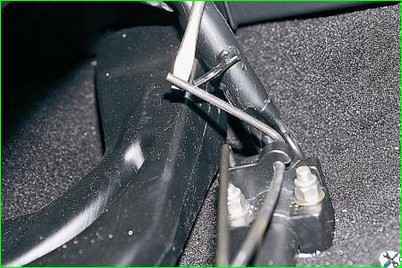
Move the seat back as far as it will go and use a screwdriver to disconnect the torsion bars from the pillow base pillar
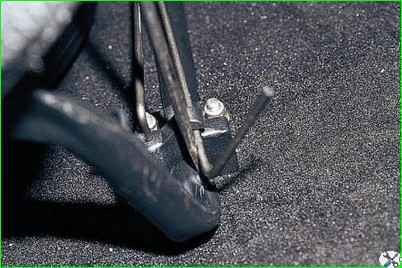
We remove the torsion bars from the grooves of the brackets and remove them.
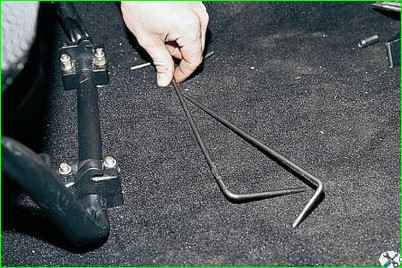
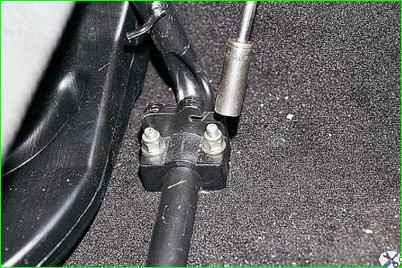
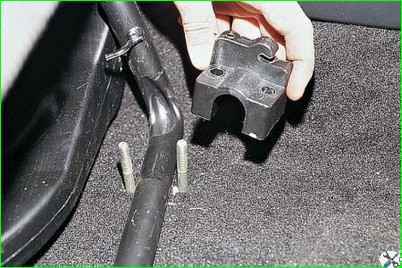
Using a 13mm high socket, unscrew the four nuts securing the brackets and remove them
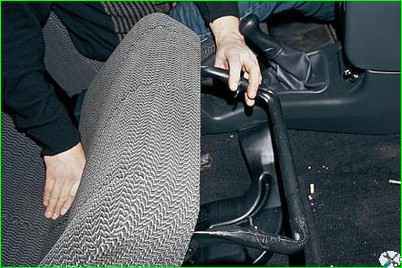
Tilt the seat back and use a 8mm head to unscrew the two bolts for the front mounting of the slide.
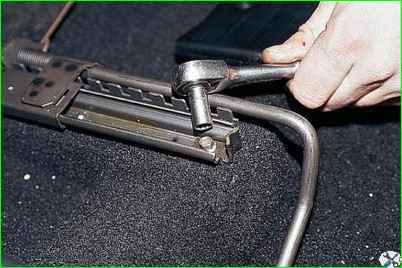
The travel stop is secured with a bolt on the outer slide.
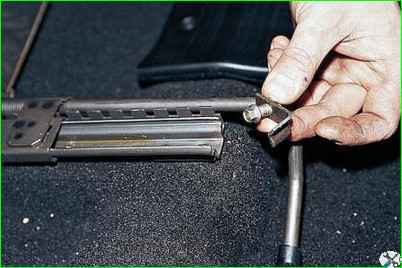
Move the seat all the way forward.
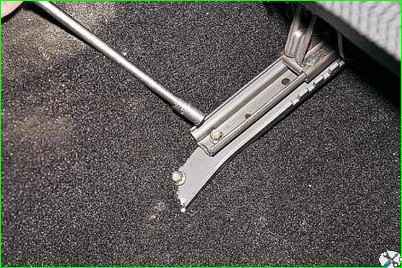
Using a socket 8, unscrew the first bolt of the rear fastening of the internal slide.
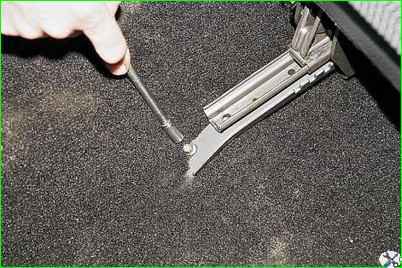
Unscrew the second bolts of the rear fastening of the internal slide.
Unscrew the rear mounting bolt of the outer slide.
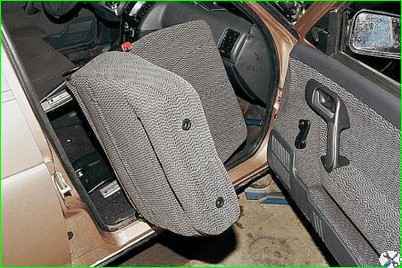
Remove the chair and take it out through the front door opening.
Unscrew the seat belt buckle.
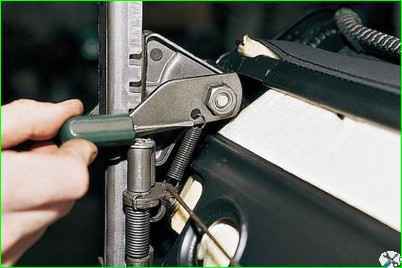
Disconnect the spring
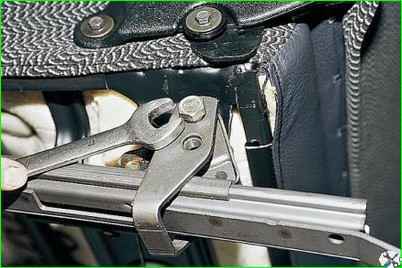
Using a 17mm wrench, unscrew the bolt securing the slide to the seat frame
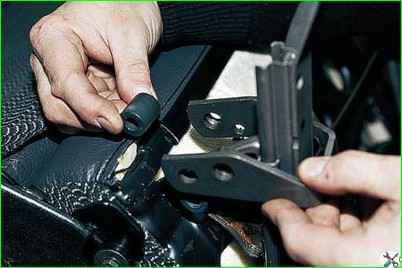
Remove the spacer sleeve and bracket.
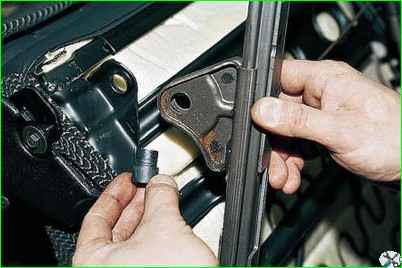
Having taken out the bushing, remove the slide.
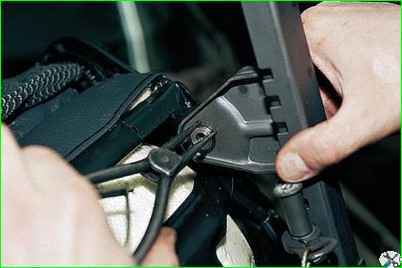
To remove the outer slide, use pliers to remove the locking ring.
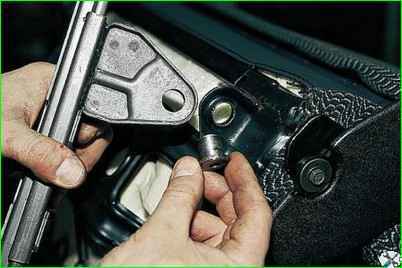
Take out the bushing and remove the slide.
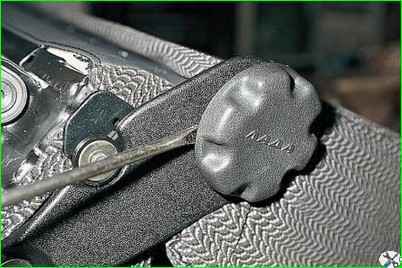
To replace the handle of the backrest tilt adjustment mechanism, use a screwdriver to pry up the handwheel
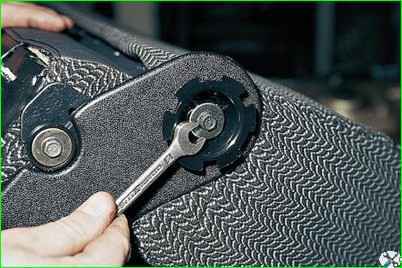
- use a 10mm wrench to unscrew the bolt
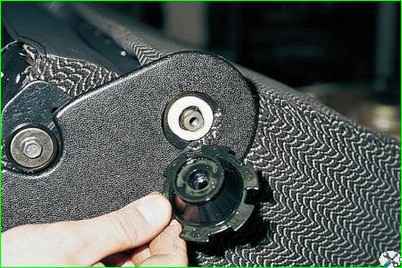
- remove the handle holder for the backrest tilt adjustment mechanism
Assemble and install the seat in the reverse order.
Removing the rear seat and its mounting parts
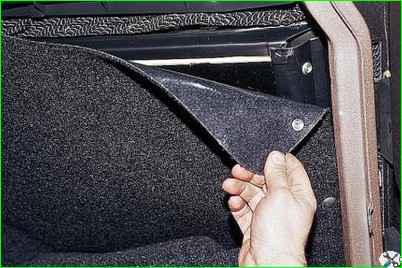
In the trunk, unfasten the upholstery buttons from the back of the seat.
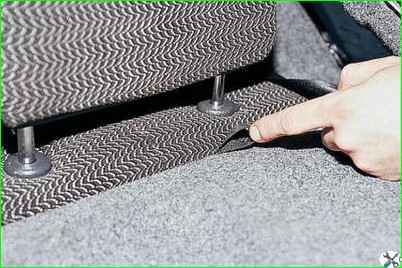
Pull the loop to unfasten the back latch.
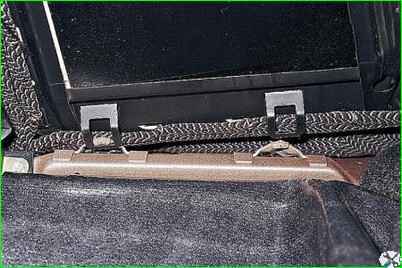
We remove the backrest hooks from the body brackets and remove it.
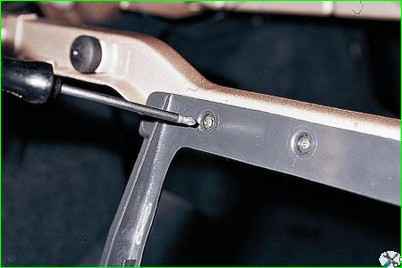
Use a Phillips screwdriver to unscrew the three screws securing the armrest frame to the body
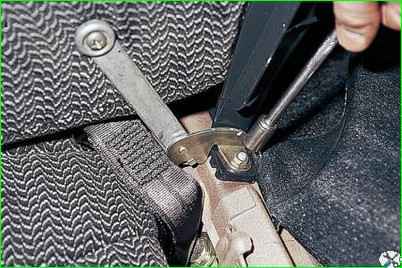
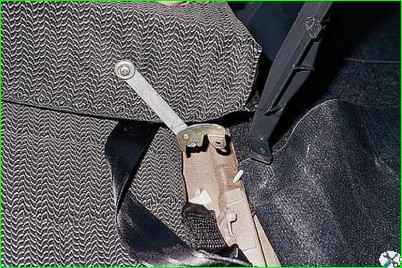
Using a 10mm socket, unscrew the two nuts securing the armrest hinge to the body and remove the armrest and plastic frame
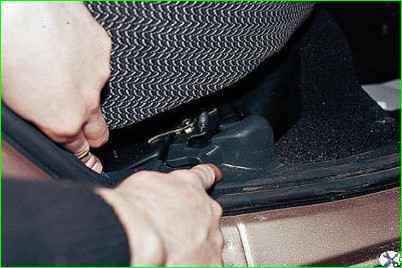
Press the latches on both sides of the rear seat cushion and remove it
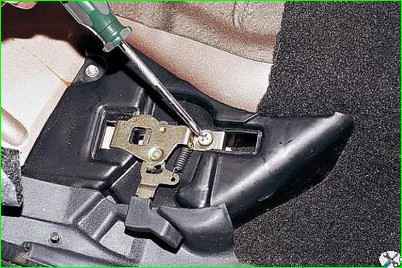
Use a Phillips screwdriver to unscrew the screw securing the seat cushion lock and remove it.
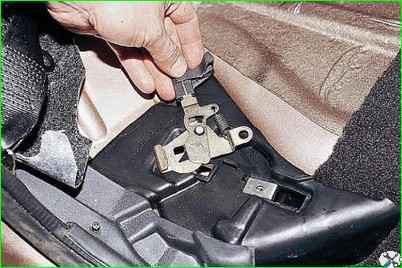
Remove the lock base after dismantling the threshold cover.
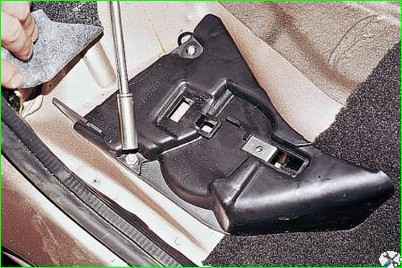
Using a 10mm socket, unscrew the two fastening nuts and remove the base


